How to Replace Jeep Sun Visor
Wondering how to replace Jeep sun visor on your own? This detailed guide covers everything from tools to model-specific steps, helping you fix common issues like sagging or broken mounts without a trip to the shop. With clear instructions, you’ll have it done quickly and safely.
If you’ve ever been driving your Jeep and suddenly the sun visor drops down or refuses to stay in place, you know how frustrating that can be. These little parts play a big role in keeping the glare out of your eyes, especially on those bright days when you’re out exploring off the beaten path or just commuting around town. Over time, though, they can wear out from constant use, exposure to heat, or even just the vibrations from rough roads. That’s when learning how to replace Jeep sun visor becomes handy. It’s a straightforward task that most people can handle with basic tools, and it saves you the cost of paying someone else to do it. In this article, we’ll walk through the signs that it’s time for a change, what you’ll need to get started, and the actual process for popular Jeep models. Whether you have a Wrangler that’s seen plenty of adventures or a Grand Cherokee used for family trips, we’ve got you covered. By the end, you’ll feel confident tackling this yourself.
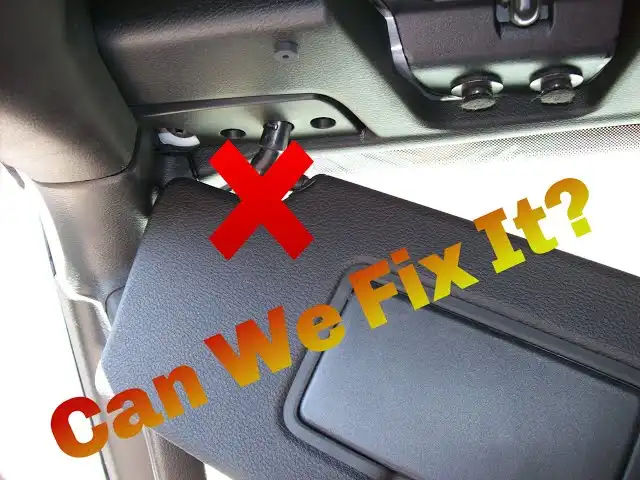
One common sign that your sun visor needs attention is if it starts to sag or won’t hold its position anymore. You might notice it flapping around while driving, or perhaps the mirror cover inside has cracked from age. In some cases, the mounting bracket breaks, causing the whole thing to detach unexpectedly. These problems are pretty typical in Jeeps because of their rugged design and the way they’re often used in sunny, dusty environments. If you’re dealing with any of these, don’t worry – replacing it is often easier than you think.
As automotive expert Mike Thompson puts it, “A loose sun visor isn’t just annoying; it can distract you on the road. Fixing it promptly keeps things safe and comfortable.”
Understanding Common Sun Visor Problems in Jeeps
Before jumping into the replacement, it’s good to know why these issues happen in the first place. Jeeps are built tough, but the sun visors are made from plastic and fabric that can degrade over time. Heat from the sun bakes the materials, making them brittle, while frequent flipping up and down wears out the hinges and clips. In models like the Wrangler, owners often report the visor falling out of its mount entirely, especially after a few years of use. This is due to a plastic piece that cracks under stress. Similarly, in Grand Cherokees, the electrical connections for lighted mirrors can fail, or the visor might not swivel smoothly anymore.
Other frequent complaints include rattling noises when the visor is up, or the fabric peeling away, exposing the foam underneath. These aren’t just cosmetic; they can affect your visibility and overall driving experience. If your Jeep is older, say from the early 2010s, you might find that the visors have faded or stained from sun exposure. Recognizing these early can prevent bigger headaches later. For instance, a visor that won’t stay up could block your view at a critical moment. Many Jeep enthusiasts share stories of dealing with this on long road trips, where a quick fix made all the difference. Taking the time to address it shows you’re proactive about maintaining your vehicle, which aligns with the spirit of Jeep ownership – being ready for anything.
Sometimes, the problem stems from how the visor is attached to the headliner. In some cases, the screws loosen over time, or the clip that holds it in place pops out. This is especially true if you’ve removed the top on a Wrangler and exposed the interior to the elements. Dust and moisture can accelerate wear. If you’re noticing any of these, it’s probably time to consider a replacement rather than a temporary patch. Repair kits are available for minor fixes, but for a lasting solution, swapping out the whole unit is often best. This section sets the stage for what comes next, ensuring you understand the why behind the how.
Tools and Materials Needed
Getting the right tools together is key to making this job go smoothly. You don’t need anything fancy – most of what you’ll use is probably already in your garage. Start with a set of screwdrivers, including flathead and Torx bits, since many Jeeps use T20 or T25 screws for the mounts. A trim removal tool helps pry off covers without scratching the interior. If your visor has lights, have needle-nose pliers ready to handle wires carefully. Of course, you’ll need a new sun visor that matches your model’s year and side – driver or passenger.
| Tool | Purpose |
|---|---|
| Torx T20/T25 Screwdriver | Removing mounting screws |
| Flathead Screwdriver | Prying off plastic covers |
| Trim Removal Tool | Avoiding damage to headliner |
| Needle-Nose Pliers | Disconnecting electrical wires |
This table lists the essentials, keeping things simple. Materials-wise, grab some electrical tape if you’re dealing with wires, and perhaps a flashlight for better visibility inside the cabin. New visors can be found online or at auto parts stores, often for under $50 depending on the model. Make sure to check compatibility – a Wrangler visor won’t fit a Cherokee. With these in hand, you’re set to proceed without interruptions.
Preparing Your Jeep for the Replacement
Preparation makes all the difference in a smooth process. Park your Jeep in a shaded area if possible, to avoid working in direct sunlight which can make plastic parts more brittle. Turn off the ignition and disconnect the battery if your visor has electrical components, just to be safe from any shorts. Clear out any items from the dashboard or seats that might get in the way.
Next, inspect the area around the visor. Gently pull down the headliner near the mount to see if there are any hidden clips or wires. If it’s a lighted visor, note how the connector looks so you can reconnect it later. Clean the area with a soft cloth to remove dust, which helps the new part fit better. This step might take a few minutes, but it prevents surprises like stripping a screw or damaging the interior fabric.
If you’re working on a Wrangler with a removable top, consider putting it back on temporarily for stability. For other models, like the Patriot, the process is similar but check for any model-specific quirks, such as extra clips. Taking photos of the original setup with your phone can be a lifesaver if you forget how something goes back together. Overall, this preparation builds your confidence and ensures the job doesn’t take longer than necessary.
Step-by-Step Guide to Replace Jeep Sun Visor
Now let’s get into the heart of it – the actual steps to replace Jeep sun visor. We’ll cover general instructions first, then break it down by model. Start by lowering the visor to its down position for easy access. Locate the plastic cover over the mounting screw; use your flathead or trim tool to pop it off gently. Behind it, you’ll find one or two screws holding the visor to the bracket.
Unscrew them carefully, supporting the visor so it doesn’t fall. If there’s a wire for the vanity light, pull it out slowly and disconnect the plug using pliers if needed. Slide the old visor off the metal rod or bracket. For the new one, reverse the process: slide it on, reconnect any wires, and tighten the screws snugly but not overly tight to avoid cracking plastic.
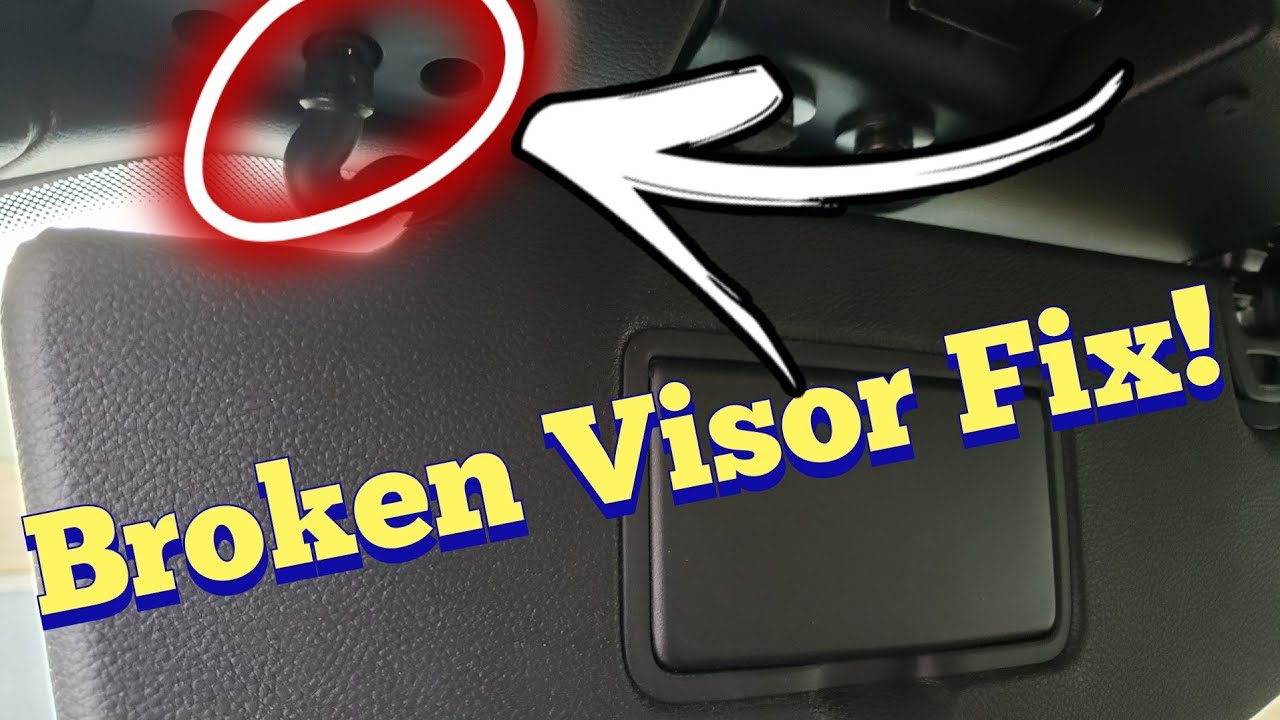
HOW TO REPAIR AND PERMANENTLY FIX YOUR BROKEN SUN VISOR ON YOUR JEEP GLADIATOR OR WRANGLER JL – YouTube
Replacing in Jeep Wrangler Models
For Wranglers from 2013 to 2018, the process is straightforward. After removing the screw with a T25 Torx, slide the visor off the bracket. Keep the old hardware handy in case the new one doesn’t include it. Install the new visor by aligning the holes and securing it. Test by flipping it up and down a few times. In newer JL models, if it’s a broken pivot, consider a repair kit first: remove the outer screw, add the metal clip, and use a longer screw to hold it firm.
Many owners prefer this over full replacement because it’s cheaper and quicker. If going full replace, ensure the new part matches the interior color. This model often sees visor issues from off-roading vibrations, so a sturdy aftermarket option might last longer.

Sun Visor Repair! JL and JT Problem Solved!
Replacing in Jeep Grand Cherokee
In a 2011 Grand Cherokee, start by prying off the cap with a flathead. Remove the screws – usually Phillips or Torx – and disconnect the wire if lighted. The visor slides out from the mount. For newer models like 2022-2026, there might be a trap door or additional clips; gently pull the headliner down for access. Reinstall by connecting the wire first, then securing the screws. This model sometimes has homelink buttons, so double-check compatibility.
As mechanic Sarah Lee notes, “In Grand Cherokees, the visor wiring can be tricky, but taking it slow prevents any electrical glitches down the line.”