
How to Replace Jeep Wrangler Headlights Safely and Correctly
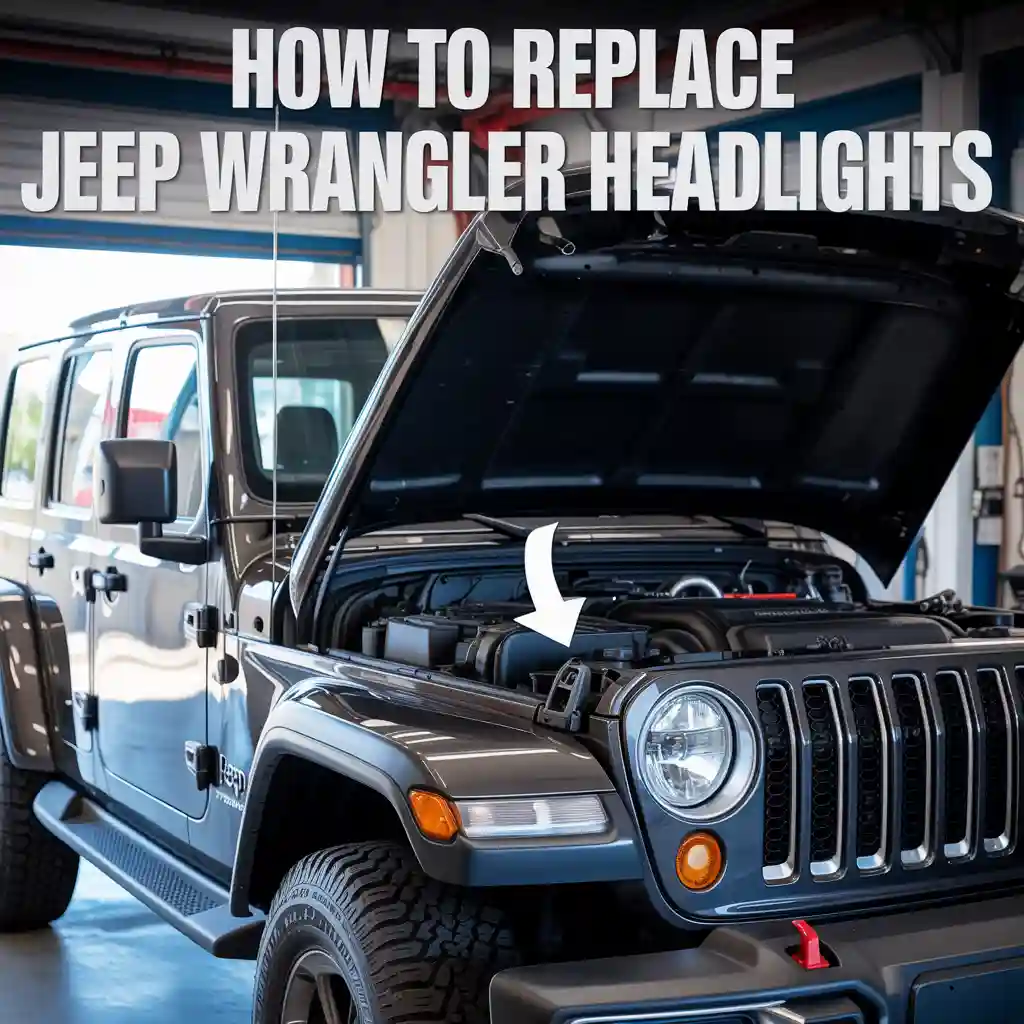
This guide shows you how to replace Jeep Wrangler headlights step by step. You will learn how to choose the right bulb type, remove the old units, install the new ones, and check the aim. You will also learn how lighting changes can affect braking distance, night comfort, and fuel use linked with electrical load.
Why headlight care matters for daily driving
Good headlights help you see the road earlier. If the light output drops, your stopping distance increases. With dim or yellow beams, drivers often notice slower reaction time during highway trips. A typical driver needs about 1.5 seconds to react. In poor lighting, this reaction period can stretch by about 0.3 to 0.5 seconds. On a wet road, that delay can add 20 to 25 feet to your stopping distance.
Uneven headlight aim can also cause glare for other drivers. Glare encourages them to slow suddenly. This affects traffic flow and fuel use because slow speed and quick acceleration increase fuel burn.
Electrical load from weak or old bulbs can raise alternator strain. Anything that pushes the alternator harder increases fuel use slightly. Several sources and repair guides show that a poorly performing alternator can raise fuel use by about 1 to 2 percent on long trips.
“Good visibility is the simplest way to cut road risk.”
Tom Harris, Automotive Trainer
How to replace Jeep Wrangler headlights
Step 1: Choose the right headlight type
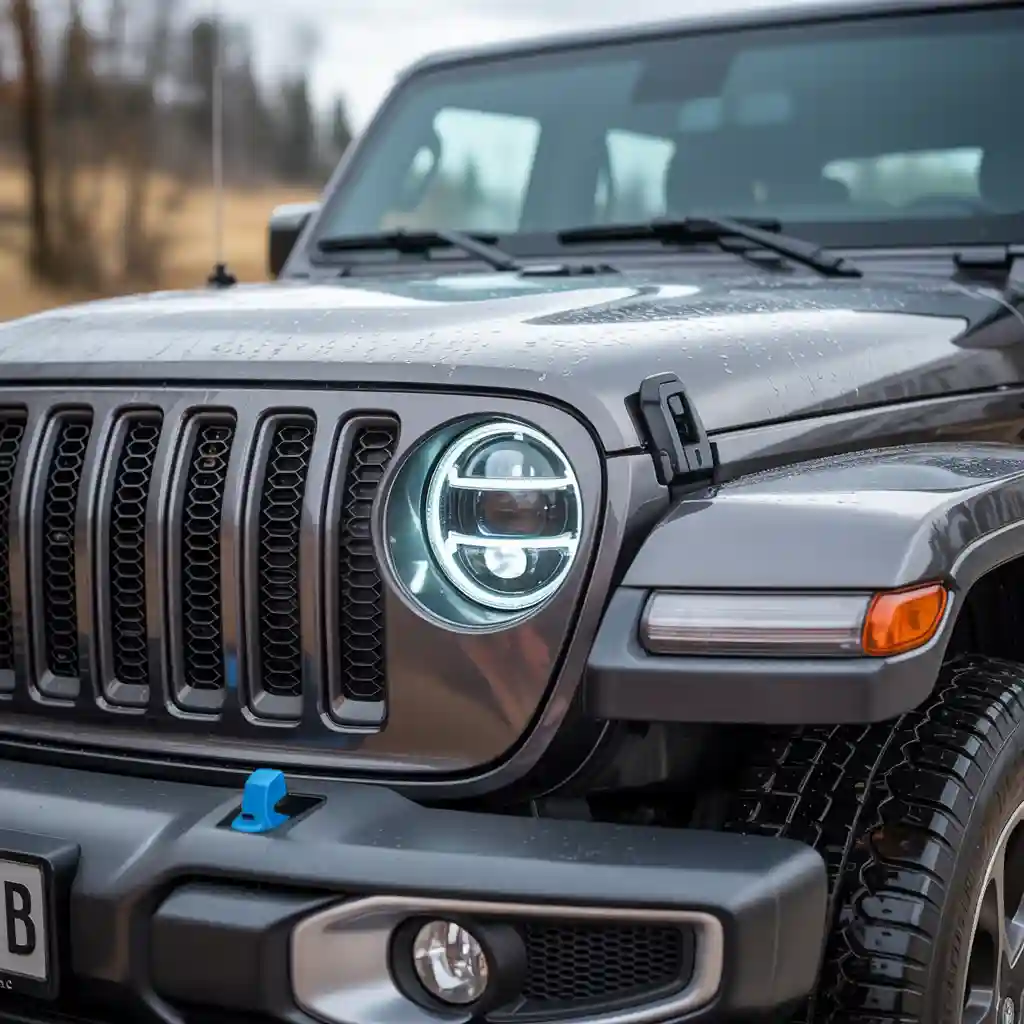
Jeep Wrangler headlights vary by model year. Older models often use halogen 7 inch round units. Newer models may use LED or HID style units. Check your owner manual and confirm the connector style. Look for a DOT approved set, clear lens, and adjustable back housing.
Step 2: Gather simple tools
You will need a screwdriver, a small socket wrench, and a soft cloth. A magnetic tool tray helps, but is optional. Keep the vehicle parked on flat ground with the parking brake on.
Step 3: Remove the front grille
Most Wrangler models use several clips on the top of the grille. Pull them out gently. After the clips are free, pull the bottom of the grille forward. Do not use force. A gentle outward pull works.
Step 4: Remove the headlight bezel
Each headlight is held by a bezel with small screws. Remove the screws and place them in a safe spot. Do not touch the bulb glass.
Step 5: Unplug the old light
Hold the back of the headlight and pull the connector straight out. If you see dirt or moisture inside the connector, clean it with a dry cloth. Do not spray water.
Step 6: Install the new unit
Place the new headlight in the housing. Attach the connector by pushing it in until you hear a small click. Install the bezel and tighten the screws firmly, but do not over tighten. Too much force can crack the housing or strip threads.
Step 7: Reinstall the grille
Start from the bottom hooks and push them in gently. Then add the top clips. Make sure the grille sits flat.
Step 8: Check the beam aim
Park about 25 feet from a wall. Turn on the headlights. Both beams should sit at the same height. If one is higher, adjust the screw on the side of the housing until they match. A level beam keeps visibility strong and protects other drivers from glare.

Quick recommendations by scenario
| Scenario | How often to check | Notes |
|---|---|---|
| Daily commuting | Every 30 days | Look for dim output |
| Long highway trips | Before each trip | Confirm both beams match |
| Winter driving | Every 2 weeks | Cold reduces battery strength |
| After off road use | After each run | Check for dust in connectors |
Other light-related factors to consider
Modern Jeep Wrangler lights draw different electrical loads. LED units draw less power and stay bright longer. Halogen units fade faster and can change color after long use. Most LEDs stay bright for years with little drop in output.
Temperature effect on lighting
Cold weather slows battery flow. A weak battery loses around 1 to 2 PSI in tires per 30 degree drop. That same cold drop also slows battery charge, making headlights appear dim for a short period until the alternator recovers. Source: Firestone and AAA reports on seasonal pressure and electrical performance.
Moisture around connectors
Moisture inside the connector reduces current flow. This causes flicker or late response. After heavy rain or snow, open the hood and check if the area behind the headlight is dry.
How light output affects energy use
A strong alternator keeps power stable. A weak alternator works harder, which raises engine load. As noted earlier, this can increase fuel use by about 1 to 2 percent on long drives.
“Small checks save big trouble later on the highway.”
Sandra Lowe, Safety Reviewer
Extra setup tips for new headlights
Pick a color temperature that suits night vision
Warm white around 4300K gives natural night vision. Bright white around 6000K offers sharp visibility on dry roads. Anything above 6500K can feel too blue and tiring for long drives.
Check the back housing fit
Some aftermarket units have wide backs. Test fit before tightening screws. A tight fit helps reduce vibration on off road paths.
Keep a backup bulb or small LED unit
If you use halogen bulbs, carry a spare set. They are cheap and light. LED units last longer but cannot be replaced individually. You must replace the whole housing if one LED fails.
Example references by headlight type
| Headlight type | Lifespan estimate | Notes |
|---|---|---|
| Halogen | 450 to 1,000 hours | Budget friendly |
| LED full unit | 20,000 to 30,000 hours | Low heat and stable |
| HID | 2,000 to 3,000 hours | Needs ballast |
Common mistakes during replacement
- Using wet hands on bulb glass
Fix: Hold the metal base only. - Forgetting to check aim
Fix: Do a 25 foot wall test. - Mixing left and right beam direction
Fix: Check manual and pattern chart. - Over tightening screws
Fix: Use small hand force, not an impact tool. - Ignoring connector rust
Fix: Clean gently and apply light dielectric grease.
Tips for safe and effective lighting
“Clean lenses give you more visibility than most upgrades.”
Ron Miller, Off Road Instructor
- Wipe lenses monthly with mild soap.
- Avoid parking near strong heat for long periods.
- Check wiring if you see flicker during bumps.
- Replace both headlights at the same time for equal color and brightness.
- Keep the battery clean. Dirty terminals weaken light output.
Seasonal checklist for Jeep Wrangler headlights
Spring
Clear tree pollen from lenses. Check for cracked housing after winter bumps.
Summer
Heat can fade plastic lenses. Park in shade when possible.
Fall
Falling temperatures affect battery strength. Test brightness during evening drives.
Winter
Snow and ice block the lens. Clean often. Cold starts may cause initial dim output.

FAQs
Why do my new Jeep Wrangler headlights look uneven?
Often the aim is off. See the aim test in the earlier section.
Can low battery charge make my headlights dim?
Yes. A weak battery or alternator slows current flow. Check both parts.
Should I replace both headlights at the same time?
Yes. This keeps color and brightness equal.
How long do LED Wrangler headlights last?
Many units last 20,000 to 30,000 hours. See Table 2 for details.
Why do my lights flicker after rain?
Moisture in connectors or loose wiring can cause flicker. Dry the area and check fit.
Do brighter headlights drain more fuel?
A small amount. Increased load on the alternator can raise fuel use by about 1 to 2 percent on long trips.
How often should I clean the lenses?
Clean once a month or sooner after off road trips.
Can I aim headlights by myself?
Yes. A flat wall and a tape measure are enough.
Are blue tinted bulbs good at night?
They can reduce comfort for long drives. Natural white offers better clarity.
Do aftermarket headlights affect warranty?
Some dealers allow them, others do not. Check your policy.
Conclusion
Replacing Jeep Wrangler headlights is simple with basic tools and a bit of attention. Good lighting improves night safety and reduces stress. A clear habit helps: check lens clarity monthly, confirm aim every season, and keep a small gauge and cloth in the glovebox so you can check electrical parts and lens condition often. With steady care, your headlights will stay bright, safe, and ready for long trips.
Related posts
 Best Way to Clean and Maintain Your Car’s Paint Finish Safely
Keeping your car’s paint finish looking fresh is more than just about looks. A well-maintained paint job protects your car from rust, UV damage, and can…
 How to Remove Brake Dust from Car Wheels Quickly and Safely
If you own a car, you know how quickly the wheels can get dirty. One of the most stubborn types of dirt is brake dust. Even…
 How to Remove Bug Splatter from Your Car Paint: Expert Tips
Bug splatter on your car paint is more than just an annoying sight—it can actually harm your vehicle’s surface. Insects hit your car at high speeds,…