
How to Clean Floor Mats After Off-Roading: A Step-by-Step Guide
After an exhilarating off-road adventure, your vehicle’s floor mats often bear the brunt of mud, dirt, and grime. Cleaning these heavily soiled mats requires a more robust approach than a standard car wash to effectively remove embedded debris and prevent lingering odors.
The key to restoring your floor mats lies in a systematic process that tackles the unique challenges of off-road dirt. This involves proper preparation, using the right tools for your mat type, and ensuring a complete dry to avoid future issues.
Initial removal and shaking of
- Always remove and shake mats vigorously before applying any water or cleaner.
- Pre-treat dried mud by allowing it to fully dry and then breaking it off before.
- Use appropriate cleaning tools and products for your specific mat material (rubber vs.
- Rinse mats completely to remove all soap residue, which can attract new dirt.
| Topic | When it helps | What to keep in mind |
|---|---|---|
| Step 1 | All mat types, as the crucial first step to prevent spreading dirt and making subsequent cleaning easier. | Do this away from your vehicle or any clean areas to avoid re-depositing dirt. |
| Step 2 | Mats with significant dried mud or deeply embedded dirt, making the deep cleaning much more effective. | Avoid using extremely hot water on rubber mats, as it can potentially affect their material over time. |
| Step 3 | Targeted cleaning that respects the material of your mats, ensuring effective dirt removal without damage. | Always test cleaners on an inconspicuous area first. |
| Step 4 | All mat types, as leftover soap can attract new dirt and leave a sticky residue. | Incomplete rinsing can lead to dull-looking mats and a sticky feel. |
| Step 5 | Preventing mold, mildew, and unpleasant odors, ensuring your mats are fresh and ready for use. | Never put damp mats back into your vehicle, as this will trap moisture and lead to mildew and. |
The article must focus exclusively
Step 1. Remove and Shake Out Loose Debris
Start by taking all floor mats out of the vehicle. Vigorously shake them outdoors to dislodge as much loose dirt, sand, and small rocks as possible.
- All mat types, as the crucial first step to prevent spreading dirt and making subsequent cleaning easier.
- Do this away from your vehicle or any clean areas to avoid re-depositing dirt.
- The more loose debris you remove now, the less you’ll have to scrub later.
- Effort – Low.
- Time – 5 minutes.
Step 2. Pre-Soak and Loosen Stubborn Dirt
For heavily caked mud or embedded dirt, a pre-soak is essential. Hose down the mats thoroughly with strong water pressure.
- Mats with significant dried mud or deeply embedded dirt, making the deep cleaning much more effective.
- Avoid using extremely hot water on rubber mats, as it can potentially affect their material over time.
- If mud is still wet, let it dry before attempting to remove it.
- Effort – Medium.
- Time – 10-15 minutes.

Step 3. Deep Clean Based on Mat Type
Apply a suitable cleaner (all-purpose cleaner for rubber, carpet cleaner for fabric) and scrub the mats thoroughly. Use a stiff brush for rubber mats to work the cleaner into grooves, and a medium-bristle brush for carpet mats to agitate fibers and lift.
- Targeted cleaning that respects the material of your mats, ensuring effective dirt removal without damage.
- Always test cleaners on an inconspicuous area first.
- Work in sections, focusing on one area at a time to ensure thorough cleaning before the cleaner dries.
- Effort – High.
- Time – 15-30 minutes.
Step 4. Rinse Thoroughly to Remove Residue
After scrubbing, rinse the mats completely with a strong stream of water. Ensure all soap and dirt residue is washed away.
- All mat types, as leftover soap can attract new dirt and leave a sticky residue.
- Incomplete rinsing can lead to dull-looking mats and a sticky feel.
- Lift and tilt the mats to help water drain off completely, especially from textured rubber surfaces or thick.
- Effort – Medium.
- Time – 5-10 minutes.
Step 5. Dry Completely to Prevent Odors and Mildew
This is a critical step. Hang rubber mats over a fence or clothesline, or prop them up to allow air to circulate on both sides.
- Preventing mold, mildew, and unpleasant odors, ensuring your mats are fresh and ready for use.
- Never put damp mats back into your vehicle, as this will trap moisture and lead to mildew and.
- Allow ample drying time, often several hours or even overnight, especially for thick carpet mats.
- Effort – Low (passive).
- Time – Several hours.
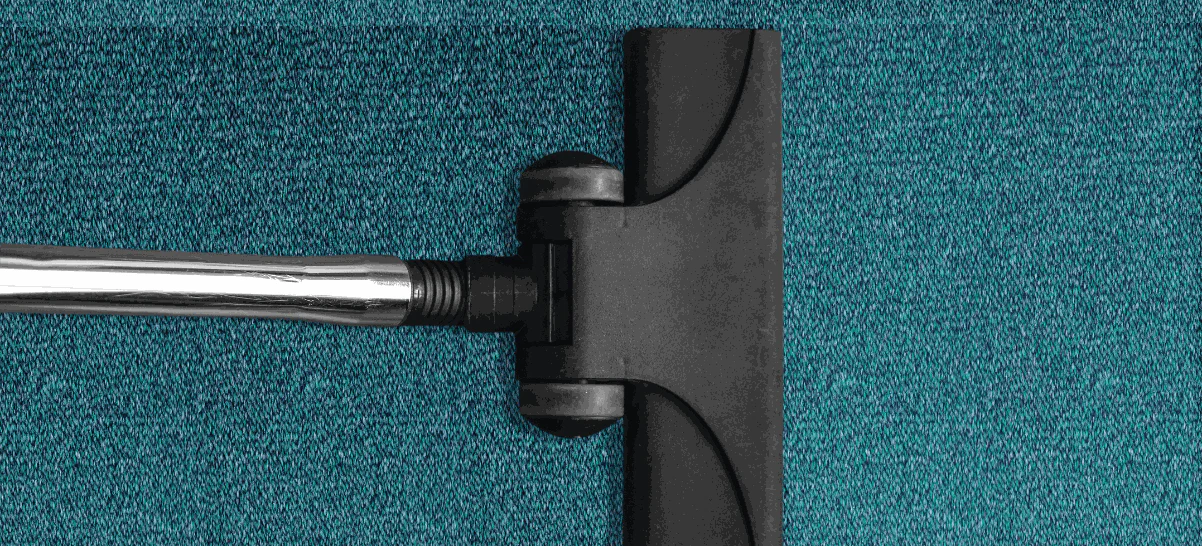
Essential Tools and Supplies for Off-Road Mat Cleaning
Tackling floor mats after an off-road adventure requires more than just a quick wipe. The right tools and supplies make a significant difference in effectively removing caked-on mud, embedded dirt, and lingering odors.
Your arsenal should include items that can handle heavy-duty grime without damaging the mat material. This often means a combination of strong water pressure, effective cleaning agents, and specialized brushes designed to agitate dirt from both rubber and carpet fibers.
Before you begin, lay out a stiff-bristled brush for scrubbing, a garden hose with a strong spray nozzle, a dedicated car interior cleaner (or dish soap.

Starting the cleaning process without all necessary supplies, which can lead to incomplete cleaning or frustration.ItemPurposeNotes for Off-Road DirtGarden Hose with Nozzle.Initial rinse, pre-soak, final rinse.Strong pressure helps dislodge caked mud and sand.Stiff-Bristled Brush.Scrubbing rubber mats, agitating carpet fibers.Essential for working cleaner into textures and lifting stubborn dirt.Car Interior Cleaner / All-Purpose Cleaner.Breaking down dirt and grime.Choose one safe for your mat material; dish soap works for rubber.
Deep Cleaning Rubber and All-Weather Mats
Rubber and all-weather floor mats are popular for off-roading due to their durability and ease of cleaning. However, the deep grooves and textured surfaces designed to trap dirt can also make them challenging to clean thoroughly.
Once you’ve removed loose debris and pre-soaked the mats, apply your chosen cleaner. A good quality all-purpose cleaner or even a few drops of dish soap mixed with water works well for rubber.
For rubber mats with dried mud, allow the mud to fully harden, then flex the mat or gently tap it against a hard surface to crack.
Using harsh solvents or petroleum-based products, which can degrade the rubber or plastic material over time, leading to cracking or discoloration.
- Lay the mat flat on a clean, hard surface like a driveway.
- Spray generously with your chosen cleaner, ensuring it covers all dirty areas.
- Use a stiff brush to scrub in circular motions, working the cleaner into.
Restoring Carpet Floor Mats After Off-Road Adventures
Carpet floor mats, while comfortable, can be a magnet for fine dirt, dust, and moisture after off-roading. Cleaning them effectively requires a gentle yet thorough approach to lift embedded grime without damaging the fibers or leaving them excessively wet.
After the initial shake-out and any necessary pre-soaking, apply a dedicated carpet cleaner. These cleaners are formulated to penetrate fabric fibers, encapsulate dirt, and often contain odor neutralizers.

If your carpet mats have embedded sand or fine dirt, use a stiff brush to agitate the fibers while simultaneously vacuuming with a wet/dry vac.Over-saturating carpet mats with water or cleaner, which can lead to prolonged drying times, mildew growth, and a persistent musty odor.Vacuum the mat thoroughly with a powerful vacuum to remove any remaining loose.Spray a carpet cleaner evenly over the mat, following product instructions for dwell.Gently scrub with a medium-bristled brush, working the cleaner into the carpet fibers.
The Critical Step: Thorough Drying and Odor Prevention
Proper drying is arguably the most critical step in cleaning floor mats, especially after off-roading where mats are likely to be heavily saturated. Incomplete drying is the primary cause of musty odors, mold, and mildew, which can quickly ruin your cleaning efforts and affect your vehicle’s interior air.
The goal is to remove all moisture, not just surface dampness. This requires patience and good air circulation.
After rinsing, hang your rubber mats over a clothesline or fence, ensuring both sides are exposed to air.
Placing damp or even slightly moist mats back into your vehicle.
- For rubber mats, hang them vertically or lay them flat in a sunny.
- For carpet mats, use a wet/dry vacuum to extract as much water as.
- Prop carpet mats up so air can circulate around all sides, or hang.
FAQs
How often should I clean my floor mats after off-roading?
It’s best to clean your floor mats immediately after each off-roading trip, especially if they are heavily soiled with mud or wet dirt. This prevents grime from drying.
Can I use a pressure washer on my floor mats?
Yes, a pressure washer can be very effective for rubber and all-weather mats to blast away caked-on mud and dirt. Use a wide spray pattern and keep the.
What if my mats still smell after cleaning?
Lingering odors usually indicate incomplete drying or deeply embedded organic matter. Ensure the mats are completely dry.
How can I protect my mats from future off-road dirt?
Consider applying a fabric protector spray to carpet mats to repel water and stains. For all mat types, regularly shaking them out after light use can prevent dirt.
Conclusion
Cleaning floor mats after off-roading is a task that demands thoroughness and attention to detail. By following a systematic approach-from initial debris removal and targeted cleaning for your mat type to the crucial step of complete.
Remember that patience during the drying phase is paramount; rushing this step can undo all your hard work. With the right tools and techniques, your vehicle’s interior will remain fresh and clean, no matter how wild.
Related posts
 Why Use Custom-Fit Floor Mats for Your Car?
Discover why custom-fit floor mats are a worthwhile investment for your vehicle. Learn about superior protection, perfect fit, and enhanced interior value. Choosing custom-fit floor mats…
 How to Remove Mud from Rubber Floor Mats: A Step-by-Step Guide
Learn the easiest way to remove stubborn mud from your rubber floor mats. Follow these simple steps for a clean car interior. Mud on your rubber…
 How to Protect Car Carpets with Floor Mats: A Practical Guide
Learn how to protect your car's carpets from dirt, spills, and wear using the right floor mats. Discover types, installation, and maintenance tips. Protecting your car’s…