
How to Mount Running Boards Safely at Home
Learn clear, step by step tips on mount running boards safely with simple tools, correct bolt placement, and safety checks that prevent damage, wobble, and injury during installation.
If you drive a truck or SUV, running boards make daily life easier. They help kids climb in. They help older family members step up with less strain. They also protect the lower side of your vehicle from road splash and light debris.
Many people think installation is risky or hard. It does not have to be. With calm planning, basic tools, and patience, you can mount running boards safely at home. You do not need to rush. You do not need special skills. You just need clear steps and safe habits.
I have helped friends install running boards on pickups, family SUVs, and work vans. Each time, the same rules apply. Take your time. Support the board well. Tighten bolts in order. Check your work twice. This guide shares those lessons in simple language.
By the end, you will know how to mount running boards safely without stress. You will also know how to avoid common mistakes that cause loose boards or scratches.
Why Proper Installation Matters
Running boards sit under the doors. People step on them with full body weight. If bolts are loose, the board can shift. That can cause a fall. It can also bend brackets or damage the frame.
Safe mounting protects people and your vehicle. It keeps doors clear. It prevents noise while driving. It also helps boards last longer.
As auto safety writer John Davis says,
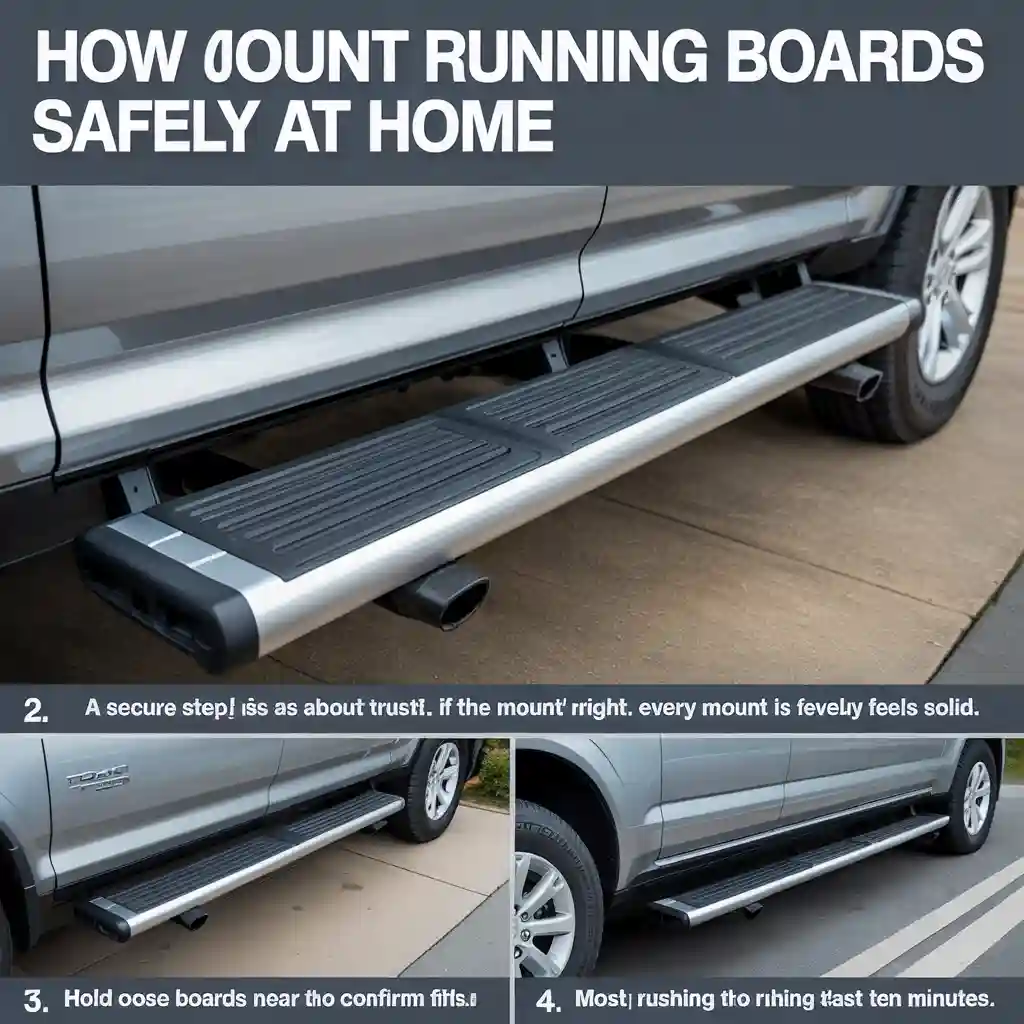
“A secure step is about trust. If the mount is right, every step feels solid.”
John Davis
That trust comes from doing the job right from the start.
Tools and Supplies You Will Need
Before you start, gather everything. This saves time and keeps focus.
Basic Tools
- Socket wrench set
- Torque wrench if included specs are given
- Open end wrench
- Screwdriver set
- Measuring tape
- Marker or chalk

Supplies
- Running board kit with brackets and bolts
- Safety gloves
- Safety glasses
- Small stool or jack stand for support
- Clean cloth
Most kits include all bolts. Check the parts list first. Lay everything on the ground in order.
Safety First Before You Begin
Safety starts before the first bolt.
- Park on flat ground
- Set the parking brake
- Turn off the engine
- Let the exhaust cool
- Wear gloves to protect hands
- Wear eye protection
Never work under a vehicle that is only supported by a jack. If you need extra space, use jack stands rated for your vehicle weight.
These steps help you mount running boards safely with confidence.
Step by Step Guide to Mount Running Boards Safely
Step 1 Check the Kit and Vehicle Fit
Open the box and read the guide. Match the left and right boards. Some brackets are side specific.
Hold each board near the vehicle to confirm fit. Check door clearance. Make sure the board lines up with factory holes.
This dry check prevents mistakes later.
Step 2 Locate Factory Mounting Points
Most trucks and SUVs have pre drilled holes in the frame or body pinch weld. Clean these spots with a cloth.
If bolts thread into weld nuts, check threads by hand first. Do not force bolts.
This step helps you mount running boards safely without cross threading.
Step 3 Attach Brackets Loosely First
Install all brackets before tightening anything. Hand tighten bolts only.
Loose fit allows adjustment. This keeps boards straight.
Never fully tighten one bracket before others are in place.
Step 4 Support the Running Board
Place the board on brackets. Use a stool or jack stand to hold weight.
Ask a friend to help if possible. Two sets of hands make it easier and safer.
This reduces strain and helps align holes.
Step 5 Align the Board Correctly
Stand back and check alignment. The board should be level. It should sit even from front to back.
Check door swing. Open and close doors slowly.
Good alignment is key to mount running boards safely and avoid door contact.
Step 6 Tighten Bolts in Sequence
Once aligned, tighten bolts slowly. Work from center outward.
Use a torque wrench if specs are listed. Do not guess.
Even tightening spreads load across brackets.

Step 7 Final Safety Check
Step on the board gently. Listen for noise. Feel for movement.
Recheck all bolts. Look under the vehicle to confirm bracket position.
You are almost done.
Common Mistakes to Avoid
Many issues come from simple errors.
- Skipping the dry fit
- Tightening one side first
- Using wrong bolt length
- Forgetting torque specs
- Not checking door clearance
Avoid these and you will mount running boards safely the first time.
As mechanic Sarah Cole notes,
“Most loose boards come from rushing the last ten minutes.”
Sarah Cole
Take those extra minutes.
Tools and Their Purpose
| Tool | Purpose |
|---|---|
| Socket wrench | Tighten main bolts |
| Torque wrench | Apply correct bolt force |
| Jack stand | Support board weight |
| Marker | Mark alignment points |
Place this table near your tool setup area for quick reference.
Special Tips for Different Vehicles
Trucks
Trucks often have higher frames. Use a stool for reach. Check fuel and brake lines near mounting points.
SUVs
SUV doors may sit closer to boards. Check clearance carefully.
Work Vans
Vans may need extra brackets. Follow the kit guide closely.
No matter the vehicle, the goal is to mount running boards safely with stable support.
Weather and Surface Conditions
Install indoors if possible. Wind and rain add risk.
Cold weather can make bolts stiff. Warm them slightly by keeping them inside before use.
Good conditions make the job smoother and safer.
How Long Does Installation Take
For most people, two hours is common. First timers may take three.
Do not rush. Speed does not equal skill.
Quality work helps you mount running boards safely and enjoy them for years.
Maintenance After Installation
After one week, recheck bolt tightness. Metal can settle.
Inspect every few months. Look for rust or loose hardware.
Clean boards to remove road salt.
This keeps your setup strong.
Post Installation Checklist
| Check Item | When |
|---|---|
| Bolt torque | After one week |
| Door clearance | First drive |
| Bracket rust | Every 3 months |
| Board movement | Monthly |
Use this table as a reminder.
Real World Advice From Experience
I once helped a neighbor install boards on his SUV. We skipped a final door check. The rear door rubbed the board. We had to loosen everything and redo it.
That extra five minute check would have saved time.
Learning from others helps you mount running boards safely without repeat work.
Quotes From Experts
Auto installer Mike Reynolds says,
“Even pressure on all mounts makes a step feel solid every day.”
Mike Reynolds
This simple truth guides every good install.
Frequently Asked Questions
Can I install running boards alone
Yes, but help makes it easier. If alone, use stands for support.
Do I need to drill holes
Most kits use factory holes. Check your vehicle guide.
How tight should bolts be
Follow kit specs. If none are given, snug plus a quarter turn is common.
Can loose boards damage my vehicle
Yes. Movement can bend brackets or scratch paint.
Is professional install better
A careful home install can be just as safe if steps are followed.
Final Thoughts on Safety and Confidence
Learning how to mount running boards safely builds confidence. You save money. You gain skill. You also know the job was done with care.
Remember the core ideas. Prepare your tools. Keep bolts loose until aligned. Tighten in order. Check your work.
If you follow this guide, you will mount running boards safely and enjoy stable steps every day.
Conclusion
Running boards are more than an accessory. They are a daily support. Installing them right matters.
With patience, simple tools, and clear steps, anyone can mount running boards safely at home. Take your time. Respect safety rules. Check your work.
A solid step brings peace of mind every time you open the door.
Related posts
 How to Protect Car Upholstery from Stains: Expert Tips
Keeping your car’s interior clean and fresh isn’t just about looks—it protects your investment and makes every drive more comfortable. Car upholstery stains can be frustrating,…
 How to Clean Car Carpet Without a Vacuum: Easy DIY Methods
Cleaning your car’s carpet can feel like a big task, especially if you don’t have a vacuum. But don’t worry—good results are possible with simple tools…
 How to Apply And Use Waterless Car Wash for a Spotless Shine
Washing your car doesn’t always mean using buckets of water, hoses, and gallons of soap. In fact, with growing water shortages and urban living, more people…