
How to Install Jeep Accessories: A Step-by-Step Guide
Learn how to install Jeep accessories with this detailed, step-by-step guide. Transform your Jeep with ease and get expert tips for a seamless installation process.
How to Install Jeep Accessories: A Step-by-Step Guide
Jeep owners know that customizing their vehicles is a fun and rewarding experience. Installing Jeep accessories not only enhances the vehicle’s appearance but also improves its functionality. Whether you’re adding off-road lights, a new bumper, or upgrading the interior, understanding how to install Jeep accessories will ensure the job is done right.
In this guide, we’ll walk you through the process of installing various Jeep accessories. From simple upgrades to more complex installations, you’ll find clear instructions and tips that will help you enhance your Jeep.
1. Preparing for the Installation
Before you begin installing Jeep accessories, it’s important to properly prepare your Jeep and the necessary tools. Here’s what you need to get started:
Gather Your Tools and Accessories
Depending on the type of accessory you’re installing, the tools you need may vary. Some of the most common tools you’ll need include:
| Tool | Purpose |
|---|---|
| Socket Wrench Set | To remove or tighten bolts |
| Screwdriver Set | For screws of various sizes |
| Torque Wrench | To ensure bolts are tightened to the correct specification |
| Allen Wrenches | For installations requiring specific screw sizes |
| Jack and Jack Stands | To lift the vehicle for underbody accessories |
| Impact Wrench (Optional) | To speed up the removal and installation of bolts |
Make sure you have the right accessories and tools before you begin the process. Many Jeep accessory kits come with all the necessary hardware, so check the packaging for anything specific.
Read the Instructions
While some Jeep accessories come with detailed installation guides, others might require a bit more research. Always read the instructions included with your accessory before starting. If you’re installing a common upgrade, you can often find detailed instructions and videos online.
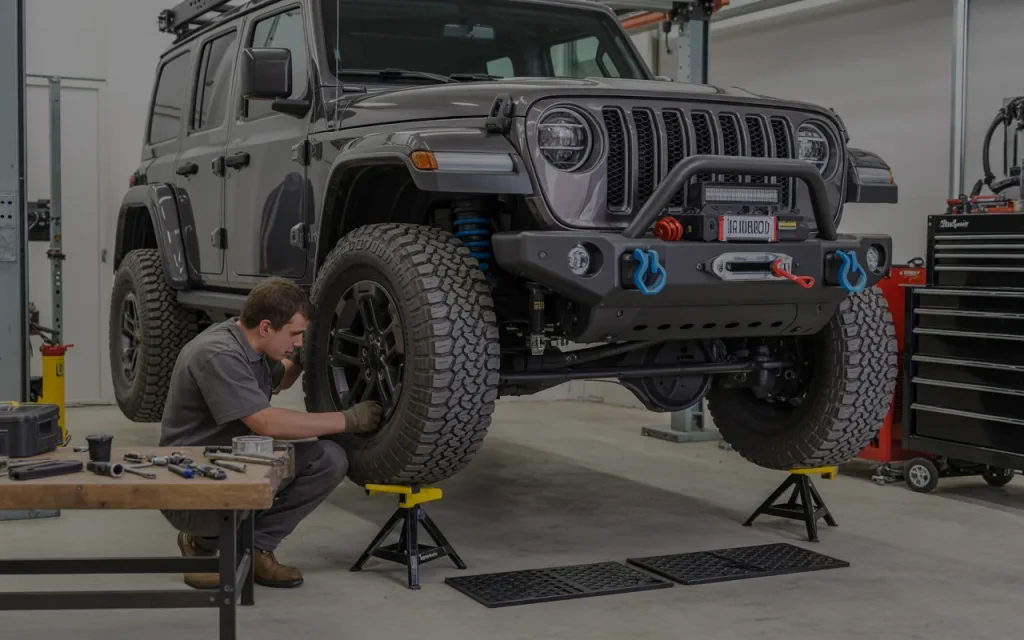
Safety First
Before starting any installation, ensure your Jeep is on a stable surface. Engage the parking brake, and if necessary, use jack stands to support the vehicle while working underneath. Always wear safety goggles and gloves to protect yourself from debris and sharp edges.
2. Installing Exterior Accessories
The exterior of your Jeep is where you’ll find many of the most exciting accessories. From off-road bumpers to roof racks, these upgrades are both practical and visually striking. Here are some common exterior accessories and how to install them.
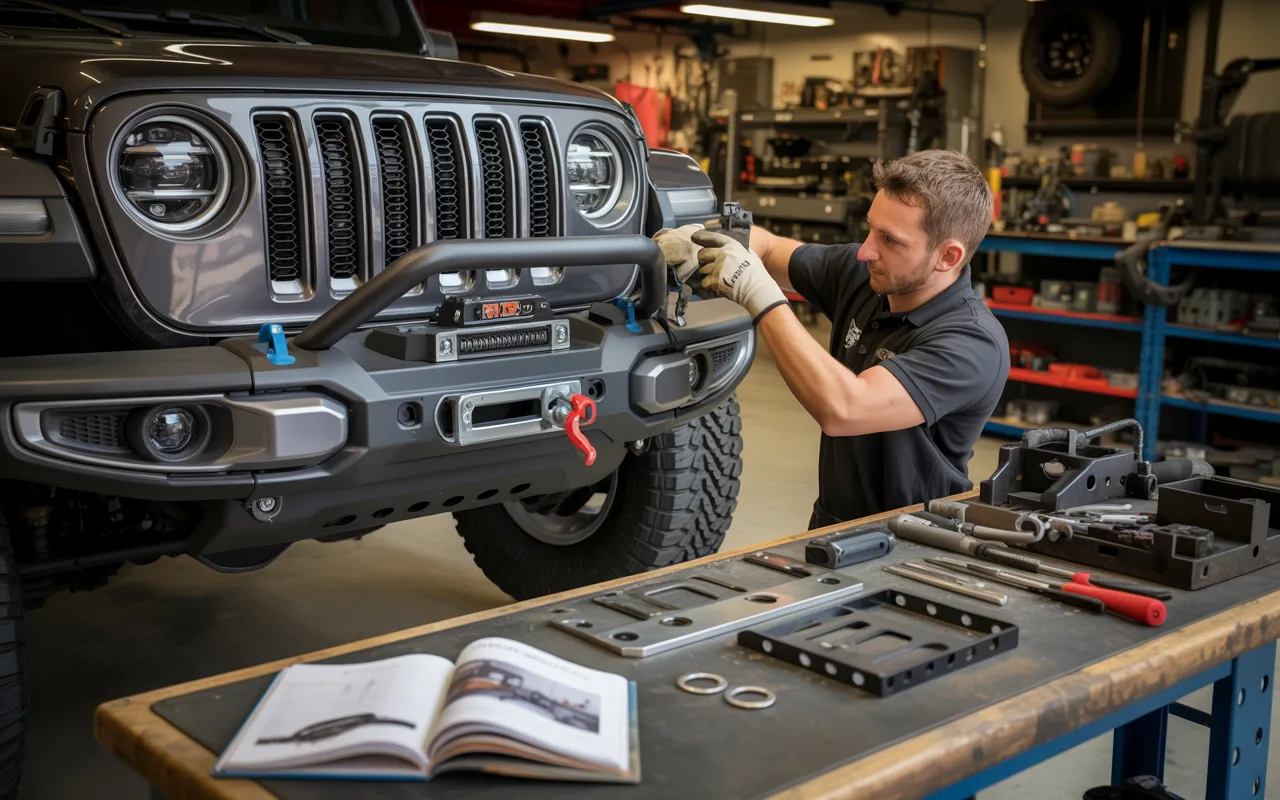
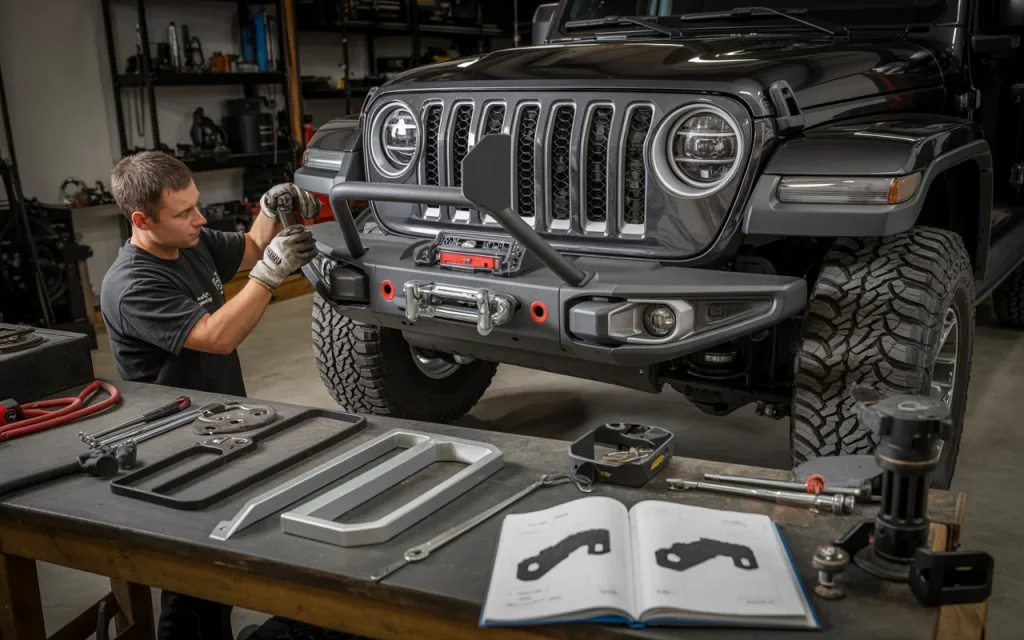
Installing a Front Bumper
The front bumper is one of the first exterior accessories Jeep owners often upgrade. Whether you’re installing a heavy-duty off-road bumper or a sleek replacement, the steps are fairly similar.
Steps:
- Remove the Existing Bumper: Use a socket wrench to remove the bolts securing the current bumper. You may need an assistant to help you hold the bumper in place as you remove it.
- Prepare the New Bumper: Position the new bumper in place, ensuring it aligns with the frame.
- Attach the Bumper: Bolt the new bumper onto the frame of the Jeep. Make sure the bolts are tight, and use a torque wrench to ensure the correct tightness.
- Check for Alignment: Ensure that the bumper is properly aligned, and tighten all bolts.
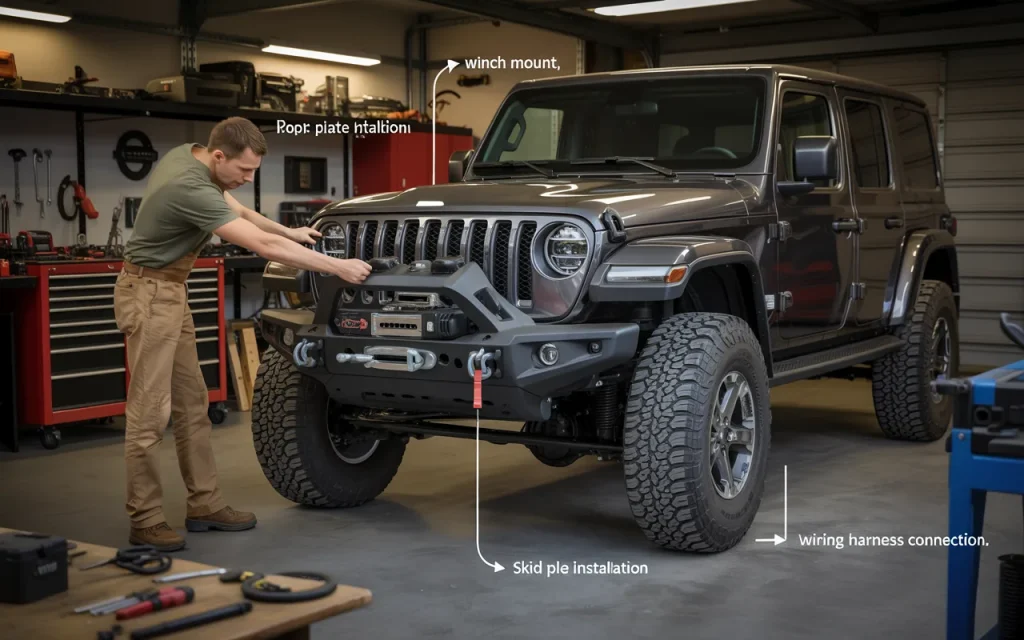
Quote:
“When upgrading to a more rugged bumper, consider additional features like winch mounts and skid plates for added protection on the trail.” — Off-Road Expert, Jason Peters
Installing Off-Road Lights
Off-road lights are a must for Jeep enthusiasts who often venture into rugged terrain. Installing these lights can be a bit more involved due to wiring, but with patience, you can easily complete the installation.
Steps:
- Mount the Lights: Attach the light brackets to your bumper or roof rack using the included hardware.
- Wire the Lights: Depending on the model, you’ll need to wire the lights to your vehicle’s power source. Use a relay switch to prevent overloading the electrical system.
- Test the Lights: Before securing everything, test the lights to ensure they’re working. Use a circuit tester to check for proper connections.
- Secure the Wiring: Use zip ties to secure the wires along the frame of the Jeep, keeping them away from any moving parts.
3. Installing Interior Accessories
Interior accessories can make a big difference in your Jeep’s comfort and convenience. Whether you’re adding floor mats or upgrading your seats, here’s how to install common interior accessories.
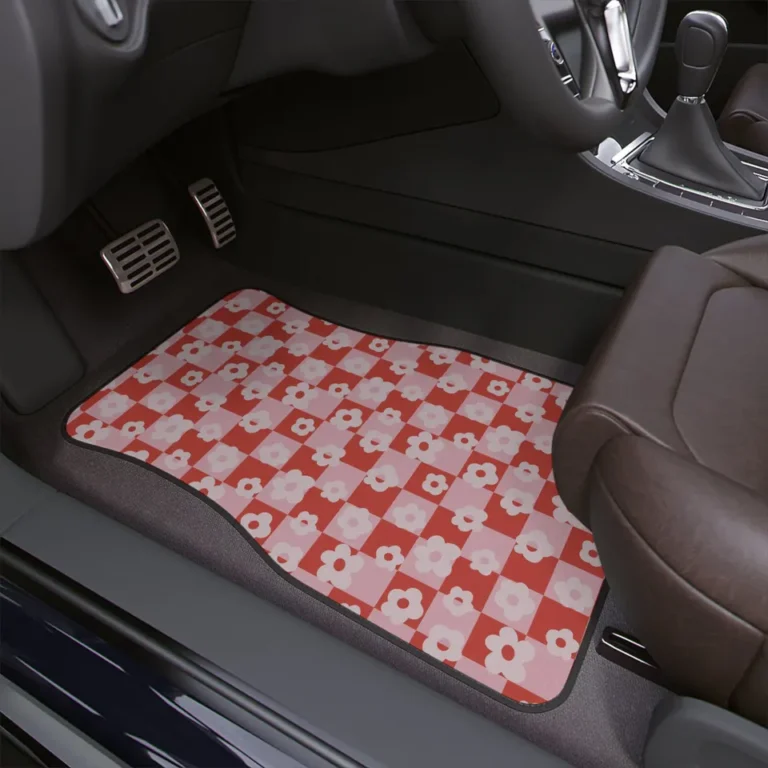
Installing New Floor Mats
Jeep floor mats protect your vehicle’s carpet from mud, water, and debris. Installing them is one of the easiest upgrades you can do yourself.
Steps:
- Remove Old Mats: Take out the old floor mats and clean the area underneath.
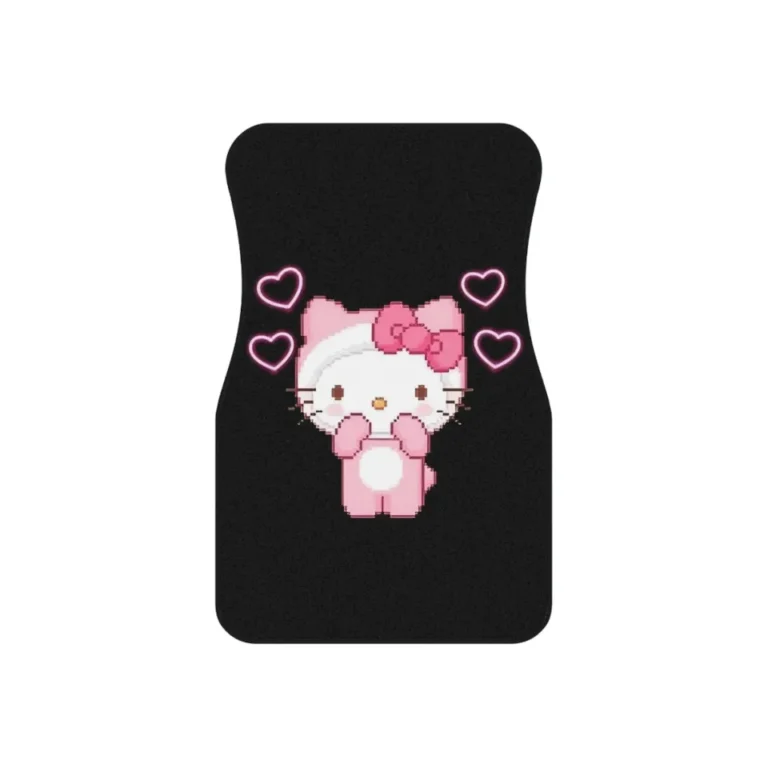
- Position the New Mats: Place the new mats in the footwell area. Make sure they are aligned with the floor hooks (if applicable).
- Secure the Mats: Many Jeep floor mats come with fasteners or hooks that attach to the floor to prevent sliding. Make sure these are securely fastened.
Installing Seat Covers
Seat covers are a popular upgrade for Jeep owners who want to protect their seats or add a new look. Some Jeep owners prefer custom seat covers, while others may opt for universal models.
Steps:
- Remove the Seat Cushions: For custom covers, you may need to remove the seats from the Jeep. Use a socket wrench to undo the bolts.
- Fit the Seat Covers: Slip the seat covers over the seats. For custom covers, make sure the holes align with the seatbelt and airbag openings.
- Secure the Seat Covers: Tighten and adjust the covers, ensuring they’re snug. Some covers come with straps or Velcro to hold them in place.
4. Installing Performance Accessories
Performance accessories are designed to enhance the power, handling, and efficiency of your Jeep. From cold air intakes to exhaust systems, these parts often require a bit more mechanical skill to install properly.
Installing a Cold Air Intake
A cold air intake system can help improve engine performance by allowing your Jeep to breathe in cooler, denser air.
Steps:
- Remove the Stock Air Intake: Use a screwdriver to remove the fasteners holding the old air intake in place. Disconnect the intake from the engine.
- Install the New Air Intake: Attach the new intake to the intake manifold. Make sure all connections are tight and secure.
- Test the System: Start the engine and check for any unusual sounds or leaks. If everything seems normal, you’ve successfully installed the cold air intake.
Quote:
“Installing a cold air intake is one of the simplest yet most effective ways to boost your Jeep’s horsepower.” — Automotive Technician, Linda Clark
5. Common Jeep Accessory Installation Mistakes to Avoid
While installing Jeep accessories is a fun and rewarding process, there are some common mistakes you should be aware of. These mistakes can lead to improper installations or even damage your vehicle.
Not Using the Right Tools
Always ensure you have the correct tools for the job. Using improper tools can damage parts or make the installation more difficult.
Forgetting to Test the Accessories
Before finalizing any installation, always test the accessories to ensure they are working as expected. This includes testing off-road lights, ensuring electrical components are working, and checking for proper fitment.
Skipping the Instruction Manual
Although it might seem tempting to skip reading the instructions, especially for simpler accessories, it’s always better to follow the manufacturer’s guidelines to avoid mistakes.
Conclusion
Learning how to install Jeep accessories can significantly enhance both the look and functionality of your vehicle. Whether you’re upgrading the exterior with a new bumper or improving the interior with custom seat covers, the process is straightforward if you follow the right steps. By using the tools provided, taking your time, and following the manufacturer’s instructions, you can ensure a seamless and successful installation. Now that you’re equipped with the knowledge, you can start transforming your Jeep into the vehicle of your dreams.
Quote:
“Installing accessories on your Jeep is more than just about looks—it’s about making the vehicle work better for you and your adventures.” — Jeep Enthusiast, Mike Roberts
Frequently Asked Questions (FAQ)
How long does it take to install Jeep accessories?
The installation time depends on the type of accessory you’re installing. Simple accessories like floor mats and seat covers can be installed in under an hour, while more complex upgrades like bumpers or off-road lights can take several hours.
Do I need special tools to install Jeep accessories?
For most accessories, you’ll need basic tools such as a socket wrench, screwdriver set, and torque wrench. However, for some accessories, like electrical components, additional tools may be required.
Can I install Jeep accessories myself?
Yes, many Jeep accessories can be installed by yourself if you have the right tools and follow the instructions carefully. However, some accessories may require professional installation, especially those that involve electrical wiring or heavy modifications.
Are aftermarket Jeep accessories safe?
Aftermarket accessories can be safe as long as they are installed correctly and come from a reputable manufacturer. Always ensure the accessories you purchase are designed specifically for your Jeep model.
By following this guide and avoiding common installation mistakes, you can enhance your Jeep’s performance and aesthetics. Whether you’re looking to tackle an off-road adventure or simply personalize your ride, installing Jeep accessories is a rewarding experience that adds both value and fun.
Related posts
 How to Prevent Wear and Tear on Floor Mats
Learn practical ways to prevent wear and tear on your floor mats, extending their life and protecting your floors. Discover cleaning, maintenance, and protection tips. Preventing…
 How to Install All-Weather Car Floor Mats: A Simple Guide
Learn how to install all-weather car floor mats correctly. Follow these easy steps to protect your vehicle's interior from dirt, spills, and wear. Installing all-weather mats…
 Best Car Floor Mats for Pet Owners: Protect Your Interior from Fur & Spills
Discover the best car floor mats for pet owners. Protect your vehicle from fur, mud, and spills with durable, easy-to-clean options designed for pets. For pet…