
Step-by-Step Car Interior Cleaning Guide: Deep Clean Your Vehicle
Giving your car’s interior a thorough cleaning can make it feel brand new again. A clean car interior not only looks better but also creates a more pleasant driving experience. This guide will walk you through each stage of cleaning your car’s inside, from gathering your supplies to tackling tough stains and leaving everything spotless. You’ll learn simple yet effective methods to refresh every surface, ensuring your vehicle is clean, comfortable, and inviting.
Gather Your Tools and Supplies
Before you begin cleaning, it’s helpful to have all your tools and supplies ready. This saves time and ensures you don’t have to stop midway through the process. Having the right products for each surface will also give you the best results.
Here’s a checklist of essential items you’ll need:
- Vacuum cleaner (with attachments)
- Microfiber towels (several)
- All-purpose interior cleaner
- Glass cleaner (ammonia-free)
- Upholstery cleaner or fabric cleaner
- Leather cleaner and conditioner (if applicable)
- Detailing brushes (soft and stiff bristles)
- Bucket with warm water
- Carpet brush or stiff brush
- Trash bags
- Air freshener or odor eliminator
- Protective gloves
Prepare Your Car for Cleaning
Starting with a clear space makes the cleaning process much easier and more effective. This initial preparation helps you access all areas of the interior without obstructions.
Follow these steps to prepare your car:
- Remove all trash: Collect any wrappers, bottles, papers, and other debris. Use a trash bag to keep everything organized.
- Take out floor mats: Remove all floor mats from the car. These will be cleaned separately.
- Empty storage compartments: Clear out the glove box, center console, and door pockets. Remove any loose items, coins, or papers.
- Remove personal items: Take out car seats, toys, electronics, and anything else that isn’t permanently attached.
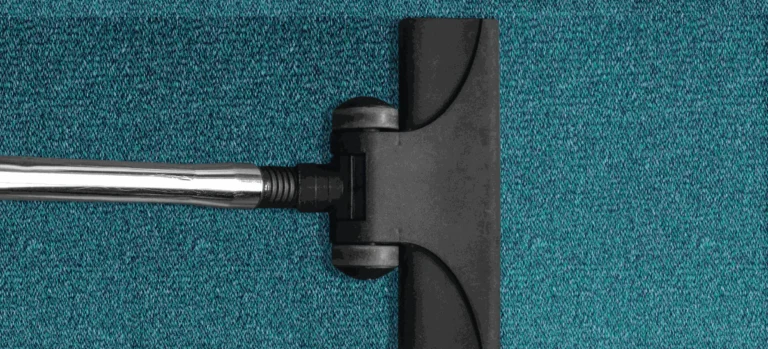
Vacuuming the Interior
Vacuuming is the foundation of a clean car interior. It removes loose dirt, dust, and crumbs that accumulate over time. A thorough vacuuming makes subsequent cleaning steps more effective.
Start by vacuuming the entire interior, working from top to bottom.
- Seats: Use a crevice tool to get into the seams and folds of the seats. Vacuum the entire surface of each seat.
- Carpets: Vacuum the main carpeted areas, paying extra attention to high-traffic spots. Move seats forward and backward to reach under them.
- Floor mats: Take the mats outside and shake them vigorously to remove loose dirt. Then, vacuum both sides thoroughly.
- Trunk: Don’t forget to vacuum the trunk area, as it often collects debris.
Using Attachments Effectively

Vacuum attachments are designed to reach specific areas and clean different surfaces. Using them correctly can significantly improve your results.
- Crevice tool: Perfect for tight spaces like between seats, console gaps, and air vents.
- Brush attachment: Ideal for dusting dashboards, door panels, and other hard surfaces. It helps loosen stubborn dirt while vacuuming.
- Upholstery tool: Best for larger fabric surfaces like seats and headliners. It provides good suction without damaging the material.
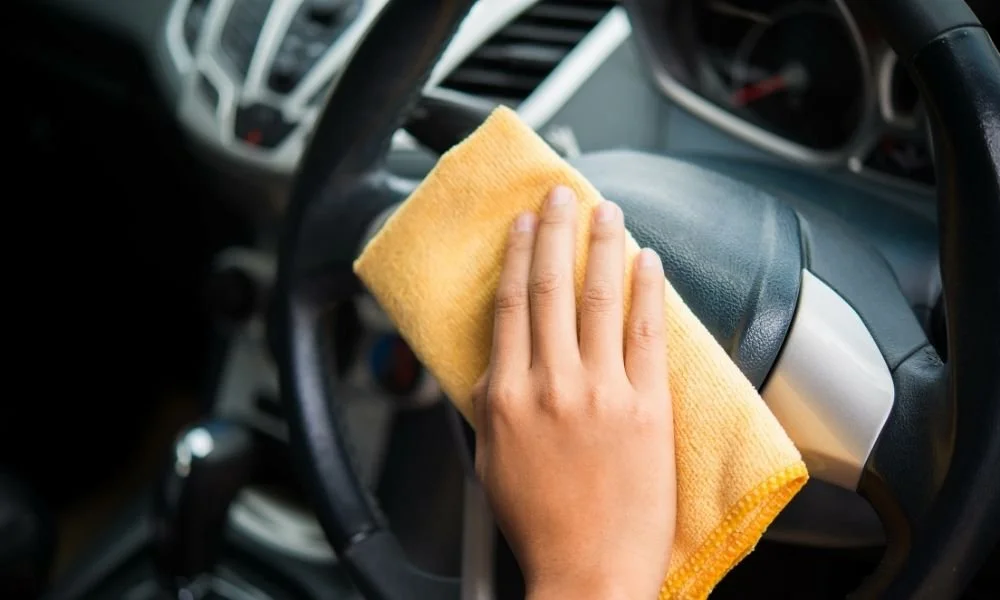
Cleaning the Dashboard and Console
The dashboard and center console are high-touch areas that collect dust, fingerprints, and grime. Cleaning these surfaces requires gentle yet effective products to avoid damage.
Use an all-purpose interior cleaner designed for automotive use. Spray a small amount onto a microfiber towel, not directly onto the surface. This prevents overspray on sensitive electronics.
- Wipe down surfaces: Gently wipe the dashboard, center console, door panels, and steering wheel. Work in small sections.
- Remove stubborn spots: For tougher grime, apply a bit more pressure or re-apply cleaner to the towel.
- Protect surfaces: After cleaning, you can apply a UV protectant to plastic and vinyl surfaces. This helps prevent cracking and fading from sun exposure.
Detailing Vents and Crevices
Air vents and small crevices can trap a lot of dust and dirt. These areas often get overlooked but make a big difference when clean.
- Use detailing brushes: A soft detailing brush or even a clean paintbrush can dislodge dust from air vents, button gaps, and seams.
- Follow with vacuum: After brushing, use the crevice tool on your vacuum to suck up the loosened dust.
- Cotton swabs: For very tight spots, a cotton swab dampened with interior cleaner can work wonders.
Tackling Upholstery and Seats
Seats are often the most used and dirtiest part of a car’s interior. The cleaning method depends on whether your seats are cloth or leather.
Cleaning Cloth Seats
Cloth seats can absorb spills and odors, making them prone to stains. A good upholstery cleaner can refresh them.
- Spot clean stains: For fresh stains, blot immediately with a clean cloth. For dried stains, pre-treat with an upholstery cleaner.
- Apply upholstery cleaner: Spray the cleaner evenly over a section of the seat. Follow the product instructions for dwell time.
- Agitate and wipe: Use a brush to gently agitate the cleaner into the fabric. Then, wipe away the cleaner and dirt with a clean, damp microfiber towel.
- Allow to dry: Ensure the seats are completely dry before using the car to prevent mildew.
Caring for Leather Seats
Leather requires specific care to keep it supple and prevent cracking. Avoid harsh chemicals that can dry out the leather.
- Clean gently: Use a dedicated leather cleaner. Spray it onto a microfiber towel and gently wipe down the leather surfaces.
- Condition the leather: After cleaning, apply a leather conditioner. This moisturizes the leather, keeping it soft and protected.
- Buff excess: Use a clean, dry microfiber towel to buff off any excess conditioner.
Deep Cleaning Carpets and Floor Mats
Carpets and floor mats endure the most foot traffic, collecting dirt, mud, and salt. Deep cleaning them can significantly improve the car’s overall cleanliness.
- Pre-treat stains: For tough stains on carpets and mats, spray a carpet cleaner directly onto the stain. Let it sit for a few minutes as per product directions.
- Scrub with a brush: Use a stiff brush to work the cleaner into the carpet fibers. This helps lift the dirt.
- Wipe or extract: Blot the area with a clean, damp microfiber towel to remove the cleaner and lifted dirt. For very dirty carpets, a wet/dry vacuum or carpet extractor can be used to rinse and suck out the dirty water.
- Air dry: Allow mats and carpets to air dry completely before placing them back in the car.
Washing Interior Windows and Mirrors
Clear windows and mirrors are crucial for visibility and contribute to a sparkling interior. Streaks can be frustrating, so proper technique is key.
- Use ammonia-free cleaner: Always use an ammonia-free glass cleaner, especially if your car has tinted windows. Ammonia can damage tint films.
- Spray onto towel: Spray the glass cleaner onto a clean microfiber towel, not directly onto the glass. This prevents overspray on other surfaces.
- Wipe in sections: Clean the windows and mirrors in small sections. Use one side of the towel to clean and a dry side to buff for a streak-free finish.
- Clean both sides: Don’t forget to clean the inside and outside of all windows, including the rear window and windshield.
Final Touches and Odor Removal
Once all surfaces are clean, a few final steps can make your car truly shine and smell fresh. These details complete the deep cleaning process.
- Reinstall floor mats: Once dry, place the clean floor mats back into the car.
- Organize compartments: Put back any items you removed from the glove box, console, and door pockets.
- Apply protectants: If you haven’t already, apply a UV protectant to plastic and vinyl surfaces to guard against sun damage.
- Air freshener: Use an air freshener or odor eliminator to leave a pleasant scent. Consider placing a small air freshener under a seat for lasting freshness.
- Wipe door jambs: Use a damp microfiber towel to wipe down the door jambs, which often collect dirt when doors are opened.
Common Car Interior Cleaning Mistakes to Avoid
Knowing what to avoid can save you time, effort, and potential damage to your car’s interior. These common mistakes are easy to prevent with a little awareness.
| Mistake | Why it’s a problem | How to avoid it |
|---|---|---|
| Using harsh chemicals | Can damage delicate surfaces, cause discoloration, or leave sticky residues. | Always use automotive-specific interior cleaners. Test in an inconspicuous area first. |
| Spraying cleaner directly on surfaces | Can overspray onto electronics, cause streaks, or saturate fabrics too much. | Spray cleaners onto a microfiber towel first, then wipe the surface. |
| Not vacuuming thoroughly | Leaves behind loose dirt, making subsequent cleaning less effective and potentially creating mud when wet. | Use appropriate vacuum attachments and take your time to get into all crevices. |
| Over-wetting fabrics or carpets | Can lead to mildew, unpleasant odors, and long drying times. | Use minimal moisture. Blot, don’t soak. Ensure proper ventilation for drying. |
| Using dirty towels | Can spread dirt and grime, leaving streaks or scratching surfaces. | Use multiple clean microfiber towels. Switch to a fresh towel often. |
| Ignoring door jambs and seals | These areas collect dirt and can make an otherwise clean car look unfinished. | Wipe down door jambs, trunk seals, and hood seals with a damp cloth. |
FAQs
How often should I deep clean my car’s interior?

For most vehicles, a deep interior cleaning every 3 to 6 months is ideal. If you frequently transport pets, children, or food, you might consider cleaning more often to maintain freshness.
Can I use household cleaners on my car’s interior?
It’s generally best to avoid household cleaners. Many are too harsh or contain ingredients like ammonia that can damage automotive materials, especially plastics, vinyl, and tinted windows. Stick to products specifically designed for car interiors.
What’s the best way to remove pet hair from car upholstery?
For pet hair, start by vacuuming thoroughly with an upholstery attachment. For stubborn hair, use a rubber glove, a pet hair removal brush, or even a damp squeegee to gather the hair into clumps before vacuuming them up.
How do I prevent my car’s interior from getting dirty quickly?
To keep your car clean longer, use floor mats and seat covers. Regularly shake out mats and vacuum light debris. Avoid eating in the car when possible, and keep a small trash bag handy for immediate disposal of waste.
Is it safe to clean car electronics like touchscreens?
Yes, but with care. Use a clean, dry microfiber cloth for dusting. For smudges, lightly dampen a microfiber cloth with a screen cleaner designed for electronics or a very small amount of interior cleaner sprayed onto the cloth. Never spray liquid directly onto screens or buttons.
Conclusion
A clean car interior significantly enhances your driving experience and helps maintain your vehicle’s value. By following this step-by-step car interior cleaning guide, you can effectively remove dirt, stains, and odors from every surface. Remember to gather your tools, work systematically, and use the right products for each material. Regular cleaning not only keeps your car looking great but also creates a more enjoyable and hygienic environment for everyone inside. Take the time to give your car the attention it deserves, and you’ll appreciate the fresh, spotless results.
Related posts
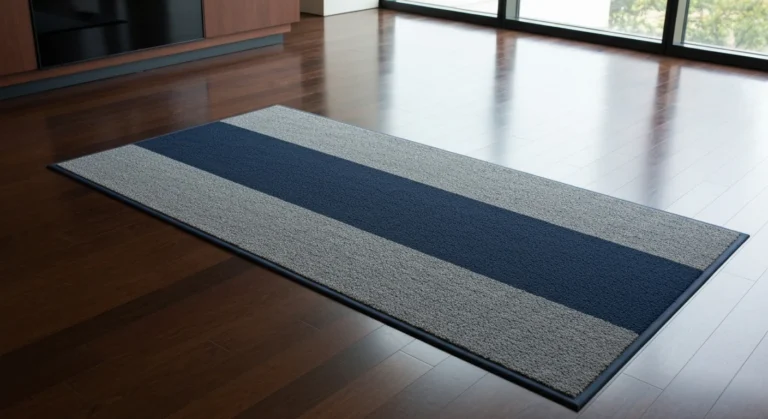 Why Use Custom-Fit Floor Mats for Your Car?
Discover why custom-fit floor mats are a worthwhile investment for your vehicle. Learn about superior protection, perfect fit, and enhanced interior value. Choosing custom-fit floor mats…
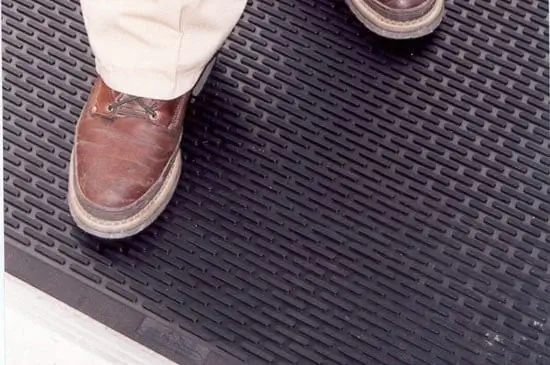 How to Remove Mud from Rubber Floor Mats: A Step-by-Step Guide
Learn the easiest way to remove stubborn mud from your rubber floor mats. Follow these simple steps for a clean car interior. Mud on your rubber…
 How to Clean Floor Mats After Off-Roading: A Step-by-Step Guide
Learn how to effectively clean your car's floor mats after off-roading. Get step-by-step instructions for removing mud, dirt, and odors from rubber and carpet mats. After…