
How to Remove Car Scratches: Steps, Tips, and Common Mistakes
Removing car scratches is possible for many types of damage, helping to restore your vehicle’s appearance. The best method depends on the scratch’s depth. For light surface scratches, you can often use a scratch remover compound, polish, and wax at home. Deeper scratches that go beyond the clear coat may require touch-up paint or professional attention. Always start by cleaning the area thoroughly and assessing the scratch’s severity to choose the right approach.
Understanding Different Types of Car Scratches
Before you try to fix a scratch, it helps to know what kind of scratch you are dealing with. Car paint has several layers. The outermost layer is the clear coat, which protects the color underneath.
Knowing the scratch type guides you to the correct repair method. Using the wrong product or technique can make the damage worse.
Clear Coat Scratches
These are the most common and easiest to fix. Clear coat scratches only affect the top protective layer of your car’s paint. You might see them as hazy marks or light lines.
They often appear when something brushes lightly against the car. You can usually feel them with your fingernail, but your nail won’t catch deeply.
Primer Scratches
If a scratch goes through the clear coat and the color coat, it reaches the primer layer. The primer is usually gray, white, or black, depending on the car’s original factory paint.
You will see a different color showing through the scratch. Your fingernail will likely catch in these scratches.
Metal Scratches
These are the deepest and most serious scratches. They go through all paint layers and expose the bare metal of your car’s body. You will see shiny silver metal inside the scratch.
Metal scratches need immediate attention to prevent rust. They are often difficult to repair perfectly at home.
Assessing the Scratch Depth
The first step in any scratch repair is to figure out how deep the scratch is. This helps you pick the right tools and method. A simple test can tell you a lot.
Always clean the area around the scratch first. Use car wash soap and water to remove dirt and grime. This prevents you from rubbing more dirt into the scratch.
The Fingernail Test
Gently run your fingernail across the scratch. If your fingernail does not catch in the scratch, it’s likely a clear coat scratch. These are usually light and can be polished out.
If your fingernail catches slightly, the scratch has likely gone through the clear coat and into the color coat or primer. These will need more than just polishing.
If your fingernail catches deeply, the scratch has probably reached the metal. These are serious and need careful repair to prevent rust.
Visual Inspection
Look closely at the scratch in good light. If you only see a lighter line on the surface, it’s probably a clear coat scratch. If you see a different color (like gray or white), it’s a primer scratch.
If you see shiny silver metal, it’s a metal scratch. This visual check confirms what the fingernail test tells you.
Essential Tools and Materials for Scratch Removal

Having the right supplies makes the job easier and more effective. Most items are readily available at auto parts stores or online.
Gather everything before you start. This saves time and ensures you can complete each step without interruption.
- Car Wash Soap and Buckets: For cleaning the area thoroughly.
- Microfiber Towels: Soft and absorbent for washing, drying, and applying products.
- Detailing Clay Bar and Lubricant: To remove embedded contaminants from the paint.
- Scratch Remover Compound: A mild abrasive for clear coat scratches.
- Polishing Compound: Finer abrasive to restore shine after scratch removal.
- Car Wax or Sealant: To protect the repaired area and the rest of the paint.
- Applicator Pads: Foam or microfiber pads for applying compounds and wax.
- Rubbing Alcohol or Isopropyl Alcohol (IPA): For cleaning and degreasing the surface.
- Touch-Up Paint Kit (if needed): Matched to your car’s paint code for deeper scratches.
- Fine-Grit Sandpaper (2000-3000 grit, if needed): For wet sanding very carefully on deeper scratches.
- Spray Bottle with Water: For wet sanding and clay bar lubricant.
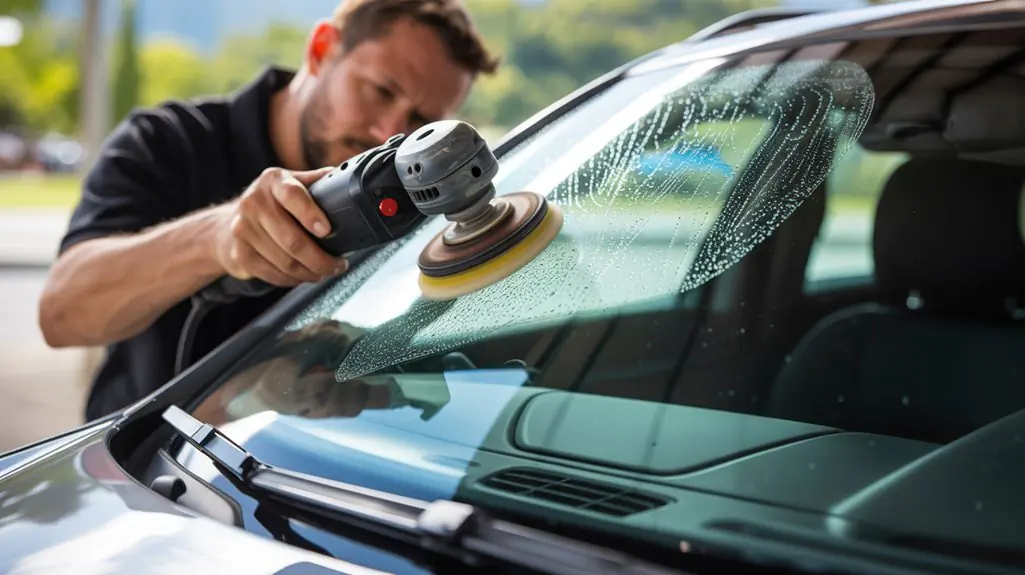
Step-by-Step Guide for Light Scratches (Clear Coat)
For scratches that only affect the clear coat, a simple repair process can often make them disappear. This method involves cleaning, light abrasion, and protection.
Work in a shaded area to prevent products from drying too quickly. Always follow the product instructions for best results.
Step 1: Clean the Area Thoroughly
Wash the entire car, or at least the affected panel, with car wash soap and water. This removes loose dirt and grime. Rinse well and dry with a clean microfiber towel.
Next, use a detailing clay bar with lubricant. Rub the clay bar gently over the scratch and surrounding area. This removes tiny particles stuck in the paint, making the surface super smooth.
Step 2: Apply Scratch Remover Compound
Put a small amount of scratch remover compound onto an applicator pad. Work it into the scratch using small, circular motions. Apply moderate pressure.
Continue rubbing for about 30-60 seconds, or until the scratch seems to fade. Wipe off any excess compound with a clean microfiber towel. Check your progress. You might need to repeat this step a few times.
Step 3: Polish the Area
After the scratch remover, the area might look a little dull. Apply a small amount of polishing compound to a fresh applicator pad. Polish the treated area with light to moderate pressure, using circular motions.
This step helps restore the shine and smooth out any haziness left by the scratch remover. Buff off the polish with a clean microfiber towel.
Step 4: Apply Wax or Sealant
To protect your newly repaired paint and enhance its shine, apply a layer of car wax or paint sealant. Use an applicator pad to spread a thin, even coat over the area.
Let the wax dry to a haze, then buff it off with a clean, dry microfiber towel. This final step adds a protective barrier and makes the paint look great.
Dealing with Deeper Scratches (Primer and Metal)
Deeper scratches require a more involved approach. These methods aim to fill the scratch and match the paint color. Patience and precision are key here.
If you are unsure, it’s always best to consult a professional detailer or body shop. Improper repair can lead to more noticeable damage.
Using Touch-Up Paint
For primer or shallow metal scratches, touch-up paint can be very effective. Make sure to get paint that exactly matches your car’s color code. You can usually find this code on a sticker inside the driver’s side door jamb or under the hood.
Clean the scratch thoroughly with rubbing alcohol. Use a very fine brush or a touch-up pen to apply a thin layer of paint directly into the scratch. Do not overfill it.
Let each layer dry completely before applying another. You might need several thin layers to fill the scratch flush with the surrounding paint. Once dry, you can gently buff the area with a polishing compound and then wax it.
Wet Sanding (Use with Extreme Caution)
Wet sanding is a technique used to level out touch-up paint or to remove very stubborn clear coat scratches. This method is risky and can easily damage your paint if not done correctly.
Only attempt wet sanding if you are confident and have practiced on a scrap piece first. Use very fine-grit sandpaper (2000-3000 grit) soaked in water.
Gently sand the raised touch-up paint or the scratch area with light pressure, keeping the surface wet. Work in small, controlled motions. The goal is to level the paint, not remove it. After sanding, use a polishing compound to restore the shine, followed by wax.
When to Consider Professional Help
While many scratches can be fixed at home, some situations call for a professional. Knowing when to seek expert help can save you time, money, and further damage.
Professionals have specialized tools, experience, and knowledge to handle complex repairs. They can often achieve a flawless finish that is hard to replicate at home.
Deep or Extensive Scratches
If a scratch is very deep, exposing a large area of metal, or if there are many scratches covering a large panel, a professional body shop is usually the best option. They can properly fill, paint, and blend the repair.
Extensive damage often requires repainting an entire panel to ensure a perfect color match and finish. DIY attempts on such damage can look patchy or uneven.
Scratches on Complex Surfaces
Scratches on bumpers, plastic trim, or areas with intricate curves can be tricky to repair. These materials and shapes require different techniques and products.
Professionals are equipped to handle these surfaces without causing further damage. They can also address any underlying structural issues if the scratch is part of a larger impact.
Lack of Confidence or Experience
If you are not comfortable performing the repair yourself, or if you lack the necessary tools, it’s wise to go to a professional. Attempting a repair without confidence can lead to mistakes that are more costly to fix.
A professional detailer or body shop can assess the damage accurately and recommend the most effective solution. They offer peace of mind and quality results.
Preventing Future Car Scratches
The best way to deal with scratches is to prevent them from happening in the first place. Good car care habits can significantly reduce the risk of new damage.
Regular maintenance and careful handling are key to keeping your car’s paint looking new.
Proper Washing Techniques
Always use the two-bucket method when washing your car. One bucket for soapy water and one for rinsing your wash mitt. This keeps dirt from being transferred back onto the paint.
Use a soft microfiber wash mitt and high-quality car wash soap. Wash from top to bottom, rinsing your mitt often. Dry with a clean, soft microfiber towel or a car dryer.
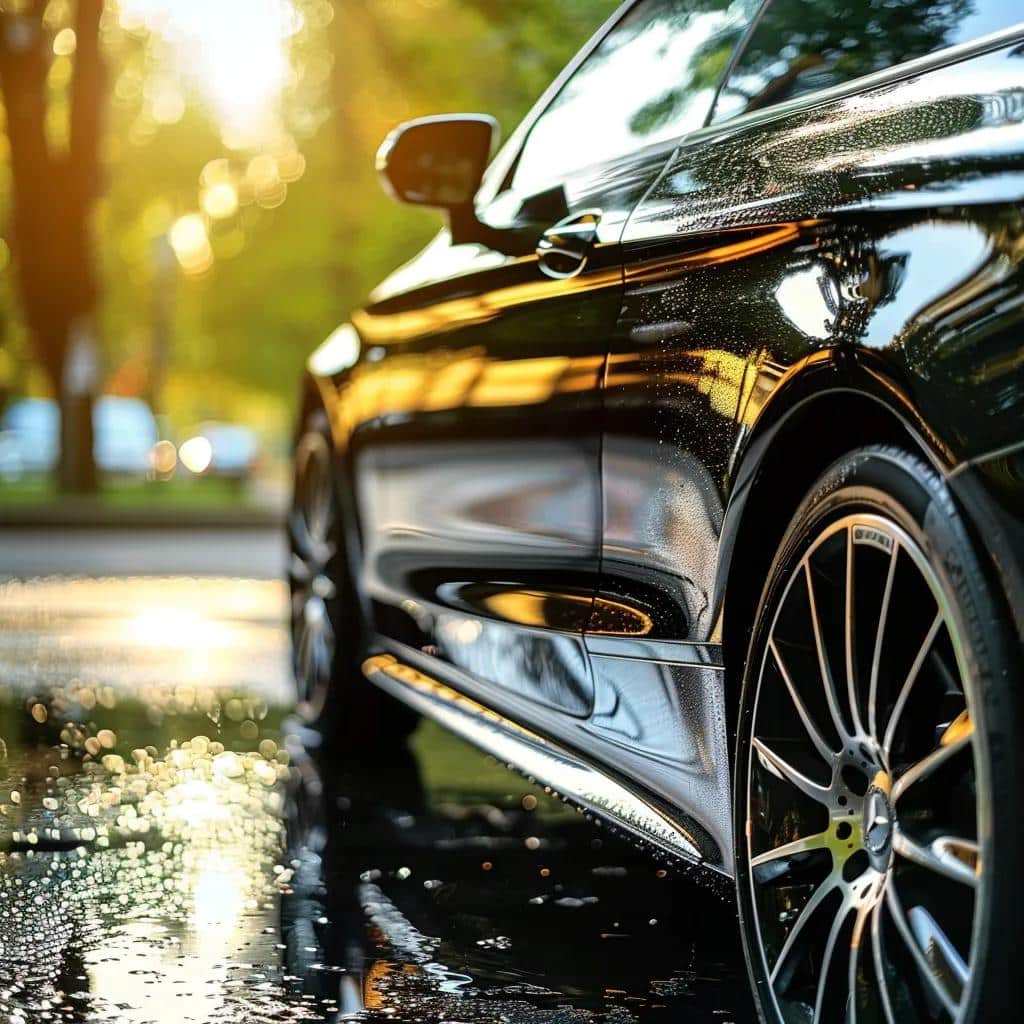
Regular Waxing and Sealant Application
Applying wax or a paint sealant every few months creates a protective barrier over your car’s clear coat. This layer helps repel dirt, water, and minor abrasions.

It also makes the paint smoother, so small particles are less likely to stick and cause scratches. Plus, it keeps your car looking shiny.Careful Parking and Driving
Be mindful of where you park. Avoid parking too close to other cars, shopping carts, or bushes that might brush against your vehicle. Choose shaded spots to protect paint from sun damage.
When driving, maintain a safe distance from other vehicles to avoid stone chips and debris. Be aware of narrow spaces or obstacles that could cause scrapes.
Using Paint Protection Film (PPF)
For ultimate protection, consider applying Paint Protection Film (PPF) to vulnerable areas like the front bumper, hood, and side mirrors. PPF is a clear, durable film that acts as a shield against scratches, rock chips, and environmental damage.
While an investment, PPF can save you from costly paint repairs in the long run. It is often applied by professionals for a seamless finish.
Common Mistakes to Avoid When Removing Car Scratches
Even with the right tools, mistakes can happen. Avoiding these common errors will help ensure a successful repair and prevent further damage to your car’s paint.
Take your time and be patient. Rushing the process often leads to poor results.
| Mistake | Why It’s Harmful | How to Avoid It |
|---|---|---|
| Using household cleaners | Harsh chemicals can strip wax, damage paint, or leave stains. | Always use car-specific wash soap and detailing products. |
| Rubbing too hard | Excessive pressure can create new scratches or remove too much clear coat. | Use light to moderate pressure and let the product do the work. |
| Using dirty towels/pads | Dirt particles on towels can cause more scratches. | Always use clean, soft microfiber towels and applicator pads. Wash them regularly. |
| Working in direct sunlight | Products dry too quickly, leaving streaks or making them hard to buff off. | Work in a shaded area or on a cool day. |
| Not cleaning the area first | Rubbing dirt into the scratch can make it worse. | Thoroughly wash and clay bar the area before applying any scratch removers. |
| Using the wrong grit sandpaper | Too coarse sandpaper will cause severe, irreversible damage. | Only use very fine-grit (2000-3000) sandpaper for wet sanding, and only when necessary. |
| Applying too much product | Excess product can be difficult to remove and may leave residue. | Use small amounts and apply thin, even layers. |
FAQs
Can toothpaste remove car scratches?
Toothpaste can sometimes remove very light clear coat scratches because it contains mild abrasives. However, it’s not designed for car paint and can be too harsh, potentially causing more damage or dulling the finish. It’s safer to use a dedicated car scratch remover compound.
How do I know if a scratch is too deep to fix myself?
If your fingernail catches deeply in the scratch, or if you see bare metal showing through, it’s likely too deep for a simple DIY fix. These types of scratches often require professional touch-up paint, wet sanding, or even repainting to prevent rust and achieve a good finish.
How long does it take to remove car scratches?
Removing light clear coat scratches can take anywhere from 30 minutes to a few hours, depending on the number of scratches and your experience. Deeper scratches requiring touch-up paint can take several hours, including drying time between layers, or even a full day for more extensive work.
Do scratch repair pens really work?
Scratch repair pens can be effective for very fine, shallow clear coat scratches. They often contain a clear resin that fills the scratch, making it less visible. However, they are generally not suitable for deeper scratches that go into the color or primer layers, and results can vary.
Is it better to remove scratches or leave them?
It’s generally better to remove scratches, especially if they are deep. Clear coat scratches can dull your car’s appearance. Deeper scratches that expose the primer or metal can lead to rust over time, which is much more costly to repair. Addressing scratches promptly helps maintain your car’s value and appearance.
Conclusion
Removing car scratches is a manageable task for many car owners, especially for light clear coat damage. By understanding the type of scratch, using the right tools, and following proper steps, you can significantly improve your car’s appearance. Always prioritize cleaning, gentle application, and protection.
For deeper scratches, touch-up paint can be a good solution, but remember to use extreme caution with methods like wet sanding. If you’re unsure or the damage is extensive, seeking professional help is always a wise choice. Take action today to restore your car’s finish and protect it from future damage.
Related posts
 Why Use Custom-Fit Floor Mats for Your Car?
Discover why custom-fit floor mats are a worthwhile investment for your vehicle. Learn about superior protection, perfect fit, and enhanced interior value. Choosing custom-fit floor mats…
 How to Remove Mud from Rubber Floor Mats: A Step-by-Step Guide
Learn the easiest way to remove stubborn mud from your rubber floor mats. Follow these simple steps for a clean car interior. Mud on your rubber…
 How to Clean Floor Mats After Off-Roading: A Step-by-Step Guide
Learn how to effectively clean your car's floor mats after off-roading. Get step-by-step instructions for removing mud, dirt, and odors from rubber and carpet mats. After…