
How to Clean Car Upholstery: Steps, Tips, and Common Mistakes
Cleaning car upholstery involves a few key steps to remove dirt, stains, and odors, making your car’s interior look and smell fresh. The process typically includes vacuuming, spot treating stains, and then deep cleaning with appropriate products based on your upholstery material. Regular cleaning not only improves your car’s appearance but also helps maintain its value and provides a more pleasant driving experience.
Understanding Your Car Upholstery Type
Before you start cleaning, it is important to know what type of upholstery your car has. Different materials require different cleaning methods and products. Using the wrong cleaner can damage your seats or leave unwanted stains.
Fabric Upholstery
Fabric seats are common and can be made from various materials like cloth, velour, or tweed. They tend to absorb spills and odors easily. Fabric is generally durable but can be prone to staining if not treated quickly.
Cleaning fabric often involves a combination of vacuuming, spot cleaning, and sometimes a full shampoo. Always test any cleaning product on a small, hidden area first. This helps ensure it won’t discolor or damage the fabric.
Leather Upholstery
Leather seats offer a luxurious feel but need specific care. They are less absorbent than fabric but can crack or dry out if not properly maintained. Harsh chemicals can strip the natural oils from leather.
For leather, use cleaners specifically designed for automotive leather. These products clean without damaging the material and often include conditioners to keep the leather soft and supple. Avoid using general household cleaners.
Vinyl and Faux Leather Upholstery
Vinyl and faux leather are durable and easy to clean. They resist spills better than fabric and are less prone to cracking than real leather. These materials are often found in more practical or sporty car models.
A mild all-purpose cleaner or a simple soap and water solution usually works well for vinyl and faux leather. You can wipe them down easily. Always follow up with a protectant to keep them looking new and prevent fading.
Gathering Your Car Upholstery Cleaning Supplies
Having the right tools and products ready makes the cleaning process much smoother. You likely have many of these items around your home already. Here is a list of essential supplies:
- Vacuum Cleaner: A powerful shop vac or a car-specific vacuum with attachments is ideal.
- Microfiber Towels: Several clean, soft towels for wiping, drying, and buffing.
- Stiff Brush: A soft-bristle brush for fabric, or a dedicated leather brush for leather.
- Spray Bottles: For mixing cleaning solutions or applying water.
- Bucket: For water or mixing solutions.
- Upholstery Cleaner: Choose one suitable for your car’s specific material (fabric, leather, or all-purpose).
- Stain Remover: A specialized product for tough stains like grease, ink, or food.
- Leather Conditioner (for leather seats): To moisturize and protect leather.
- All-Purpose Cleaner (for vinyl/faux leather): A gentle cleaner for these surfaces.
- Warm Water: For rinsing and diluting cleaners.
- Protective Gloves: To protect your hands from chemicals.
Step-by-Step Guide to Cleaning Car Upholstery
Follow these steps for a thorough and effective cleaning of your car’s interior. Remember to work in sections and be patient.
Step 1: Prepare the Interior
Start by removing all trash, floor mats, and personal items from your car. This clears the way for a complete cleaning. Take out child seats, car organizers, and anything else that might be on the seats or floor.
Shake out your floor mats and set them aside to clean separately. This initial decluttering prevents you from moving dirt around and makes vacuuming much easier.
Step 2: Vacuum Thoroughly
Use a powerful vacuum cleaner with appropriate attachments to remove loose dirt, dust, and debris. Pay close attention to crevices, under the seats, and along seams where dirt often collects.
For fabric upholstery, use a brush attachment to agitate the fibers and lift embedded dirt. For leather or vinyl, a crevice tool is great for getting into tight spots without scratching the surface. Vacuuming well now will prevent mud from forming later when you apply liquid cleaners.
Step 3: Pre-Treat Tough Stains
Before deep cleaning, tackle any visible stains. Apply a small amount of a suitable stain remover directly to the stain. Follow the product instructions carefully.
Gently blot the stain with a clean microfiber towel, working from the outside in. Avoid rubbing vigorously, as this can spread the stain or push it deeper into the fabric. Let the stain remover sit for the recommended time before moving on.
Step 4: Deep Clean Your Upholstery
The deep cleaning method depends on your upholstery material.
For Fabric Upholstery:
- Option 1: Commercial Upholstery Cleaner: Spray the cleaner evenly over a small section of the fabric. Let it sit for the time recommended by the manufacturer.
- Option 2: DIY Solution: Mix a small amount of mild laundry detergent or dish soap with warm water to create suds. Apply the suds (not too much liquid) to the fabric with a brush or sponge.
- Scrub Gently: Use a soft-bristle brush to gently scrub the cleaner into the fabric. Work in small, overlapping sections.
- Wipe and Rinse: Wipe away the cleaner and dirt with a clean, damp microfiber towel. Rinse the towel frequently in clean water and wring it out well. Repeat until no more suds or dirt come off.
- Extract Excess Moisture: If you have a wet/dry vacuum or an upholstery extractor, use it to pull out as much moisture as possible. This speeds up drying and prevents mold.
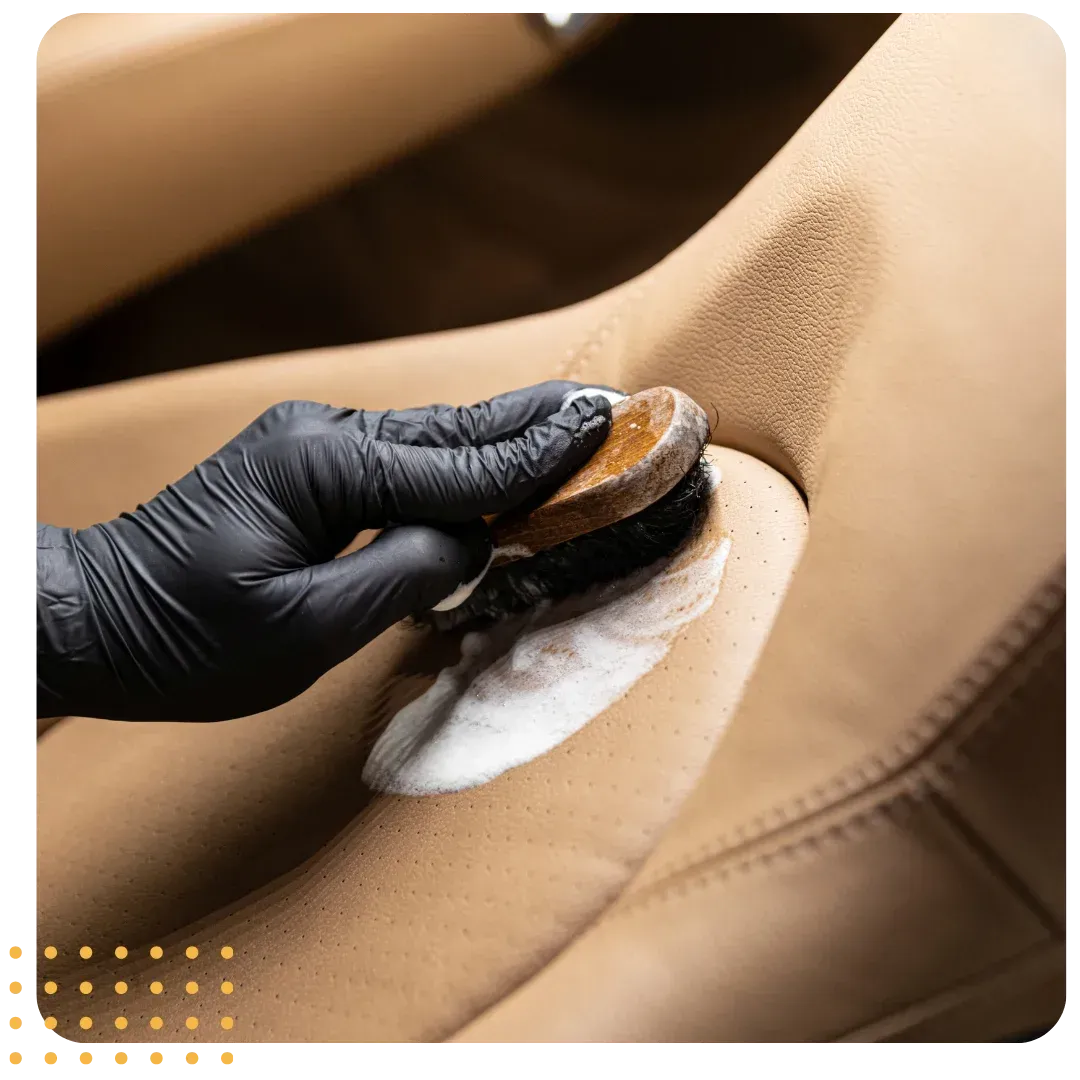
For Leather Upholstery:
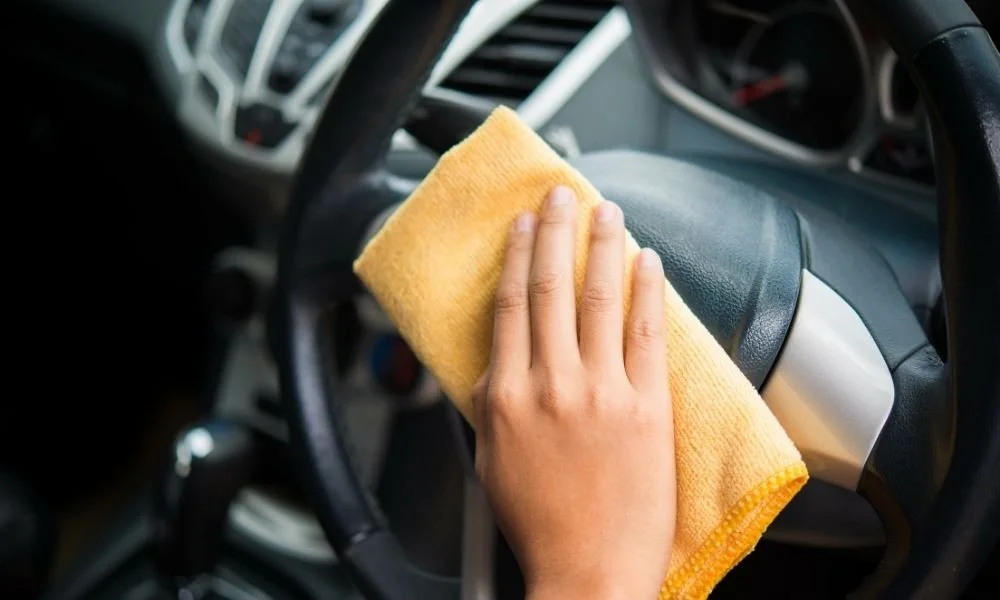
- Apply Leather Cleaner: Spray a specialized leather cleaner onto a microfiber towel, not directly onto the leather.
- Wipe Gently: Wipe down small sections of the leather seats in a circular motion. Use light pressure.
- Buff Dry: Use a separate clean, dry microfiber towel to buff the leather dry.
- Condition: After cleaning, apply a leather conditioner to moisturize and protect the material. This helps prevent cracking and keeps the leather soft. Apply with a clean applicator pad or towel and buff off any excess.
For Vinyl and Faux Leather Upholstery:
- Mild Cleaner: Mix a small amount of mild all-purpose cleaner or dish soap with water in a spray bottle.
- Spray and Wipe: Lightly spray a section and wipe it clean with a microfiber towel. These materials are less absorbent, so you don’t need much liquid.
- Rinse: Wipe again with a damp, clean towel to remove any soap residue.
- Protect: Consider applying a vinyl protectant to guard against UV damage and keep the surface looking new.
Step 5: Dry the Upholstery Properly
Proper drying is crucial to prevent mildew, mold, and unpleasant odors. Open your car doors and windows to allow for good airflow. If possible, park your car in a sunny spot to aid drying.
You can also use a fan or a car dryer to speed up the process. Ensure the upholstery is completely dry before closing up the car or using the seats. This might take several hours, especially for fabric seats.
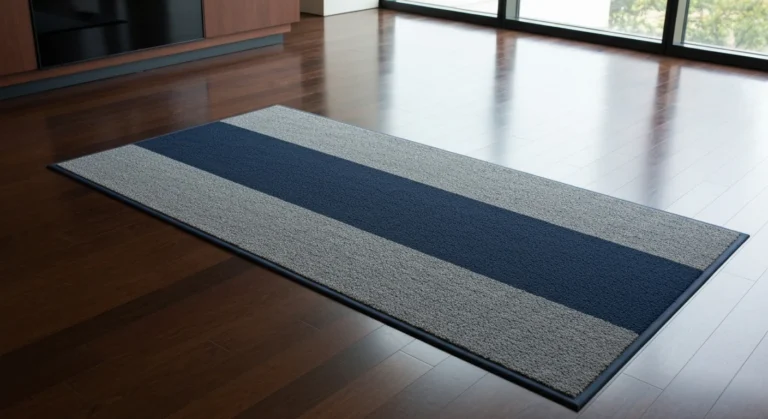
Step 6: Clean Floor Mats and Carpets
While your seats are drying, clean your floor mats and carpets. Vacuum them thoroughly first. For fabric mats, you can use the same fabric cleaning method as your seats.
For rubber or vinyl mats, simply wash them with soap and water, rinse, and let them air dry. Once everything is dry, place the mats back in your car.
Common Mistakes to Avoid When Cleaning Car Upholstery
Even with the best intentions, it’s easy to make mistakes that can harm your car’s interior. Knowing what to avoid can save you time and potential damage.
- Over-wetting Fabric: Applying too much liquid to fabric seats can lead to mold, mildew, and lingering odors. It also makes drying much longer. Always use minimal moisture and extract as much as possible.
- Using Harsh Chemicals: Bleach, ammonia-based cleaners, or strong detergents can damage upholstery, especially leather and delicate fabrics. They can cause discoloration, cracking, or weaken fibers.
- Rubbing Stains Vigorously: Scrubbing a stain too hard can spread it, push it deeper into the fabric, or damage the material’s fibers. Always blot stains gently from the outside in.
- Not Testing Cleaners: Always test any new cleaning product on a small, hidden area first. This ensures it won’t cause discoloration or damage before you apply it to a visible spot.
- Not Drying Properly: Leaving upholstery damp encourages mold and mildew growth, leading to bad smells and potential health issues. Ensure everything is completely dry before closing windows or using the car.
- Ignoring Manufacturer Guidelines: Some car manufacturers provide specific cleaning instructions for their upholstery. Check your car’s owner’s manual for any special recommendations.
- Using the Wrong Tools: A stiff brush on delicate fabric or a rough cloth on leather can cause damage. Match your tools to the material.
Tips for Maintaining Clean Car Upholstery
Keeping your car upholstery clean doesn’t have to be a huge task if you follow some simple maintenance habits. Regular care can prevent major cleaning jobs.
Regular Vacuuming
Vacuum your car’s interior at least once a month, or more often if you frequently carry passengers, pets, or food. This removes loose dirt and crumbs before they become embedded or cause stains. A quick vacuum can make a big difference.
Address Spills Immediately
The quicker you deal with a spill, the easier it is to clean. Keep a roll of paper towels or a small microfiber cloth in your car for emergencies. Blot spills immediately to absorb as much liquid as possible before it sets.
Use Seat Covers
Seat covers are an excellent way to protect your original upholstery from spills, dirt, pet hair, and wear and tear. They are much easier to remove and wash than deep cleaning the actual seats. Choose covers that fit well and are made from durable, washable material.
Protect from UV Rays
Sunlight can fade and damage upholstery over time, especially leather and darker fabrics. Use a sunshade when parking for extended periods. For leather and vinyl, apply UV protectants regularly to prevent drying and cracking.
Avoid Eating and Drinking in the Car
While sometimes unavoidable, try to limit eating and drinking in your car. This significantly reduces the chances of spills and food crumbs accumulating. If you must eat, use containers that seal well.
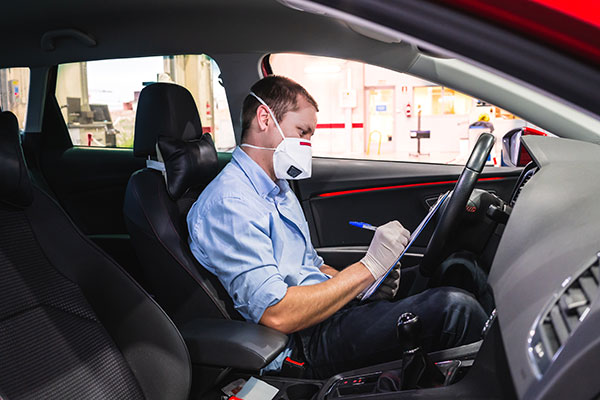
When to Consider Professional Car Upholstery Cleaning

While DIY cleaning is effective for most situations, there are times when calling a professional detailer is the best option. Professionals have specialized equipment and expertise that can handle tough jobs.
| Situation | Why Professional Help is Recommended | DIY Alternative (if applicable) |
|---|---|---|
| Deep-Set Stains | Professionals have stronger chemicals and extraction tools for old, stubborn stains like oil, ink, or vomit that DIY methods might not fully remove. | Repeated spot treatment with a strong stain remover; may not fully disappear. |
| Lingering Odors | Persistent smells from spills, pets, or smoke often require ozone treatments or industrial-strength odor eliminators that penetrate deep into fibers. | Air fresheners, baking soda (temporary solutions). |
| Mold or Mildew Growth | Mold requires specific biocides and thorough extraction to prevent regrowth and health risks. Improper removal can spread spores. | Vinegar solution (for minor surface mold); often insufficient for deep growth. |
| Sensitive Materials | Some delicate fabrics or exotic leathers require expert handling to avoid damage, discoloration, or improper conditioning. | Use only manufacturer-recommended products; risk of damage is higher. |
| Time Constraints | If you lack the time or tools for a thorough deep clean, professionals can complete the job efficiently and effectively. | Break cleaning into smaller tasks over several days. |
| Selling Your Car | A professional detail can significantly boost your car’s resale value by making the interior look showroom-ready. | Basic clean for personal satisfaction; less impactful for resale. |
FAQs
How often should I clean my car upholstery?
For general maintenance, vacuum your car upholstery monthly. A deep clean is recommended every 6 to 12 months, or more often if you frequently have passengers, pets, or spills.
Can I use household cleaners on car upholstery?
It depends on the cleaner and upholstery type. Mild dish soap diluted in water can work for some fabric or vinyl. However, avoid harsh household cleaners like bleach or ammonia-based products, especially on leather, as they can cause damage or discoloration. Always test in a hidden spot first.
What’s the best way to remove pet hair from car seats?
Start by vacuuming with a strong attachment. For stubborn hair, use a rubber glove, a pet hair removal brush, or even a slightly damp squeegee to gather the hair into clumps, then vacuum them up.
How do I get rid of odors in my car upholstery?
First, clean the source of the odor thoroughly. Then, sprinkle baking soda over the affected area, let it sit overnight, and vacuum it up. For persistent odors, an automotive odor eliminator spray or professional ozone treatment might be needed.
Is steam cleaning safe for car upholstery?
Steam cleaning can be effective for fabric upholstery, as it uses heat to lift dirt and kill bacteria without harsh chemicals. However, it’s crucial not to over-wet the fabric and to ensure proper drying to prevent mold. It is generally not recommended for leather upholstery.
What should I do if I spill coffee on my car seat?
Blot the spill immediately with a clean cloth or paper towel to absorb as much liquid as possible. Then, mix a small amount of mild soap with cool water and gently blot the stain with a clean cloth. Rinse by blotting with a damp cloth and dry thoroughly.
Conclusion
Keeping your car upholstery clean is a straightforward process that significantly enhances your driving experience and preserves your vehicle’s interior. By understanding your upholstery type, gathering the right supplies, and following a few simple steps, you can effectively remove dirt, stains, and odors. Remember to always test products, avoid common mistakes like over-wetting, and ensure proper drying. Regular maintenance, such as vacuuming and addressing spills quickly, will keep your car looking and feeling fresh for longer. If you encounter very tough stains or persistent odors, consider seeking help from a professional detailer.
Related posts
 Why Use Custom-Fit Floor Mats for Your Car?
Discover why custom-fit floor mats are a worthwhile investment for your vehicle. Learn about superior protection, perfect fit, and enhanced interior value. Choosing custom-fit floor mats…
 How to Remove Mud from Rubber Floor Mats: A Step-by-Step Guide
Learn the easiest way to remove stubborn mud from your rubber floor mats. Follow these simple steps for a clean car interior. Mud on your rubber…
 How to Clean Floor Mats After Off-Roading: A Step-by-Step Guide
Learn how to effectively clean your car's floor mats after off-roading. Get step-by-step instructions for removing mud, dirt, and odors from rubber and carpet mats. After…