
How to Use Paint Correction Products on Cars for Flawless Shine
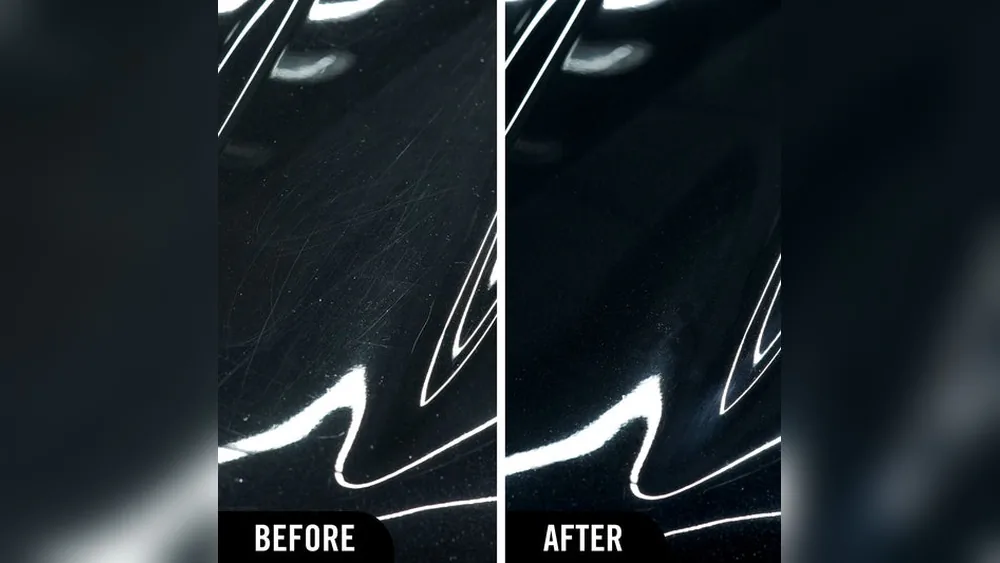
Paint correction is one of the most effective ways to restore your car’s shine and make it look almost new. Many people notice swirls, scratches, or dullness on their car’s paint, but don’t know how to fix it themselves. With the right paint correction products and a careful process, you can transform your car’s appearance without needing a professional detailer.
This guide will show you how to use paint correction products safely and effectively, even if you’re a beginner. You’ll learn what paint correction is, how to choose products, and the exact steps to get professional-looking results at home.
What Is Paint Correction?
Paint correction is the process of removing surface imperfections from a car’s paint. These imperfections include swirl marks, fine scratches, water spots, and oxidation. By using special compounds and polishes, you can smooth the paint surface so it reflects light better and looks glossy.
Most modern cars have a clear coat layer on top of the colored paint. Paint correction works by carefully removing a very thin layer of this clear coat, along with the defects. It’s important to know that you’re not painting the car, but refining what’s already there.
Paint correction can be done by hand or machine, but using a machine polisher is faster and gives more consistent results. However, hand correction can still be effective for small areas or delicate jobs.
Paint Correction Products: Types And Comparison
Choosing the right products is essential for good results. There are three main types you’ll need: compounds, polishes, and pads. Let’s compare the most common options:
| Product Type | Purpose | Example Brands | Difficulty |
|---|---|---|---|
| Compound | Removes deeper scratches and heavy oxidation | Meguiar’s, 3M, Chemical Guys | Medium |
| Polish | Refines surface, removes light defects, adds gloss | Menzerna, Griot’s Garage, Mothers | Easy |
| Pad | Used with compounds and polishes to apply product | Lake Country, Hex-Logic | Varies (depends on pad type) |
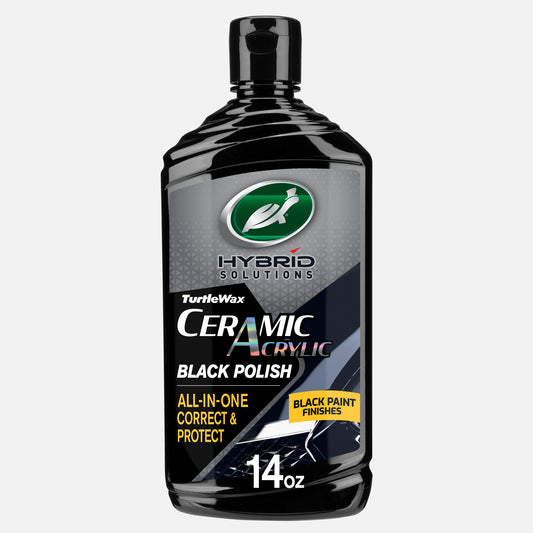
Each product has its own role. Compounds are more abrasive and remove serious defects, while polishes are less abrasive and create shine. Pads come in various levels of firmness and abrasiveness—choose softer pads for polishing, firmer pads for compounding.
Credit: www.turtlewax.com
Preparing Your Car For Paint Correction
Proper preparation is crucial for paint correction. If the car is dirty or has contaminants on the surface, the correction process can cause more scratches.
- Wash Thoroughly: Use a pH-neutral car shampoo and wash with a microfiber mitt. Rinse well.
- Clay Bar Treatment: Use a clay bar to remove stubborn contaminants like tar, sap, or industrial fallout. This step helps create a smooth surface.
- Dry Completely: Dry the car with a clean microfiber towel. Water spots can interfere with correction.
Many beginners skip the clay bar step, but it’s essential. If you don’t use a clay bar, leftover dirt can scratch the paint during correction.
Step-by-step Paint Correction Process
Now, let’s break down the paint correction process into clear steps. You don’t need to be a professional, but attention to detail is key.
1. Inspect The Paint
Look for areas with defects. Use a bright LED light or sunlight to spot swirl marks, scratches, and water spots. Mark problem spots with masking tape if needed.
2. Choose The Right Products
Select a compound and polish based on your paint’s condition. If you have deep scratches, start with a compound. For light swirls, a polish is enough. Choose the correct pad—firmer for compounding, softer for polishing.
3. Test A Small Area
Always test your products on a small, hidden area first. This checks how aggressive the compound or polish is. If you see improvement without harming the paint, continue.
4. Apply Compound
If you’re using a machine polisher:
- Add a small amount of compound to the pad (about the size of a quarter).
- Place the pad against the panel and spread the compound before turning the machine on.
- Set the polisher to low speed to spread the product, then increase speed for correction.
- Work in a 2×2-foot section, moving the polisher slowly in overlapping passes.
- Wipe off residue with a clean microfiber towel.
If doing by hand:
- Apply compound to a foam applicator pad.
- Rub in small circles with moderate pressure.
- Repeat until the defect improves.
5. Apply Polish
After compounding, switch to a softer pad and polish. This step refines the surface and boosts gloss.
- Apply polish to the pad.
- Work in the same area as before, using light pressure.
- Wipe away residue with a fresh towel.
6. Check Your Work
Inspect the corrected area under good lighting. If defects remain, repeat the process. Don’t over-correct—removing too much clear coat can damage the paint.
7. Protect The Paint
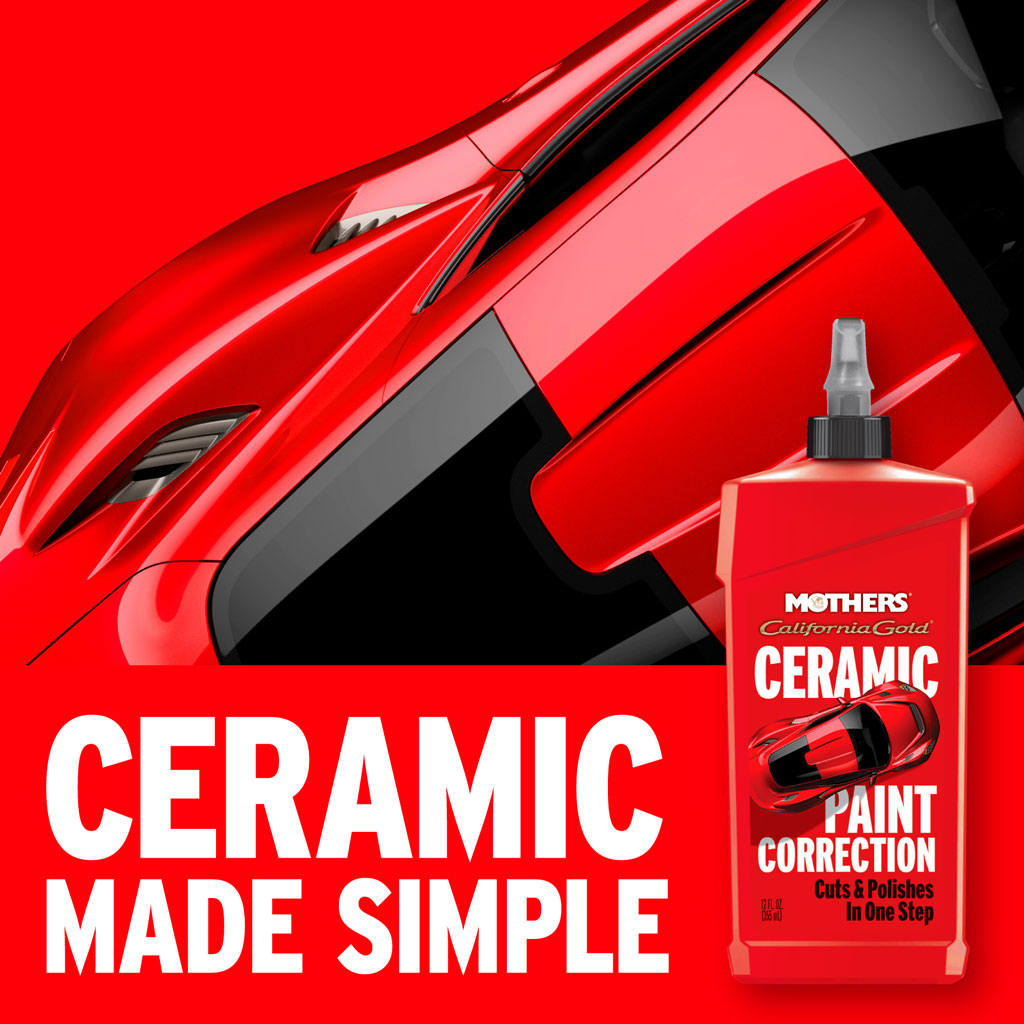
After correction, the paint is vulnerable. Apply a paint sealant or wax to protect your work and maintain shine.
Credit: mothers.com
Machine Vs. Hand Correction: Pros And Cons
Many people wonder if they need a machine for paint correction. Here’s a quick comparison to help you decide:
| Method | Pros | Cons |
|---|---|---|
| Machine Polisher | Faster, more consistent, better results | Requires investment, can be risky for beginners |
| Hand Correction | Cheap, safer for beginners, good for small jobs | Slower, less consistent, tiring |
For larger areas or multiple defects, a machine polisher is recommended. Hand correction is best for spot repairs or delicate areas.
Common Mistakes To Avoid
Paint correction can be rewarding, but mistakes can ruin the finish. Here are errors to watch out for:
- Skipping the clay bar step before correction.
- Using too much product—this can lead to residue and poor results.
- Pressing too hard with the machine or pad, removing too much clear coat.
- Not cleaning pads between sections—dirty pads can scratch paint.
- Working in direct sunlight—heat can dry products too quickly.
A non-obvious mistake is not letting the pad do the work. Many beginners think more pressure gives better results, but it’s the combination of pad and product that matters.
How To Choose Paint Correction Products For Your Car
Not every product works well for every car. Consider these factors:
- Paint hardness: German cars often have harder paint, requiring stronger compounds. Japanese cars usually have softer paint.
- Color: Dark colors show defects more, so choose a finer polish for black or blue cars.
- Age of paint: Older paint is thinner and more fragile. Use gentle products.
You can find product reviews and recommendations on Autogeek.
Practical Tips For Better Results
- Always use microfiber towels for wiping. Cotton or polyester can leave scratches.
- Work in a shaded area to avoid product drying too fast.
- Use separate pads for compound and polish—never mix.
- Clean pads after every section with compressed air or pad cleaner.
- Use overlapping passes with the polisher for even results.
- Don’t rush. Paint correction is a slow process, but patience pays off.
A tip most beginners miss: heat builds up during correction. If the paint feels hot, stop and let it cool. Overheating can damage the clear coat.
When Should You Avoid Paint Correction?
Paint correction is not always the best solution. Avoid it in these situations:
- Very thin clear coat: If paint thickness is low, correction can expose base color.
- Fresh paint: Wait at least 30 days for new paint to cure.
- Severe damage: Deep chips or peeling clear coat cannot be fixed with correction.
Check paint thickness with a gauge if possible. If unsure, consult a professional.
Example: Paint Correction On A Honda Civic
Let’s see a practical example. A 2015 Honda Civic has light swirl marks and water spots.
- Wash and clay the car.
- Inspect defects—most are light.
- Use a medium polish (like Meguiar’s M205) with a soft foam pad.
- Apply polish to a 2×2-foot area, using a dual-action polisher.
- Wipe residue, check under LED light.
- Apply wax to seal.
Results: Swirls and water spots are gone, paint shines. The process took about 3 hours.

Credit: www.amazon.com
Frequently Asked Questions
What Is The Difference Between Compound And Polish?
A compound is more abrasive and removes deeper defects, while a polish is finer and creates shine. Compounds are used first to fix major issues, then polish refines the finish.
How Often Should You Perform Paint Correction?
Paint correction is not for regular use. Usually, once every 1–2 years is enough. Too often can thin the clear coat and damage paint.
Can Paint Correction Remove All Scratches?
Paint correction removes surface scratches and swirls. Deep scratches that go beyond the clear coat cannot be fixed with correction—you’ll need touch-up paint.
Is Paint Correction Safe For All Cars?
It’s safe if done carefully, but not recommended for cars with very thin paint, old vehicles, or fresh paint jobs. Always check paint thickness if possible.
Do I Need To Seal Or Wax After Paint Correction?
Yes, sealing or waxing is essential. After correction, the paint is exposed and needs protection from water, UV, and dirt.
Paint correction is a powerful way to restore your car’s beauty. With careful prep, the right products, and attention to detail, you can achieve results that rival professional detailing. Most mistakes come from rushing or skipping steps, so take your time and follow the process.
As you gain experience, you’ll see what works best for your car and enjoy a finish that truly shines.
Related posts
 Why You Should Use a Foam Cannon for Car Washing: Ultimate Guide
Washing your car is more than just making it look good. It protects the paint, keeps the value high, and makes driving feel better. But if…
 How to Clean Leather Seats Without Damaging Them: Expert Tips
Keeping your leather seats clean can be a challenge. Leather looks beautiful and feels luxurious, but it needs special care. Many people worry about damaging their…
 Why Using a Ceramic Coating Spray is Important for Your Car’s Shine
If you care about your car’s appearance and value, you probably wash and wax it regularly. But did you know there’s a better way to protect…