
How to Use a Clay Bar to Remove Contaminants from Your Car Safely
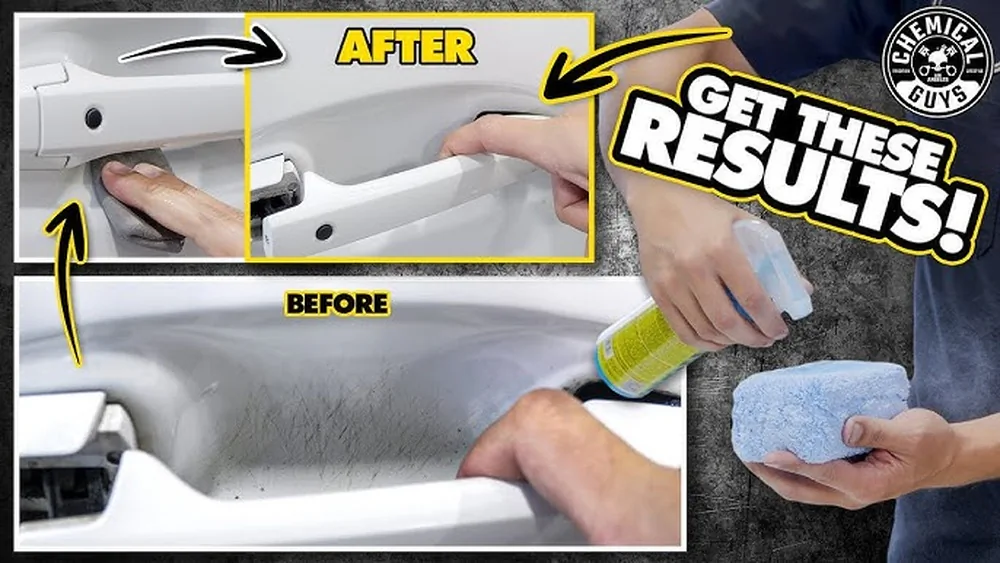
Every car owner knows the frustration of seeing their vehicle’s paint lose its shine. You wash, you wax, but there are still rough spots and tiny bumps you can feel with your fingers. These are often contaminants—things like brake dust, tree sap, road tar, or industrial fallout that stick to your paint and won’t come off with normal washing. Over time, they can dull your car’s finish and even damage the paint.
This is where the clay bar comes in. Used by both professionals and car enthusiasts, a clay bar is a simple but effective tool to restore a smooth, glossy surface. Many people hesitate to try it, thinking it’s difficult or risky. But with the right method, using a clay bar is safe, straightforward, and can make a dramatic difference.
Let’s dive into the full process—what you need, how to do it, and tips to get the best results—so you can give your car’s paint a fresh, smooth start.
What Is A Clay Bar And How Does It Work?
A clay bar is a special, sticky, putty-like material designed to grab and pull tiny particles off your car’s paint. These contaminants are often invisible but make the surface feel rough. Washing can’t remove them because they are bonded to the paint.
When you glide a lubricated clay bar over the paint, it lifts these particles, leaving the surface smooth. Clay bars come in different grades—fine, medium, and heavy—each suited for different levels of contamination.
Here’s a quick comparison:
| Clay Bar Grade | Best For | Risk of Marring |
|---|---|---|
| Fine | Light contamination, regular use | Very Low |
| Medium | Moderate contamination, yearly treatment | Low |
| Heavy | Serious contamination, neglected cars | Medium |
Most beginners should start with a fine clay bar. It’s gentle and safe for modern clear coats. Medium or heavy clay bars remove more, but can cause minor scratches (called “marring”) if used incorrectly.
Why You Should Clay Bar Your Car
You might wonder if a clay bar is really necessary. Here are some reasons to consider:
- Deep Clean: It removes what washing cannot. Paint feels glassy-smooth after claying.
- Better Shine: Wax and sealant bond better to clean paint, making the finish glossier and longer-lasting.
- Prevents Paint Damage: Contaminants can break down paint over time, leading to stains or rust.
- Essential Prep for Polishing: If you plan to polish or ceramic coat your car, claying is a must.
A surprising fact: Even brand-new cars often need claying. Transport and storage expose them to rail dust and industrial fallout.
Tools And Products You Need
Before you start, gather these items:
- Clay bar kit (usually includes clay and lubricant)
- Detailing spray or dedicated clay lubricant
- Microfiber towels
- Bucket, car wash soap, and sponge (for pre-wash)
- Wax or sealant (for protection after claying)
- Gloves (optional, for sensitive skin)
Never use household soap or dish liquid as a lubricant—it can strip wax and dry out the clay. Always use a proper clay lubricant or detailing spray.
Here’s a comparison of common clay lubricants:
| Lubricant Type | Pros | Cons |
|---|---|---|
| Dedicated Clay Lube | Best slip, designed for clay | Costs more |
| Detailing Spray | Widely available, multi-use | Some may leave residue |
| Soapy Water | Cheap, easy for large areas | Can break down clay faster |
How To Test If Your Car Needs Claying
Before you clay bar, check if your paint really needs it. The easiest way is the plastic bag test:
- Wash and dry a small section of your car.
- Place your hand inside a thin plastic bag (like a sandwich bag).
- Lightly rub your fingertips over the paint.
If it feels bumpy or gritty, those are contaminants. Smooth paint means you can skip claying for now.
Another tip: Look for visible spots that won’t wash off—dark dots, tar, or even tiny orange rust spots (“rail dust”) often need claying.
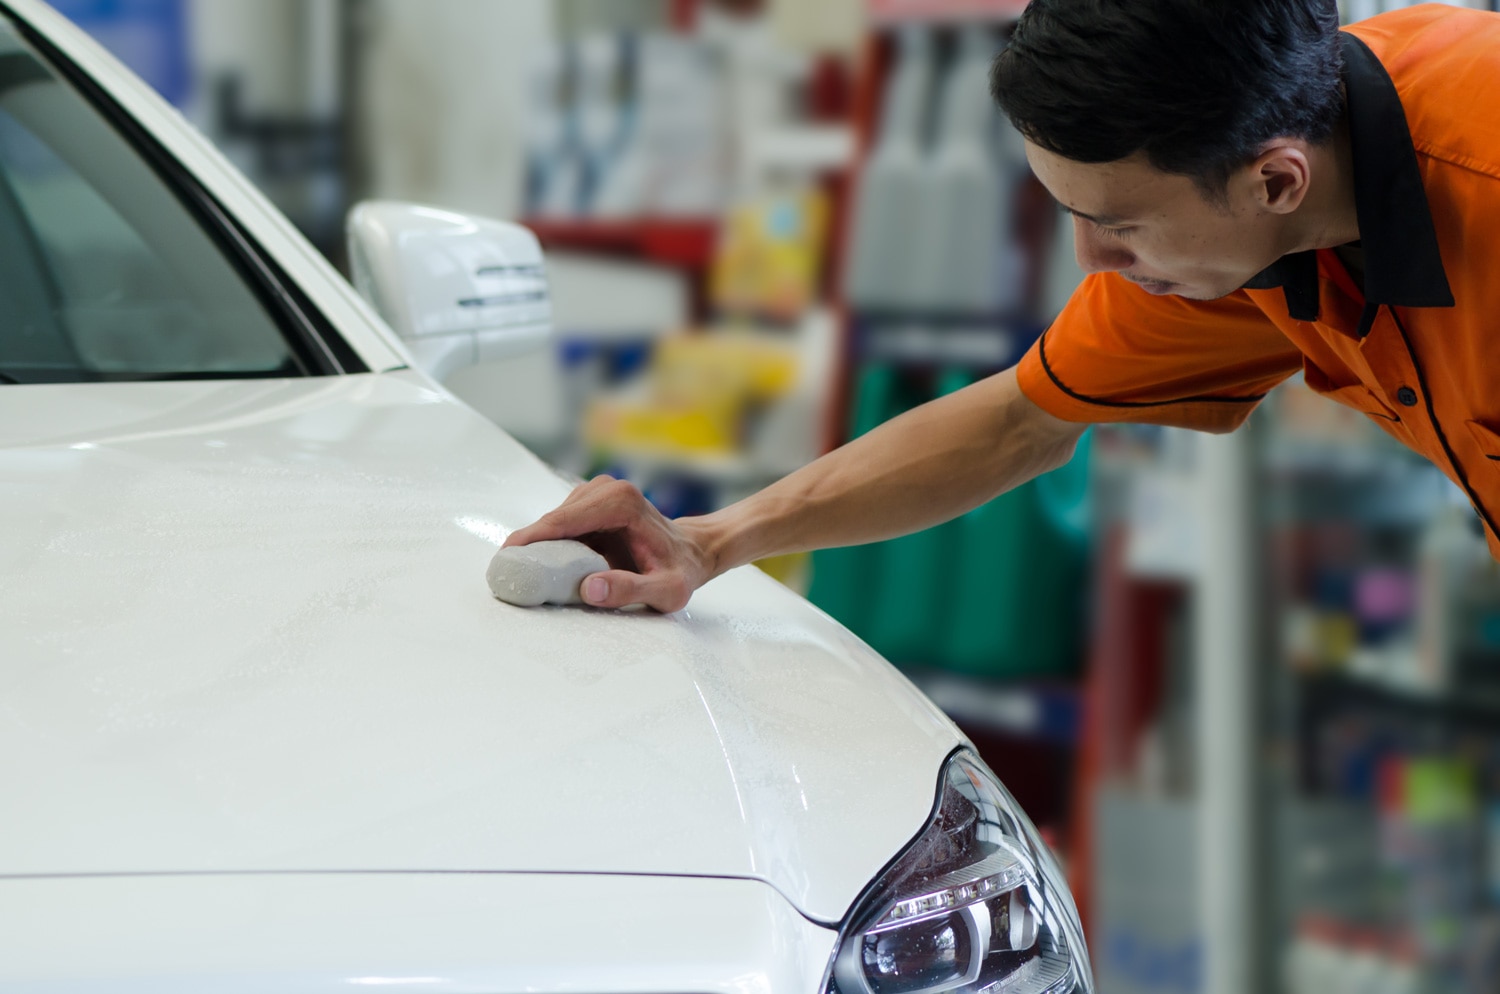
Credit: www.capitalone.com
Step-by-step Guide: Using A Clay Bar Safely
Using a clay bar is simple, but technique matters. Here’s how to do it right:
1. Wash And Dry Your Car
Start with a thorough wash. Remove all dirt, mud, and loose debris. If you clay a dirty car, you risk dragging grit across the paint and scratching it.
- Use a pH-neutral car wash soap.
- Rinse well and dry with a clean microfiber towel.
2. Prepare The Clay Bar
- Take a piece of clay (about the size of a golf ball).
- Knead it in your hands to soften and flatten it into a small disc or patty.
If the clay drops on the ground, throw it away—it will pick up grit that can scratch your paint.
3. Work In Small Sections
Spray lubricant generously on a 2×2-foot section. The surface must stay wet at all times.
- Gently glide the clay bar back and forth (not in circles).
- Use light pressure—let the clay do the work.
- You’ll feel the clay grabbing at first, then moving smoothly as contaminants are removed.
Check the clay. If it turns dirty, fold it to expose a clean side. When fully soiled, use a new piece.
4. Wipe Clean And Inspect
After each section, wipe off excess lubricant with a microfiber towel. Run your fingers over the paint—if it’s smooth, you’re done. If not, repeat.
5. Repeat Over Entire Car
Continue section by section—hood, roof, doors, trunk, bumpers. Don’t forget glass, but avoid unpainted plastic trim as clay can leave marks.
6. Apply Wax Or Sealant
Claying removes protection as well as contaminants. Always follow up with a wax or sealant to protect the clean paint.
Common Mistakes And How To Avoid Them
Many beginners make simple errors that can cause frustration or even minor damage. Watch out for these:
- Not enough lubricant: Always keep the surface slippery. Dry spots lead to scratches.
- Using old or dropped clay: Contaminated clay can scratch. Use a fresh piece if you drop it.
- Too much pressure: Pressing hard doesn’t clean better, it just risks marring.
- Skipping protection: Never leave paint unprotected after claying—apply wax or sealant right away.
- Claying in direct sun or hot panels: Heat dries lubricant quickly, increasing risk of marring. Work in shade or cool conditions.
An overlooked tip: If you have a heavily contaminated car, start with a tar remover for spots of tar or sap before claying. This saves time and extends the life of your clay bar.
How Often Should You Clay Bar Your Car?
There is no one-size-fits-all answer, but most drivers find that once or twice a year is enough. If your car is outside most of the time or parked near factories, railways, or under trees, you may need to clay more often.
Claying too often with aggressive clay can wear down the clear coat. Use the plastic bag test every few months to check if it’s needed.
When Not To Clay Bar
Clay bars are safe for clear-coat paint, but avoid them if:
- You have matte or satin finishes (they can become shiny).
- The paint is already damaged or very thin.
- You’re unsure—always test on a small, hidden area first.
For cars with PPF (paint protection film) or vinyl wraps, use only the mildest clay and lots of lubricant, or consult the manufacturer.

Credit: www.amazon.com
Alternatives To Traditional Clay Bars
In recent years, new products have made claying faster and sometimes easier:
- Clay mitts and clay towels: These use synthetic clay surfaces bonded to a glove or towel. They cover more area and are washable, but can be slightly more aggressive.
- Decontamination sprays: Iron removers dissolve some contaminants chemically, but can’t replace claying for all types.
Here’s a quick side-by-side look at the options:
| Product | Speed | Effectiveness | Best For |
|---|---|---|---|
| Traditional Clay Bar | Slow | High | Most users, detailed cleaning |
| Clay Mitt/Towel | Fast | Moderate-High | Large vehicles, quick jobs |
| Iron Remover Spray | Very Fast | Low-Moderate | Light decontamination, maintenance |
Try different options as your experience grows, but for most, the classic clay bar remains the standard for truly smooth paint.
Pro Tips For Best Results
- Divide the clay: Break a bar into smaller pieces. If one gets dirty or dropped, you’re not out the whole bar.
- Use two buckets when washing: One for soapy water, one for rinsing your mitt. This avoids adding dirt back onto the paint.
- Inspect as you go: Don’t rush. Feel each section after claying. If you miss a spot, go back.
- Keep clay moist: Store unused clay in its container with a few spritzes of lubricant to keep it soft.
- Use gentle touch on delicate areas: Edges, emblems, and badges can trap clay—work carefully.
Most people are amazed at the difference after their first proper clay bar treatment. The paint feels slick, looks shinier, and cleaning becomes easier.

Credit: www.amazon.com
Frequently Asked Questions
Can A Clay Bar Scratch My Paint?
If used correctly—with plenty of lubricant and light pressure—a fine clay bar is safe for clear coats and should not scratch. However, using too much pressure, dirty clay, or insufficient lubricant can cause minor scratches or marring.
How Do I Know When My Clay Bar Is Used Up?
When the clay bar becomes gray or gritty throughout and can’t be folded to a clean side, it’s time to replace it. Never use clay that has been dropped on the ground.
Can I Use Soapy Water As Clay Lubricant?
Some car owners use soapy water (with car wash soap) as a lubricant, especially for large vehicles. While it works, it can break down the clay bar faster and may not provide as much slip as dedicated lubricants.
Is Claying Necessary Before Waxing?
Yes, claying removes embedded contaminants so that wax or sealant bonds properly to the paint, giving better shine and protection. Waxing over rough, contaminated paint reduces both gloss and durability.
Where Can I Learn More About Car Detailing Techniques?
For more in-depth guides and tips on car care, check out resources like the Auto Detailing Wikipedia page.
A clean, contaminant-free surface is the foundation of a beautiful car finish. With a little care and the right technique, using a clay bar is an easy and effective way to revive your paint and keep your car looking its best.
Try it once, and you’ll see—and feel—the difference every time you drive.
Related posts
 Why You Should Use a Foam Cannon for Car Washing: Ultimate Guide
Washing your car is more than just making it look good. It protects the paint, keeps the value high, and makes driving feel better. But if…
 How to Clean Leather Seats Without Damaging Them: Expert Tips
Keeping your leather seats clean can be a challenge. Leather looks beautiful and feels luxurious, but it needs special care. Many people worry about damaging their…
 Why Using a Ceramic Coating Spray is Important for Your Car’s Shine
If you care about your car’s appearance and value, you probably wash and wax it regularly. But did you know there’s a better way to protect…