Clear, practical advice to install jeep fender flares safely and correctly, with tools, steps, tips, and common mistakes explained for Jeep owners who want clean results.
How to Install Jeep Fender Flares
Jeep owners often ask how to install jeep fender flares at home without stress. This guide answers that question in plain language. I wrote this from real hands-on experience with Jeep Wrangler and Cherokee models. You do not need special skills. You need patience, the right tools, and clear steps. By the end, you will know what to do, why each step matters, and how to avoid damage.
Fender flares protect your Jeep from mud, stones, and road spray. They also help you stay within tire coverage laws in many areas. Some owners want a wider stance. Others want a clean stock look after damage. No matter the reason, learning to install jeep fender flares yourself saves money and gives pride in your work.
Before we start, remember this guide fits most Jeep models. Some bolt sizes and clips differ. Always check your model year manual.
Why Jeep Fender Flares Matter
Jeep fender flares do more than change style. They serve a clear purpose. They keep debris off your paint. They protect doors and mirrors. They also help meet local vehicle rules.
Many regions require tires to stay under the flare edge. If your tires stick out, you can get fines. Proper flares fix this issue.
Here is a simple table that shows why owners add flares.
Benefits of Jeep Fender Flares
| Benefit | Why It Helps |
|---|---|
| Paint protection | Stops chips and scratches |
| Legal coverage | Helps meet tire coverage rules |
| Mud control | Keeps dirt off doors |
| Style choice | Adds rugged or clean look |
A Jeep mechanic once said, “Good flares save more paint than any wax.” Mark Collins
Types of Jeep Fender Flares
Before you install jeep fender flares, you must pick the right type. Jeep flares come in several styles. Each has a different look and fit.

Factory Style Fender Flares
These match the original Jeep look. They use stock mounting holes. They are best if you want a clean factory feel.
Pocket Style Fender Flares
These have bolt heads around the edge. They give a bold look. Some use rivets or bolts that stay visible.
Flat Fender Flares
Flat flares give more tire clearance. They suit off-road builds. They often need trimming or extra steps.
Flexible Rubber Fender Flares
These are simple strips. They work well for quick coverage. They are not as strong as molded flares.
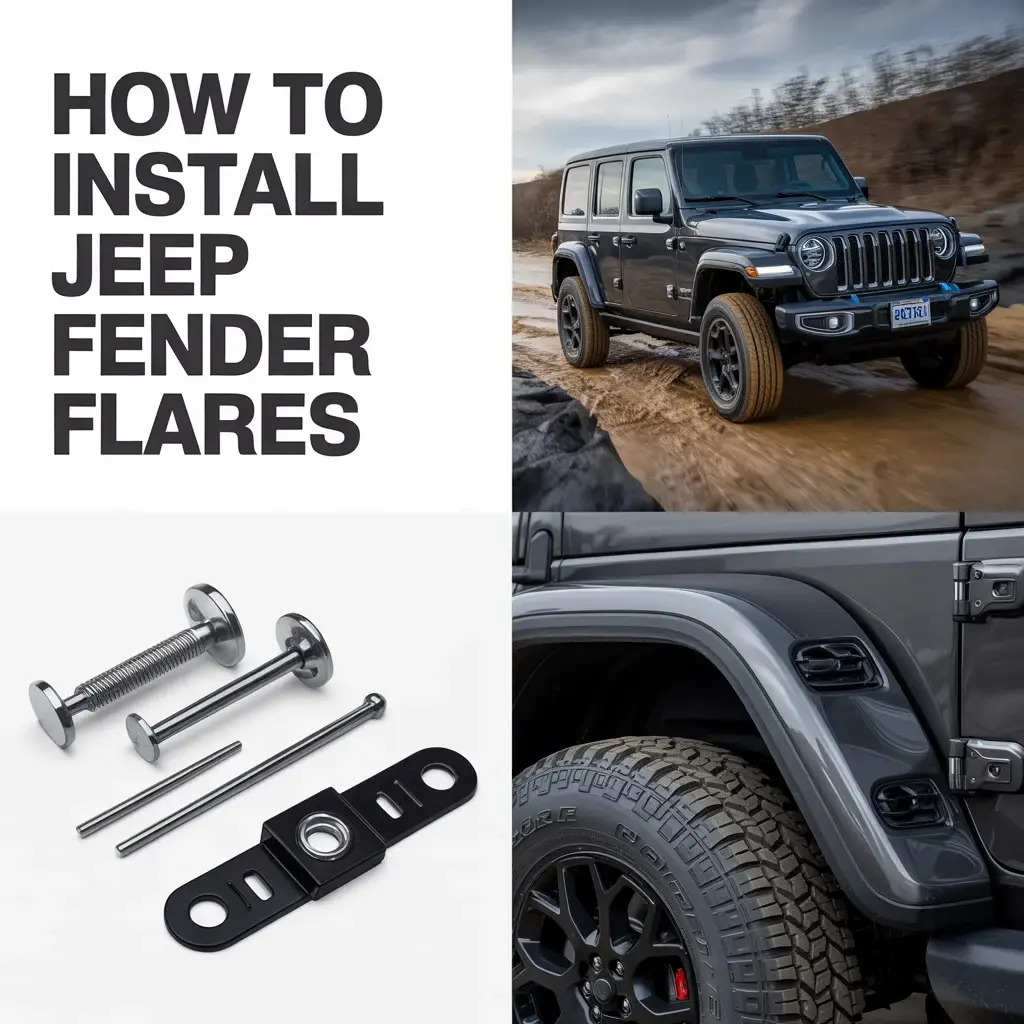
Tools and Supplies You Will Need
Having tools ready saves time. Do not rush this part. Lay everything out before you start.
Basic Tools List
| Tool | Purpose |
|---|---|
| Socket set | Remove and tighten bolts |
| Trim tool | Remove plastic clips |
| Screwdriver | Help with clips and screws |
| Torque wrench | Proper bolt tightness |
| Clean rags | Wipe dirt and grime |
You may also need rust spray, painter tape, and gloves. Some kits include new clips. Others reuse old ones.
A Jeep owner once shared, “Most mistakes happen before the first bolt comes off.” Lisa Hernandez
Preparation Before Installation
This step matters more than many think. Clean prep makes the job smooth.
Start by parking your Jeep on level ground. Turn the wheels outward for easier access. Remove dirt around the fender area. Dirt hides bolts and clips.
Check the flare kit. Count all bolts, clips, and seals. Read the included guide. Even if you follow this article, the kit guide shows model details.
If your Jeep has inner liners, check how they connect to the flare. Some liners bolt to the flare itself.
Now you are ready to install jeep fender flares with confidence.
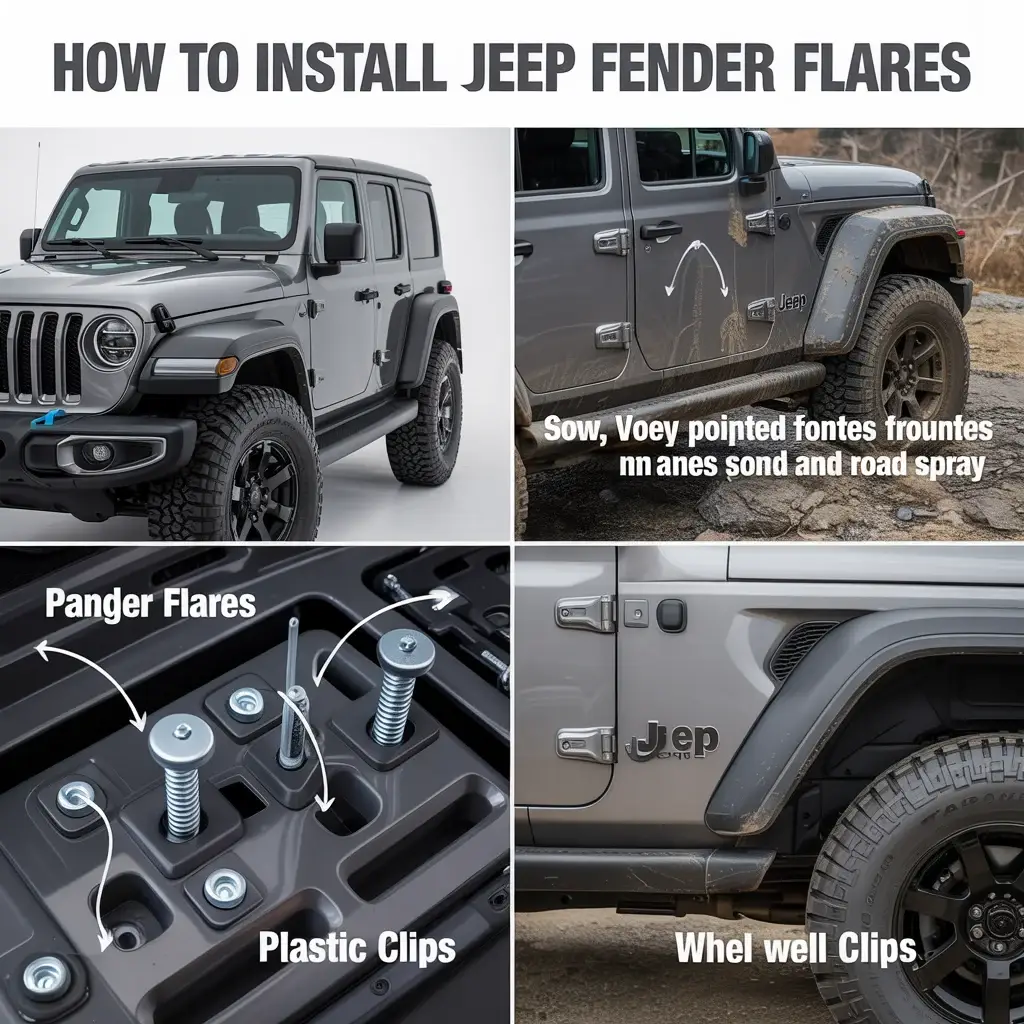
Step by Step Guide to Install Jeep Fender Flares
This section covers the main process. Read fully before starting. Then follow step by step.
Step 1: Remove the Old Fender Flares
Most Jeep flares attach with bolts and plastic clips. Use a trim tool to pry clips gently. Do not pull hard. Clips can snap.
Use a socket to remove bolts inside the wheel well. Keep bolts in a tray. Some may be reused.
Once loose, pull the flare away slowly. Check for wiring clips or liner connections.
Step 2: Clean and Inspect the Fender Area
After removal, you will see bare metal or plastic. Clean this area well. Look for rust. Treat rust now before adding new flares.
Wipe the area dry. Apply painter tape around the edge if you want extra paint safety.
This clean base helps the new flare sit flat and tight.
Step 3: Test Fit the New Fender Flare
Hold the new flare in place. Align holes with factory mounts. Do not force it.
Check gaps along the edge. If holes do not line up, stop. Recheck part numbers. Some flares are side specific.
This test fit avoids stress later.
Step 4: Attach Clips and Seals
Many flares use rubber seals. These stop vibration and water entry. Press seals onto the flare edge if not preinstalled.
Install metal or plastic clips into the flare holes. Make sure they sit flat.
Step 5: Mount the Fender Flare
Now you can install jeep fender flares fully. Start with the center bolt. Tighten lightly. Then add side bolts.
Do not fully tighten until all bolts are in place. This helps alignment.
Once all bolts are started, tighten evenly. Use a torque wrench if specs are provided.
Step 6: Reattach Inner Fender Liners
Inner liners protect wiring and engine parts. Reattach them to the flare or body as designed.
Make sure liners do not rub tires. Turn the steering wheel to check clearance.
Step 7: Final Check
Step back and look at the flare. Check gaps. Push lightly to ensure it is secure.
Repeat the process on all sides.
A long-time off-road builder said, “Slow hands make clean work.” Daniel Brooks
Common Mistakes to Avoid
Even simple jobs have pitfalls. Here are mistakes I see often.
First, over-tightening bolts. This cracks plastic flares. Tighten until snug, then stop.
Second, skipping the test fit. This leads to forced installs and broken clips.
Third, ignoring rust. Rust spreads under flares and causes damage later.
Fourth, mixing bolts from different sides. Keep hardware sorted.
Avoid these errors and your install jeep fender flares job will look professional.
Model Specific Notes
Each Jeep model has small differences. Here are quick tips.
Jeep Wrangler JK and JL
Wrangler flares often have many clips. Use a trim tool. JL models may have sensors near flares. Be gentle.
Jeep Cherokee
Cherokee flares may connect to bumper edges. Remove bumper screws if needed.
Jeep Gladiator
Gladiator rear flares are longer. Support them during removal to avoid bending.
Always check your model guide.
After Installation Care
Once you install jeep fender flares, care keeps them looking good.
Wash flares with mild soap. Avoid harsh chemicals. For plastic flares, use UV protectant.
Check bolts after one week. Driving can loosen new hardware.
If you off-road often, inspect flares after trips.
Legal and Fitment Considerations
Local laws vary. Some areas require full tire coverage. Measure tire width versus flare edge.
If your tires stick out, choose wider flares. Flat flares often expose more tire. Keep this in mind.
Correct fit keeps you safe and legal.
Cost and Time Expectations
Most installs take one to three hours. First timers may take longer.
Costs vary by flare type. Factory style costs less. Pocket and flat styles cost more.
Doing it yourself saves labor fees.

Frequently Asked Questions
Can I install jeep fender flares without drilling?
Most factory style flares use existing holes. Some pocket styles need drilling. Check the kit details.
Do I need to remove wheels?
No, but turning wheels outward helps access. Removing wheels gives more space but is optional.
Will new flares fit with stock tires?
Yes, most flares fit stock tires. Wider flares suit larger tires better.
Can I paint my fender flares?
Yes. Clean and sand lightly. Use plastic-safe paint. Let them cure fully.
How often should I check flare bolts?
Check after one week, then every few months. Off-road use needs more checks.
Final Thoughts
Learning how to install jeep fender flares gives you control over your Jeep build. This guide shows that patience and simple steps lead to clean results. You do not need fancy tools or expert help. You need time, care, and attention.
When you install jeep fender flares yourself, you learn more about your vehicle. You also gain trust in your skills. Take it slow. Follow each step. Enjoy the result.
If you plan future upgrades, this job builds a strong base. Your Jeep will look better, stay protected, and meet road rules. That is a win on every drive.
7 thoughts on “How to Install Jeep Fender Flares Step by Step”