
How to Detail Your Car’s Interior Like a Pro: Expert Tips
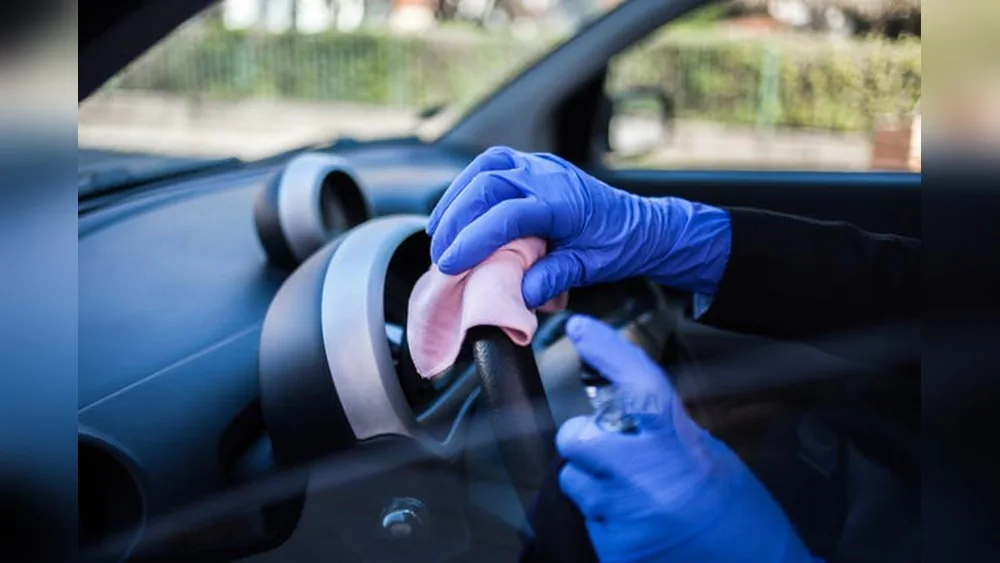
Every car owner dreams of stepping into a vehicle that feels fresh, clean, and comfortable. But achieving a professional-level interior detail isn’t just about vacuuming seats or wiping down the dashboard. It’s about understanding each material, using the right tools, and following a method that brings out the best in your car.
Whether your car is brand new or has seen years of use, learning how to detail your car’s interior like a pro will make every drive more enjoyable and help maintain its value.
Preparing For Interior Detailing
Before you start, set yourself up for success. Gather all necessary tools and products. You’ll need:
- Microfiber cloths
- Soft bristle brushes
- Vacuum with attachments
- Interior cleaner (safe for all surfaces)
- Glass cleaner
- Leather conditioner (if applicable)
- Carpet and upholstery cleaner
- Compressed air can or air blower
Choose a well-lit area, ideally with shade, so you can see dirt and stains clearly. Remove all personal items, trash, and floor mats to get full access to every part of your car.
Step-by-step Detailing Process
1. Remove Debris And Loose Dirt
Start by clearing out larger items and visible trash. Take out floor mats and shake them well. Use a vacuum with a crevice tool to reach tight spaces under seats, between cushions, and in storage compartments. Don’t rush this step—removing loose debris makes later cleaning much more effective.
2. Clean And Restore Carpets & Floor Mats
Car mats and carpets collect the most dirt. For mats:
- Rubber mats: Wash with soap and water, scrub with a brush, and let them dry completely.
- Fabric mats: Vacuum, treat stains with carpet cleaner, then rinse and dry.
For carpets inside the car, vacuum thoroughly. Spray a suitable carpet cleaner on stained areas. Use a brush to loosen dirt, then blot with a clean towel. Avoid soaking carpets; excessive moisture can cause mold and odors.
| Material | Cleaning Method | Drying Time |
|---|---|---|
| Rubber Mats | Soap & Water, Brush | 30 minutes |
| Fabric Mats | Vacuum, Carpet Cleaner | 2–4 hours |
| Car Carpets | Vacuum, Spot Clean | 2–6 hours |
3. Clean Seats Properly
Your approach depends on the seat material:
- Cloth seats: Vacuum first, then spray upholstery cleaner and scrub gently. Blot excess moisture and allow to dry.
- Leather seats: Wipe with a damp cloth, apply leather cleaner, and buff. Finish with a leather conditioner to prevent cracks and fading.
- Vinyl seats: Clean with a mild interior cleaner and soft cloth.
Pay attention to seams and folds, as dirt often collects there. For stubborn stains, a soft brush and patience are your best tools.
4. Dashboard, Console, And Door Panels
Dust and grime build up quickly on dashboards and panels. Use a microfiber cloth and an all-purpose interior cleaner. Avoid harsh chemicals, as they may damage sensitive plastics or touchscreens.
Focus on:
- Air vents (use compressed air or a small brush)
- Buttons and knobs (wipe gently)
- Cup holders (remove inserts and clean separately)
- Door pockets (vacuum and wipe)
For touchscreens and displays, only use products recommended by the manufacturer to avoid scratches.
5. Interior Glass And Mirrors
Clean windows and mirrors last, as dust and spray from earlier steps may settle on them. Use a glass cleaner and a clean microfiber cloth. Wipe in circular motions, then finish with vertical strokes for a streak-free look.
A non-obvious tip: Clean both sides of the glass, especially the inside, where fingerprints and haze often build up.
| Glass Area | Common Issue | Cleaning Solution |
|---|---|---|
| Windshield (inside) | Haze, fingerprints | Ammonia-free glass cleaner |
| Side windows | Dust, water spots | Microfiber, glass cleaner |
| Rearview mirror | Smudges | Glass cleaner, soft cloth |
6. Detailing Small And Hidden Areas
Professionals pay attention to details many people miss, such as:
- Seat rails
- Under seats
- Between center console and seats
- Under dashboard
Use a brush, compressed air, or a vacuum attachment to clean these spots. This step makes a huge difference in overall appearance and air quality.
7. Odor Removal And Air Quality
After cleaning, odors may linger. Use an odor neutralizer or air freshener. For persistent smells, sprinkle baking soda on carpets and seats, wait 15–30 minutes, then vacuum thoroughly.
Replace the cabin air filter every 12,000–15,000 miles. This improves air quality and removes odors from the ventilation system.

Credit: www.youtube.com
Choosing The Right Interior Products
Quality products matter. Cheap cleaners may leave residues or damage surfaces. Look for products labeled as:
- PH-balanced
- Safe for automotive interiors
- Non-toxic
For leather, choose conditioners with UV protection. For carpets, select enzyme-based cleaners for tough stains. Avoid products with strong fragrances, as they can mask odors without removing them.
| Product Type | Recommended Features | Common Mistake |
|---|---|---|
| Leather Conditioner | UV Protection, Non-Greasy | Using household oils |
| Carpet Cleaner | Enzyme-Based, Low Foam | Over-soaking carpets |
| Glass Cleaner | Ammonia-Free, Streak-Free | Using paper towels |
Pro Tips For A Superior Finish
Even beginners can achieve pro results by following these insider tips:
- Work from top to bottom. Start with dashboards and windows, finish with carpets and mats.
- Use dedicated cloths for different surfaces. Mixing cloths can transfer oils and dirt.
- Don’t oversaturate fabrics. Excess moisture can cause mold and smells.
- Test products on a small area first. This prevents accidental damage.
- Protect surfaces after cleaning. Use protectants on plastics and conditioners on leather.
A common mistake is skipping regular maintenance. A quick wipe-down every week keeps dirt from building up and makes deep cleaning easier.

Credit: www.youtube.com
Maintaining Your Detailed Interior
After detailing, keep your car interior looking great:
- Vacuum regularly (at least once a week)
- Wipe down surfaces with a damp cloth
- Avoid eating inside the car
- Use sunshades to protect the dashboard and seats from UV rays
- Clean up spills immediately to prevent stains
If you have pets or children, consider seat covers and rubber mats for easier cleaning.
Non-obvious Insights Beginners Miss
Many people overlook the importance of ventilation while detailing. Always keep doors open or windows cracked to let fumes escape and dry surfaces quickly. Also, most stains set because people wait too long to treat them. Immediate action can prevent permanent damage.
Another overlooked detail is cleaning the headliner (ceiling). Dust and smoke particles collect here. Use a soft brush and light cleaner—never soak the headliner, as too much moisture can cause sagging.
How Often Should You Detail Your Car’s Interior?
Professional detailers recommend a deep interior clean every 3–6 months, but frequency depends on use. For daily drivers, monthly mini-detailing helps maintain cleanliness. Cars exposed to pets, children, or heavy use need more frequent attention.
Comparing Diy Vs Professional Detailing
Is it worth doing it yourself, or should you hire a pro? Here’s a quick comparison:
| Aspect | DIY Detailing | Professional Detailing |
|---|---|---|
| Cost | $30–$70 (products/tools) | $150–$300 per session |
| Time Required | 2–4 hours | 1–2 hours |
| Skill Needed | Basic to Intermediate | Advanced |
| Results | Good with care | Excellent, consistent |
| Convenience | Flexible | Scheduled, fast |
For most people, DIY detailing is cost-effective and satisfying. If your car’s interior is heavily soiled or needs special care, a professional can deliver results faster and more safely.
Common Mistakes To Avoid
- Using household cleaners not designed for cars
- Over-wetting carpets and upholstery
- Forgetting to clean hidden areas
- Using the same cloth for multiple surfaces
- Not testing products before use
- Ignoring the headliner and air vents
Avoiding these mistakes will help you achieve a truly professional result.
Frequently Asked Questions
How Long Does Interior Car Detailing Take?
A thorough DIY detail usually takes 2–4 hours, depending on the car’s size and condition. Professionals may finish faster due to experience and equipment.
Can I Use Household Cleaning Products For My Car’s Interior?
It’s best to avoid them. Many household products are too harsh or leave residues. Use cleaners designed for automotive interiors for safe and effective results.
How Do I Remove Tough Stains From Car Upholstery?
Act quickly. Blot with a clean towel, then apply an enzyme-based upholstery cleaner. For deep stains, repeat the process and use a soft brush. Avoid scrubbing too hard, as this can damage fabric.
What Should I Do If My Car’s Interior Smells Bad After Detailing?
First, ensure everything is dry. Use an odor neutralizer or baking soda. If the smell persists, check under seats and carpets for hidden moisture or spills. Replace the cabin air filter if needed.
Is Professional Detailing Worth The Cost?
Professional detailing offers excellent results and can save time. It’s especially useful for heavily soiled interiors or luxury vehicles. For regular maintenance, DIY detailing is usually enough.
Detailing your car’s interior like a pro is a skill anyone can learn. With the right approach and attention to detail, your car will look and feel its best, every time you drive. For more tips and expert advice, check out Consumer Reports.
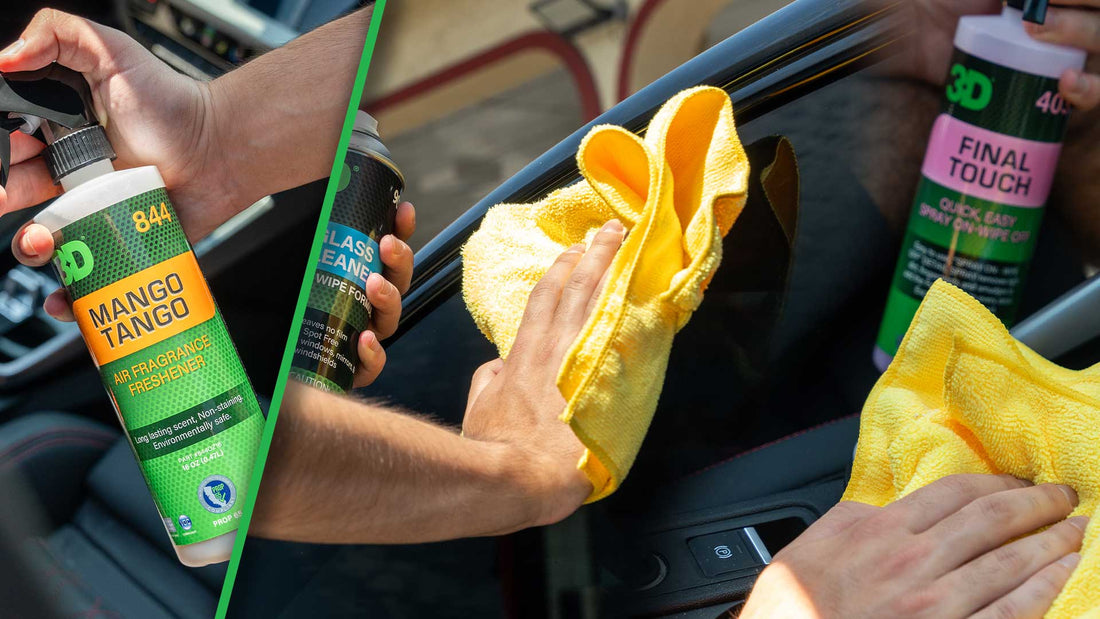
Credit: 3dproducts.com
Related posts
 Why You Should Use a Foam Cannon for Car Washing: Ultimate Guide
Washing your car is more than just making it look good. It protects the paint, keeps the value high, and makes driving feel better. But if…
 How to Clean Leather Seats Without Damaging Them: Expert Tips
Keeping your leather seats clean can be a challenge. Leather looks beautiful and feels luxurious, but it needs special care. Many people worry about damaging their…
 Why Using a Ceramic Coating Spray is Important for Your Car’s Shine
If you care about your car’s appearance and value, you probably wash and wax it regularly. But did you know there’s a better way to protect…