
How to Clean and Polish Your Car’s Headlights Like a Pro
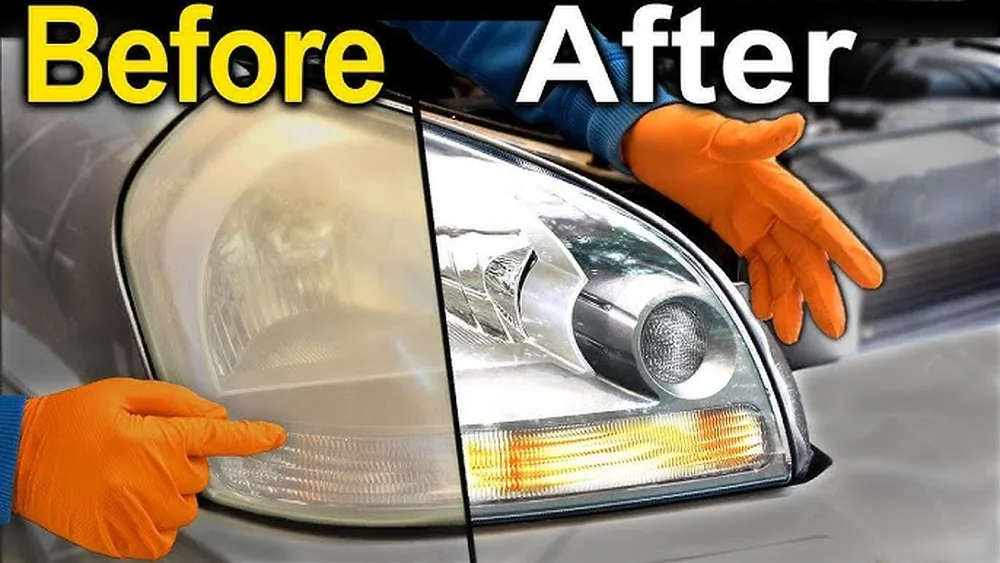
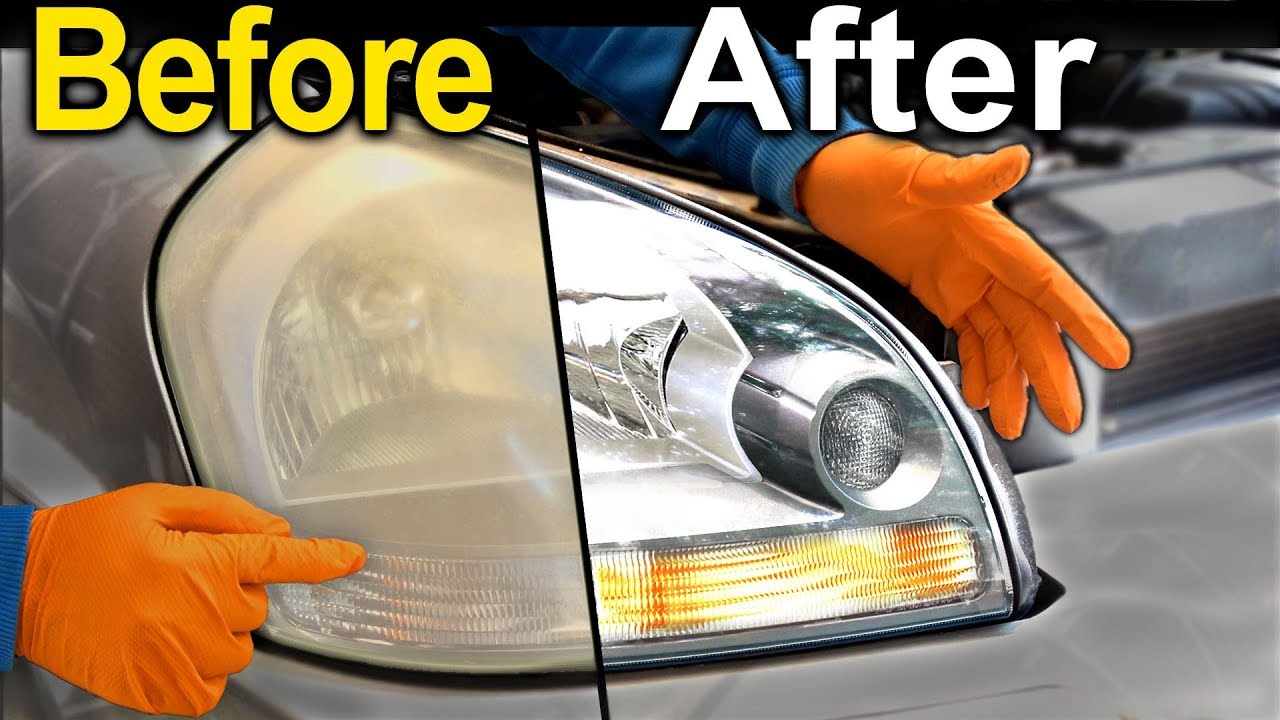
Cleaning and polishing your car’s headlights can make a huge difference in the way your vehicle looks and how well you see at night. Over time, headlights become cloudy, yellow, or scratched because of sun exposure, dirt, and road debris.
Many drivers don’t realize how easy and affordable it is to restore headlights at home—and how much it can improve safety. If you’ve noticed your headlights are not as bright as before, or they look dull, it’s time to give them some attention.
This guide will show you, step by step, how to clean and polish your car’s headlights for clearer vision and a better-looking car.
Why Headlights Become Cloudy
Most car headlights today are made of polycarbonate plastic. This material is tough but reacts with sunlight. Ultraviolet (UV) rays break down the outer layer, causing oxidation. This is what makes headlights turn yellow or cloudy. Other factors include:
- Road debris: Small stones and sand scratch the surface.
- Chemicals: Car wash soaps or road salts can wear down the clear coat.
- Weather: Rain, snow, and temperature changes cause further damage.
Cloudy headlights block light, making nighttime driving less safe. The good news is you can fix this problem yourself with common tools and products.
What You Need Before You Start
Before you begin, gather all the materials. Having everything ready saves time and helps you do a thorough job.
Basic Materials
- Car soap and water
- Microfiber towels
- Masking tape
- Sandpaper (1000, 2000, and 3000 grit)
- Plastic polish or headlight restoration kit
- UV sealant (optional but highly recommended)
- Spray bottle with water
Optional Tools
- Drill with polishing pad (for faster results)
- Rubbing alcohol
Here’s a quick comparison of using a headlight restoration kit versus household items:
| Method | Cost | Time Required | Results |
|---|---|---|---|
| Restoration Kit | $15–$30 | 30–45 min | Very good |
| Household Items | $5–$15 | 45–60 min | Good to fair |
Pro tip: Kits are easier and have everything you need, but you can get good results with sandpaper and polish too.
Step-by-step Headlight Cleaning And Polishing
Restoring headlights takes some care but it’s not difficult. Follow these steps for the best results:
1. Wash The Headlights
Start by washing the headlights with car soap and water. Remove all dirt, bugs, and grime. Dry with a clean microfiber towel.
Why this matters: Dirt can scratch the plastic during sanding or polishing.
2. Protect The Surrounding Paint
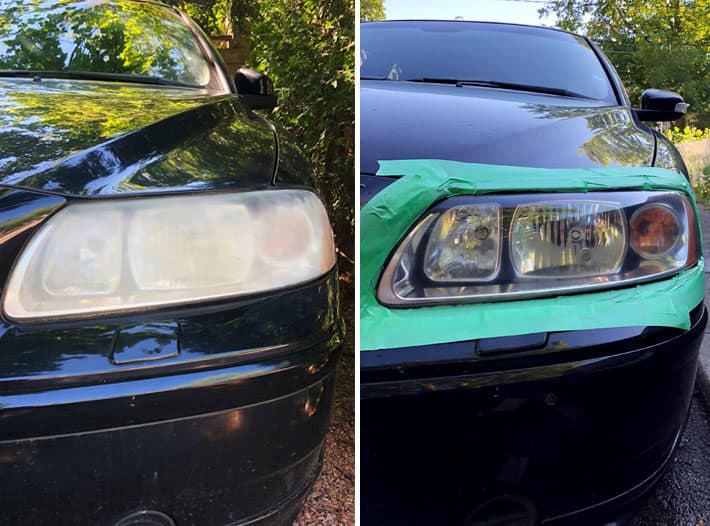
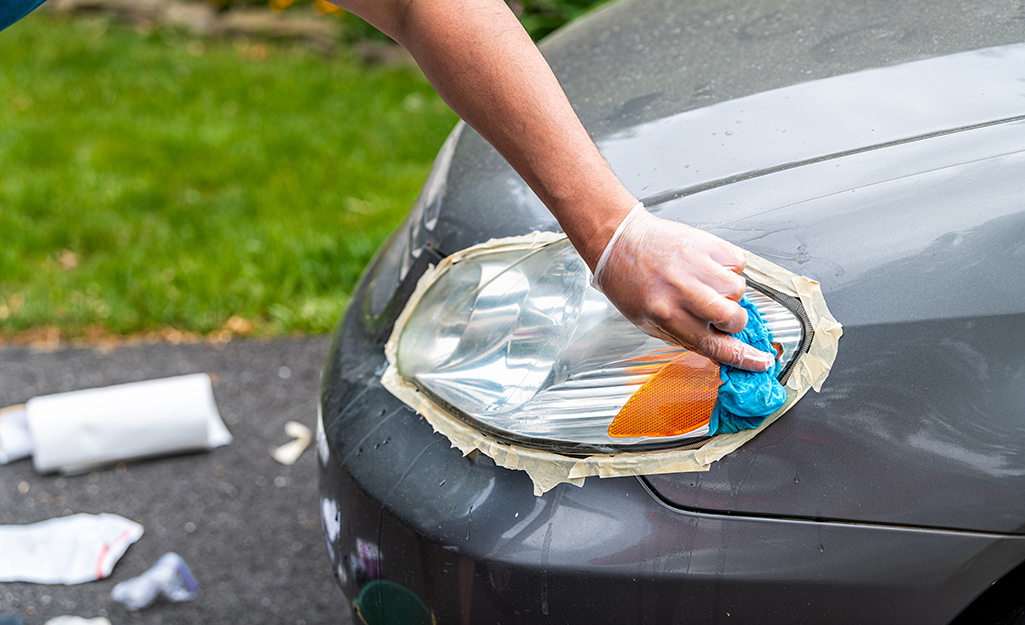
Use masking tape to cover the area around your headlights. This prevents scratches or damage to your car’s paint.
Non-obvious insight: Many people skip this, but it’s easy to slip while sanding. Protecting the paint saves costly repairs.
3. Wet Sand The Headlights
Wet sanding removes the oxidized layer and smooths out scratches. Here’s how:
- Spray water on the headlight and sandpaper (start with 1000 grit).
- Sand gently in one direction—keep the surface wet at all times.
- After 2–3 minutes, switch to 2000 grit. Sand in a different direction.
- Finish with 3000 grit for a smooth finish.
Dry and check your progress. The headlight should look evenly cloudy, not clear yet.
Mistake to avoid: Don’t sand aggressively or with dry sandpaper. This can permanently scratch the lens.
4. Apply Plastic Polish
Put a small amount of plastic polish on a microfiber towel or polishing pad. Rub it into the headlight in small circles. If you have a drill with a pad, use it on low speed.
- Work until the lens starts to look clear.
- Wipe off excess polish with a clean towel.
Extra tip: Some people use toothpaste as a polish. It works in a pinch but is less effective than real headlight polish.
5. Clean And Inspect
Wipe the headlight with a damp towel. Look from different angles. If you see haze or scratches, repeat sanding and polishing until satisfied.
6. Apply Uv Sealant
This is a step many beginners skip, but it’s important. Use a UV sealant (often included in kits) to protect the headlight from future sun damage.
- Apply with a clean towel.
- Let it dry as directed (usually a few minutes).
Without sealant, headlights will become cloudy again within months.
Comparing Headlight Restoration Methods
Some people try shortcuts like bug spray or baking soda. Here’s how they compare with proper sanding and polishing:
| Method | Effectiveness | How Long It Lasts | Risks |
|---|---|---|---|
| Sanding & Polish | Excellent | 1–2 years (with sealant) | Few, if careful |
| Bug Spray | Quick improvement | 1–4 weeks | Can damage plastic |
| Baking Soda & Toothpaste | Some improvement | 1–2 months | Can scratch lens |
Non-obvious insight: Bug spray works because it melts the plastic’s outer layer, but it weakens the headlight and can cause cracks. Always use products meant for plastic.
Credit: www.youtube.com
How Often Should You Clean And Polish Your Headlights?
Most headlights need attention every 1 to 2 years. If your car sits outside in the sun, you may need to do it more often. Signs you need to restore headlights again:
- Yellowing or cloudy appearance returns
- Reduced light output at night
- Failed vehicle inspection (some states check headlight clarity)
Common Mistakes To Avoid
Many first-timers make these errors:
- Skipping grits: Not using all three sandpaper grades leaves the surface rough.
- Using too much pressure: Pressing hard while sanding or polishing can create deep scratches.
- Not cleaning between steps: Grit from earlier steps can cause scratches in later ones.
- Forgetting UV protection: Restoration won’t last without a sealant.
- Testing on only one headlight: Always do both for even light output.
When To Replace Instead Of Restore
Sometimes, headlights are too far gone for DIY repair. Consider replacing if:
- The plastic is cracked or heavily pitted
- Moisture is trapped inside the headlight
- Restoration does not improve clarity
Replacement headlights can be expensive, but are sometimes the only safe option.
Professional Vs. Diy Restoration
You might wonder if it’s better to pay a professional. Here’s a quick comparison:
| Factor | DIY | Professional |
|---|---|---|
| Cost | $10–$30 | $80–$150 |
| Time | 1 hour | 1–2 hours |
| Result | Good to excellent | Excellent |
| Convenience | At home | Leave it to the pros |
DIY works well for most people. If your car is very valuable or you want a guarantee, a professional might be worth it.
Credit: www.theartofdoingstuff.com
Headlight Maintenance Tips
After cleaning and polishing, keep your headlights clear longer with these tips:
- Park in the shade or a garage to reduce UV damage.
- Wash headlights regularly to remove dirt and chemicals.
- Apply a fresh layer of UV sealant every few months.
- Avoid harsh cleaners or abrasive sponges.
The Real Impact Of Clean Headlights
According to the National Highway Traffic Safety Administration (NHTSA), poor headlight performance is a factor in many nighttime accidents. Cloudy headlights can reduce light output by up to 80%. Better visibility means safer driving for you and others.
Credit: www.homedepot.com
Frequently Asked Questions
How Long Does A Headlight Restoration Last?
A proper restoration, with sanding, polishing, and UV sealant, usually lasts 1 to 2 years. If you skip the UV protection step, headlights may start to cloud over again in a few months.
Can I Use Toothpaste To Polish Headlights?
Toothpaste contains mild abrasives, so it can improve clarity for a short time. However, it’s not as effective as proper plastic polish and doesn’t offer long-term results. For best results, use products designed for headlight restoration.
Is It Safe To Use Bug Spray On Headlights?
Bug spray can clear cloudiness temporarily because it contains solvents, but it can also damage the plastic and make the problem worse over time. It’s not recommended by experts or car manufacturers. For safe and lasting results, stick with automotive products. For more information, visit Wikipedia.
What If There’s Water Or Condensation Inside The Headlight?
If you see moisture inside the headlight, cleaning the outside won’t help. This usually means the seal is broken or cracked. You may need to remove, dry, and reseal the headlight, or replace it if the problem is severe.
Do Led Or Hid Headlights Need Different Care?
The cleaning process for the lens (the outer cover) is the same for all types—LED, HID, or halogen headlights. If your headlight assembly is glass (rare on modern cars), do not sand it. Only clean with soap and water.
Restoring your car’s headlights is a simple project that can make a big difference in safety and appearance. With the right tools and a little patience, you can do it at home and enjoy bright, clear lights for years to come.
Related posts
 Why You Should Use a Foam Cannon for Car Washing: Ultimate Guide
Washing your car is more than just making it look good. It protects the paint, keeps the value high, and makes driving feel better. But if…
 How to Clean Leather Seats Without Damaging Them: Expert Tips
Keeping your leather seats clean can be a challenge. Leather looks beautiful and feels luxurious, but it needs special care. Many people worry about damaging their…
 Why Using a Ceramic Coating Spray is Important for Your Car’s Shine
If you care about your car’s appearance and value, you probably wash and wax it regularly. But did you know there’s a better way to protect…