
How to Remove Jeep Fender Flares Step by Step
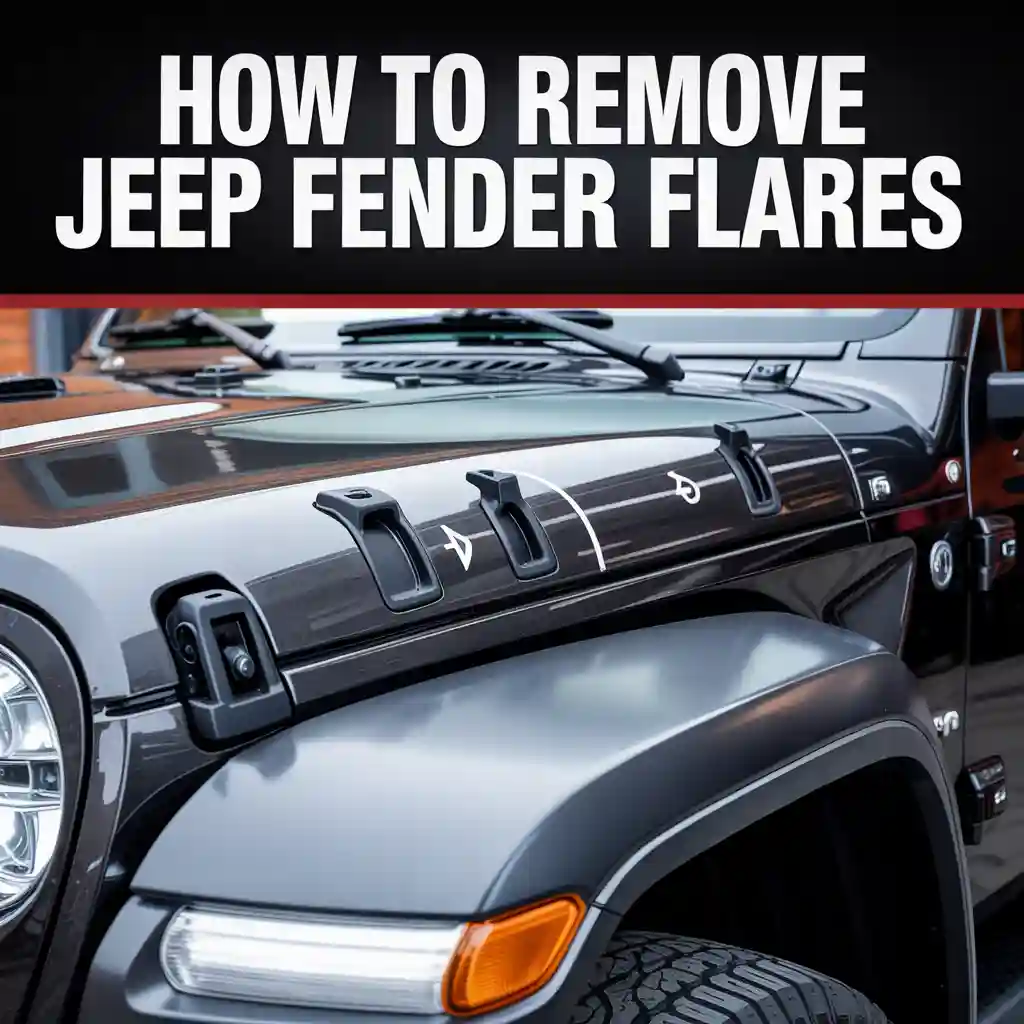
This clear guide explains how to remove jeep fender flares safely at home using simple tools. If you want to remove jeep fender flares without damage, this article walks you through each step with care, tips, and common mistakes to avoid.
If you own a Jeep, you already know how much personality it has. Fender flares play a big role in that look, but there are many reasons you might want them off. Some owners plan to replace damaged flares. Others want to repaint, clean rust, or install aftermarket upgrades. Many simply want to learn how to remove jeep fender flares the right way without breaking clips or scratching paint.
This guide is written for real Jeep owners who prefer clear steps, plain words, and honest advice. You do not need advanced skills. You do not need special training. With patience and the right process, you can remove jeep fender flares at home and feel confident while doing it.
I will walk you through tools, prep work, removal steps for different Jeep models, common issues, and what to do after the flares come off. Everything here is based on hands-on experience and practical care, not theory.
“Working on your Jeep teaches you patience. Rushing always costs more time later.”
Author: Daniel Cooper, Jeep Owner and DIY Mechanic
Why Jeep Owners Remove Fender Flares
Before grabbing tools, it helps to know why people remove these parts. This gives context and helps you plan the job better.
Common reasons include
- Cracked or faded factory flares
- Rust hiding behind the flare
- Painting the body or flares
- Installing wider aftermarket flares
- Cleaning mud buildup after heavy off-road use
No matter the reason, the method to remove jeep fender flares stays mostly the same. Small details change by model year and trim.
Tools Needed to Remove Jeep Fender Flares
You do not need a full garage setup. Most tools are simple and affordable.
Basic tool list
| Tool | Purpose |
|---|---|
| Socket wrench set | Removes bolts and nuts |
| Trim clip removal tool | Pops plastic clips safely |
| Flathead screwdriver | Helps loosen stubborn clips |
| Torx bit set | Common on Jeep hardware |
| Gloves | Protects hands |
| Masking tape | Protects paint edges |
Keep all tools nearby before starting. This saves time and helps you stay focused.

Preparing Your Jeep Before Removal
Preparation makes the job smoother and protects your Jeep’s body.
Clean the area first
Wash around the fender flares. Dirt hides bolts and causes scratches when parts shift.
Park on flat ground
Flat ground keeps the Jeep stable. Engage the parking brake.
Turn wheels outward
Turning the front wheels gives more space to reach inner fasteners.
Use masking tape
Apply tape along the edge where the flare meets the body. This simple step reduces paint damage risk.
How Fender Flares Are Attached
Knowing how flares are mounted helps you remove jeep fender flares without force.
Most Jeep fender flares use:
- Plastic push clips
- Screws or bolts inside the wheel well
- Tabs that slide into the body
The outer edge may look solid, but fasteners are usually hidden inside the wheel arch.
Step by Step: How to Remove Jeep Fender Flares
This section explains the core process. Follow it slowly and stay patient.
Step 1: Access the inner wheel well
Turn the steering wheel or remove the tire if you want more space. Removing the tire is optional but helpful.
Step 2: Remove inner liner fasteners
Inside the wheel well, you will see screws, bolts, or clips holding the liner and flare.
- Use a socket or Torx bit for bolts
- Use a trim tool for plastic clips
Store hardware in a small container so nothing gets lost.
Step 3: Detach the inner liner
Gently pull the liner back. You do not need to remove it fully. Just move it enough to reach flare fasteners.
Step 4: Remove flare bolts and clips
Work from one end to the other. Do not pull the flare yet. Make sure all fasteners are free.
Step 5: Release the flare tabs
Once fasteners are out, hold the flare with both hands. Pull outward slowly. Tabs will release one by one.
If it resists, stop and check for missed fasteners.
“Plastic clips fail when rushed. Slow hands save money.”
Author: Mark Reynolds, Off Road Hobbyist
Model Specific Notes for Jeep Fender Flares
Different Jeep models use slightly different mounting styles. Below are helpful notes.
Jeep Wrangler JK and JL
- Torx bolts are common
- Clips can be tight due to dirt buildup
- Rear flares often have more tabs
Jeep Gladiator
- Similar to JL
- Extra care near the truck bed
- Longer flare length means more clips
Older Jeep Models
- Brittle plastic is common
- Clips may break even with care
- Replacement clips are often needed
Common Problems and How to Avoid Them
Many issues happen due to speed or poor prep.
Broken clips
Clips break when pulled straight out. Use a trim tool and pry gently from the base.
Scratched paint
This happens when dirt sits between the flare and body. Cleaning and tape help prevent this.
Stripped bolts
Use the correct size tool. Apply steady pressure.
Table: Common Fasteners and Removal Tips
| Fastener Type | Best Tool | Tip |
|---|---|---|
| Plastic push clip | Trim tool | Pry from center |
| Torx screw | Torx bit | Press firmly |
| Small bolt | Socket wrench | Turn slowly |
Removing Fender Flares With Rust Present
Rust often hides behind flares, especially in wet climates.
What to expect
- Stuck bolts
- Flakes falling out
- Sharp edges
How to handle rust safely
- Wear gloves
- Use penetrating spray on bolts
- Clean rust after removal before reinstalling
This is a good time to treat rust spots before installing new flares.
Should You Remove Fender Flares Alone
Most people can remove jeep fender flares alone. Still, having help can make it easier.
Solo removal
- Works fine for front flares
- Requires patience
- Good lighting helps
With a helper
- Easier for rear flares
- Reduces risk of dropping the flare
What to Do After Fender Flares Are Off
Once the flares are off, do not rush to reinstall or replace them.
Clean the exposed area
Wash away mud and debris. Dry completely.
Inspect for damage
Look for rust, cracked paint, or loose body clips.
Store removed flares properly
Lay them flat in a safe area. Avoid stacking heavy items on top.
Installing Aftermarket Fender Flares
If your goal is an upgrade, removal is only half the job.
Check new flare instructions
Every brand is different. Follow their guide closely.
Test fit before final install
Hold the flare in place to check alignment.
Use new clips when possible
Old clips may not hold as well.
“A test fit saves frustration. Always check before tightening.”
Author: Sarah Mitchell, Jeep Trail Guide
Safety Tips During Fender Flare Removal
Your safety matters as much as your Jeep.
- Wear gloves to avoid cuts
- Use eye protection if rust is present
- Keep children away from the work area
- Do not force stuck parts
Slow work reduces mistakes.
How Long Does It Take to Remove Jeep Fender Flares
Time depends on experience and condition.
Average time
- First timer: 1.5 to 2 hours
- Experienced DIY owner: 45 to 60 minutes
Rust or broken clips can add time.
Can You Drive Without Fender Flares
Laws vary by location.
Things to consider
- Tire coverage laws
- Mud spray risks
- Temporary driving only
Check local rules before driving without flares.
Benefits of Learning to Remove Jeep Fender Flares Yourself
Learning this skill builds confidence.
Key benefits
- Saves labor costs
- Helps with future mods
- Builds trust in your Jeep
Once you remove jeep fender flares once, the process feels much easier next time.

Frequently Asked Questions
Is it hard to remove jeep fender flares at home
No. With basic tools and patience, most owners can handle it easily.
Will removing flares damage my Jeep
Not if done carefully. Tape and proper tools help protect paint.
Do I need to remove the wheels
No. Turning the wheels gives enough space in most cases.
Can I reuse old clips
Sometimes yes, but new clips hold better and cost little.
How many times can I remove jeep fender flares
You can remove them multiple times if clips and tabs stay intact.
Conclusion
Learning how to remove jeep fender flares is a useful skill for any Jeep owner. The process is simple when broken into steps and done with care. Clean the area, use the right tools, and move slowly. Avoid force and check for hidden fasteners before pulling.
This guide was written to help real people work on their Jeeps with confidence. Whether you plan to replace flares, fix rust, or just learn something new, taking your time leads to better results.
Removing fender flares may feel intimidating at first, but once you finish the job, you will see how manageable it really is. Your Jeep will thank you for the care, and you will gain a skill that stays useful for years.
Related posts
 How to Clean And Maintain Car Floor Mats Like a Pro
Keeping your car clean feels great, but many drivers overlook one spot that collects the most dirt—your car floor mats. These mats trap dust, mud, crumbs,…
 How to Protect Car Upholstery from Stains: Expert Tips
Keeping your car’s interior clean and fresh isn’t just about looks—it protects your investment and makes every drive more comfortable. Car upholstery stains can be frustrating,…
 How to Clean Car Carpet Without a Vacuum: Easy DIY Methods
Cleaning your car’s carpet can feel like a big task, especially if you don’t have a vacuum. But don’t worry—good results are possible with simple tools…