
How to Install All-Weather Car Floor Mats: A Simple Guide
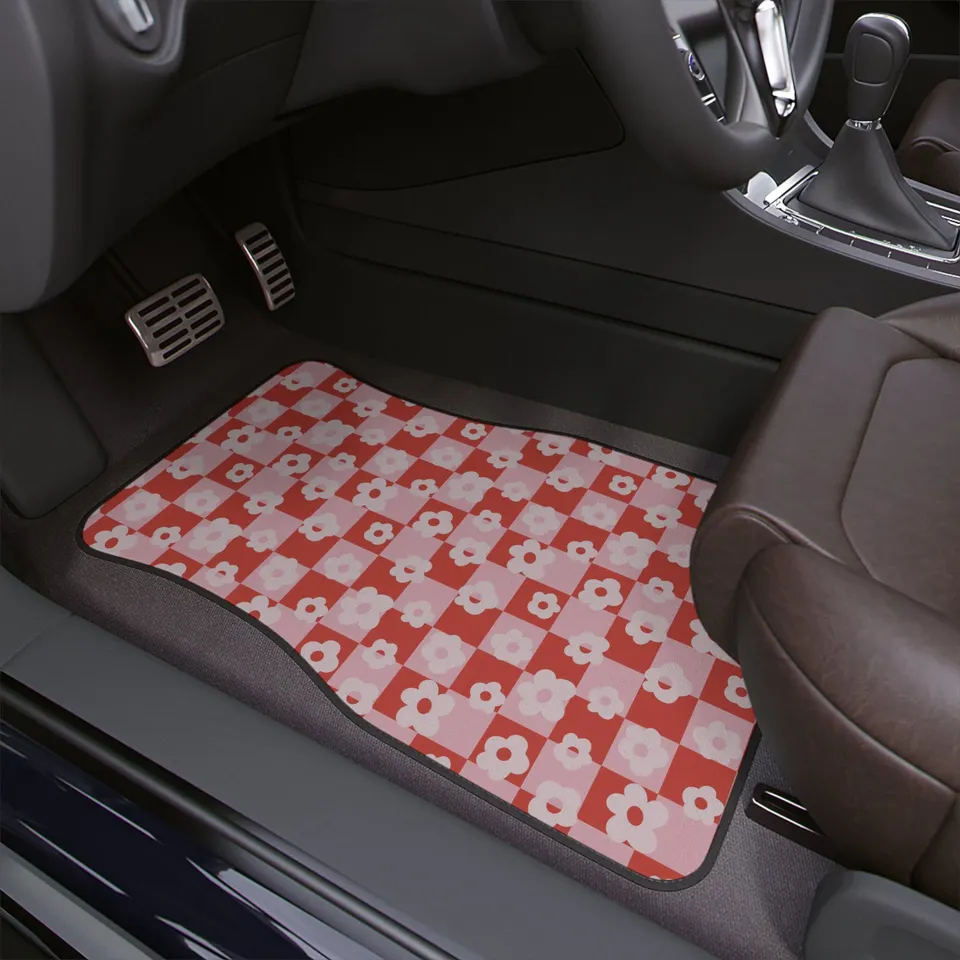
Installing all-weather mats in your car is a simple process that significantly enhances your vehicle’s interior protection. These durable mats are designed to catch mud, snow, water, and debris, keeping your original carpet clean and dry. The installation typically involves removing any existing mats, cleaning the floor, and then placing the new all-weather mats into position.
By following a few key steps, you can ensure your new mats fit perfectly and stay securely in place, preventing them from becoming a driving hazard. This guide will walk you through the entire process, from preparation to the final check, making it easy for anyone to achieve a professional-looking installation.
Removing existing floor mats
- Always remove old mats and clean the car floor thoroughly first.
- Pay attention to your car’s specific mat retention system.
- Ensure mats lie flat and do not interfere with pedals.
- All-weather mats offer significant protection against dirt and moisture.
| Topic | When it helps | What to keep in mind |
|---|---|---|
| step_1 | All car owners installing new floor mats. | Be mindful of any clips or hooks that might be attached to the old mats or the car’s floor. |
| step_2 | Ensuring a clean surface for the new mats to adhere to and preventing trapped dirt from damaging the carpet. | Ensure the carpet is completely dry before placing the new mats to prevent mold or mildew. |
| step_3 | Getting the initial placement right before securing. | Ensure the mats do not overlap the edges of the car’s floor or interfere with the pedals. |
| step_4 | Preventing mats from shifting during driving, which is a safety concern. | Never force clips or posts. If they don’t align easily, re-check the mat’s position. Avoid driving if mats are not secured. |
This article will cover the
step_1. Remove Old Floor Mats
Carefully take out any existing floor mats from your car. This is crucial for a clean installation and to ensure the new mats sit correctly without bunching.
- All car owners installing new floor mats.
- Be mindful of any clips or hooks that might be attached to the old mats or the car’s floor.
- Inspect the old mats for wear and tear; consider replacing them if they are significantly damaged.
step_2. Clean Your Car’s Floor
Vacuum your car’s carpet thoroughly to remove all dirt, debris, and loose particles. For a deeper clean, use a damp cloth or a carpet cleaner if there are stains.

- Ensuring a clean surface for the new mats to adhere to and preventing trapped dirt from damaging the carpet.
- Ensure the carpet is completely dry before placing the new mats to prevent mold or mildew.
- Wipe down any plastic or rubber trim around the floor area for a complete refresh.
step_3. Position the New Mats
Place the new all-weather mats onto the floor, aligning them with the contours of your car’s footwell. Start with the driver’s side, as it often has specific retention systems.
- Getting the initial placement right before securing.
- Ensure the mats do not overlap the edges of the car’s floor or interfere with the pedals.
- Gently press down on the mats to see how they naturally settle into the space.
step_4. Secure the Mats
Utilize your car’s existing mat retention system (hooks, clips, or posts) or the fasteners that came with your new mats. Ensure they are firmly attached and the mats lie flat.
- Preventing mats from shifting during driving, which is a safety concern.
- Never force clips or posts. If they don’t align easily, re-check the mat’s position. Avoid driving if mats are not secured.
- Test the security by gently tugging on the mats in different directions.
Preparation is Key: Before You Install
Before you even think about placing your new all-weather mats, a little preparation goes a long way. This involves removing any old floor coverings and giving your car’s interior a good clean. This not only ensures a better fit but also prevents trapping moisture and dirt that can lead to unpleasant odors and damage to your car’s carpet.
Take out all existing floor mats. If they are old or heavily soiled, this is a good opportunity to clean them or dispose of them. Once the floor is clear, thoroughly vacuum the entire area. Pay attention to corners and under the seats where dirt tends to accumulate. For stubborn stains or spills, a mild carpet cleaner can be used, but ensure the carpet is completely dry before proceeding.

Imagine you’re installing new mats on a rainy day. If you don’t remove the old, soggy mats and clean the floor, you’re just trapping moisture and dirt underneath, potentially causing odors and carpet damage.
Skipping the cleaning step and installing mats over existing dirt and debris.
- Remove all old floor mats.
- Vacuum the entire floor area, including under seats.
- Address any stains with appropriate carpet cleaner.
- Ensure the carpet is completely dry.
The Installation Process: Placing Your New Mats
With a clean and dry floor, it’s time to place your new all-weather mats. Start with the driver’s side mat. These often have specific features to connect to your car’s floor retention system, such as posts, clips, or hooks. Align the mat with these points. Many all-weather mats are designed with raised edges, so ensure these edges are also positioned correctly within the footwell.
Once the driver’s side is in place, move to the passenger side and any rear mats. For rear mats, especially if they are a single piece covering the entire back, ensure they are spread out evenly and cover the intended area. Take a moment to visually inspect how the mats lay. They should conform to the floor shape without significant wrinkles or gaps, especially around the edges.
When placing the driver’s side mat, notice the small circular indentations on the mat. These are designed to align with the car’s floor hooks. If the mat isn’t sitting flush, try rotating it slightly or adjusting its position until these align perfectly.
Forcing the mat into place if it doesn’t seem to fit, which could damage the mat or the car’s interior.
Driver’s Side Installation
The driver’s side is the most critical for safety. Locate your car’s floor mat retention system. This could be a hook, a twist-lock post, or a clip. Your all-weather mat will likely have a corresponding feature. Carefully align the mat’s anchor point with the car’s retention system. Press down firmly until it clicks or locks into place. Ensure the mat lies flat and does not obstruct the accelerator, brake, or clutch pedals.

- Identify car’s retention system (hooks, posts, clips).
- Align mat’s anchor point with the car’s system.
- Press down firmly until secured.
- Check pedal clearance.
Passenger and Rear Mat Placement
For the passenger side, the process is similar but usually less complex, as there are fewer pedal obstructions. Simply position the mat, ensuring it covers the floor area adequately. Rear mats can vary; some are individual pieces, while others are a single, large mat. For single-piece rear mats, ensure they are spread out to cover the entire floor space, tucking them neatly around any center console components.
Securing and Final Checks
Once the mats are in place, the final step is to ensure they are securely fastened. This is paramount for safety, as a shifting mat can interfere with your ability to operate the pedals. Gently tug on the edges of each mat to confirm they are held firmly in place by the retention system. For mats that came with their own fasteners, ensure these are properly installed according to the manufacturer’s instructions.
After securing, perform a final visual inspection. Check that the mats lie flat, without any curling edges that could catch your shoes. Ensure there are no gaps where dirt or liquids could seep through to the carpet. If your mats have raised edges, confirm these are upright and creating a containment barrier. A well-installed mat should look like a natural extension of your car’s interior.
After installing the driver’s side mat, try pushing it forward with your foot. If it slides or bunches up, the retention system isn’t fully engaged, or the mat isn’t the right fit. You might need to adjust its position or re-engage the clips.
Driving the car before confirming the mats are securely fastened, especially the driver’s side.
- Gently tug on mats to test security.
- Verify all retention clips/fasteners are engaged.
- Check for flat placement and no curling edges.
- Ensure raised edges are properly formed.
FAQs
How do I know if my all-weather mats will fit my car?
Check the product description for your car’s make, model, and year. Many all-weather mats are designed to be vehicle-specific for a precise fit, while others are universal and may require trimming.
What if my car doesn’t have floor mat retention clips?
Some cars don’t come with retention systems. In this case, look for all-weather mats that include their own non-slip backing or universal anchoring systems. Ensure the mats have a good grip on the carpet to prevent sliding.
Can I install all-weather mats over existing carpet floor mats?
No, it’s not recommended. You should always remove existing floor mats and clean the carpet underneath. Installing over old mats can lead to a poor fit, potential moisture issues, and reduced effectiveness of the retention system.
How often should I check the security of my installed mats?
It’s a good practice to check the security of your mats, especially the driver’s side, periodically. A quick visual check and a gentle tug before you start driving, especially after the first few days of installation, is advisable.
Are all-weather mats difficult to clean after installation?
No, one of the main benefits of all-weather mats is their ease of cleaning. Most can be removed, hosed down, scrubbed with soap and water, and then air-dried before reinstallation.
Conclusion
Installing all-weather floor mats is a straightforward DIY task that offers substantial benefits for your car’s interior. By following these steps, you ensure a secure fit and optimal protection against the elements and daily wear.
Remember to always prioritize safety by ensuring the driver’s side mat is firmly secured and does not interfere with pedal operation. With your new mats installed, you can drive with confidence, knowing your car’s carpet is well-protected.
Related posts
 Best Car Floor Mats for Pet Owners: Protect Your Interior from Fur & Spills
Discover the best car floor mats for pet owners. Protect your vehicle from fur, mud, and spills with durable, easy-to-clean options designed for pets. For pet…
 How to Choose the Right Floor Mats for Your Jeep
Protect your Jeep's interior by learning how to choose the right floor mats. Discover key factors like material, fit, and coverage to make the best decision…
 Maintaining Jeep Grand Cherokee Floor Mats: Essential Tips
Keep your Jeep Grand Cherokee floor mats looking new with these essential maintenance tips. Learn how to clean, protect, and extend the life of carpet and…