
How to Clean Leather Car Seats: Steps, Tips, and Common Mistakes

Cleaning leather car seats involves a few straightforward steps to keep them looking new and feeling soft. Start by thoroughly vacuuming to remove loose dirt and debris. Next, use a dedicated pH-neutral leather cleaner applied to a microfiber cloth, gently wiping the surfaces. After cleaning, always follow up with a leather conditioner to moisturize and protect the material. This process helps prevent cracking and maintains the leather’s natural appearance and feel.
Why Regular Leather Car Seat Cleaning Matters
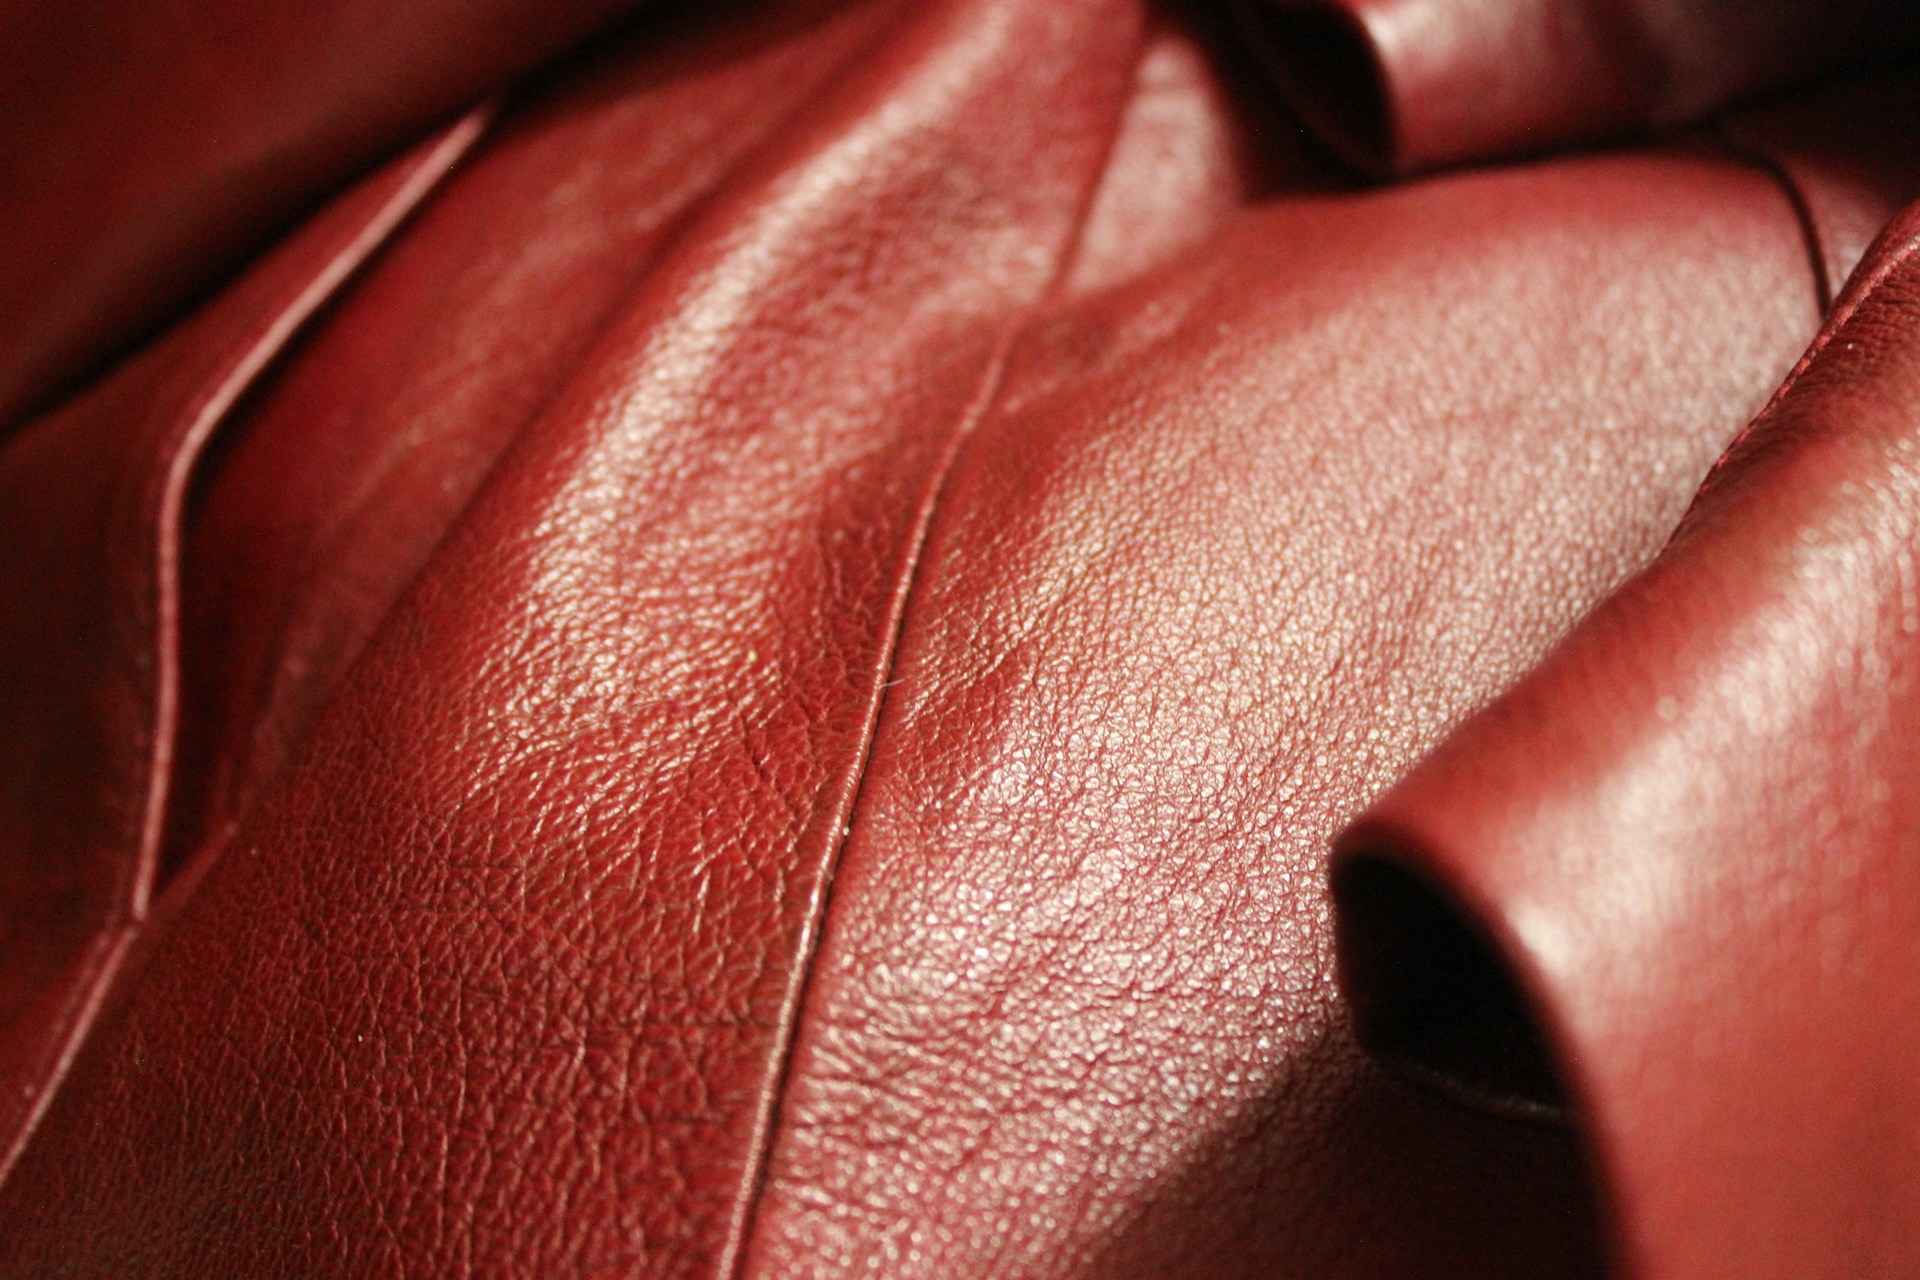
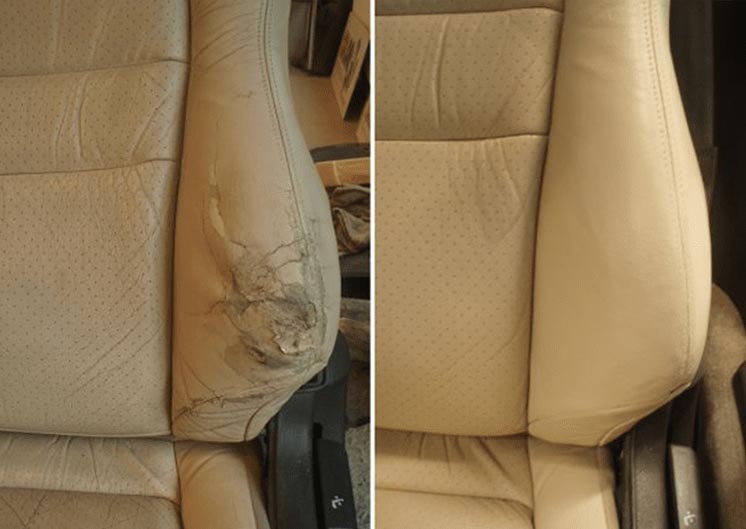
Leather car seats add a touch of luxury and comfort to any vehicle. However, they are constantly exposed to dirt, spills, body oils, and UV rays. Over time, these elements can cause the leather to dry out, crack, fade, or become discolored.
Regular cleaning and conditioning are essential for preserving the beauty and longevity of your car’s leather interior. Proper care helps maintain its supple feel and prevents costly damage.
Essential Supplies for Cleaning Leather Car Seats
Before you begin, gather all the necessary tools and products. Having everything ready makes the cleaning process smoother and more efficient.
- Vacuum Cleaner: A small car vacuum or a shop vac with brush attachments is ideal for removing loose dirt.
- Microfiber Cloths: You will need several soft, clean microfiber cloths. These are gentle on leather and highly absorbent.
- Dedicated Leather Cleaner: Choose a pH-neutral cleaner specifically formulated for automotive leather. Avoid harsh household cleaners.
- Leather Conditioner: A good conditioner will restore moisture and protect the leather after cleaning.
- Soft-Bristle Brush: A detailing brush or a soft toothbrush can help gently agitate the cleaner into textured areas.
- Two Buckets of Water: One for rinsing cloths and one for clean water if diluting products.
- Spray Bottle: Useful for diluting cleaner or applying water if needed.
Choosing the Right Leather Cleaning Products
The market offers many leather cleaning products. Selecting the correct ones is crucial to avoid damaging your car seats.
Understanding Leather Cleaner Types
Most modern car leather is coated or “finished” leather. This means it has a protective clear coat over the dyed leather. Your cleaner should be gentle enough not to strip this coating.
- pH-Neutral Cleaners: These are the safest option for most automotive leather. They effectively clean without being too acidic or alkaline.
- All-in-One Products: Some products combine cleaning and conditioning. While convenient, separate cleaner and conditioner often provide better results.
- Avoid Harsh Chemicals: Stay away from ammonia-based cleaners, bleach, strong detergents, or silicone-based products. These can dry out, crack, or leave a greasy residue on leather.
Selecting a Quality Leather Conditioner
A good leather conditioner replenishes natural oils, keeps the leather supple, and offers UV protection. Look for conditioners that absorb well and do not leave a greasy finish.
- Water-Based Formulas: These are generally preferred as they penetrate the leather without clogging pores.
- UV Protection: Conditioners with UV inhibitors help prevent fading and sun damage.
- Non-Greasy Finish: Test a small area to ensure the conditioner leaves a natural, matte, or satin finish, not a sticky or shiny one.
Step-by-Step Guide: How to Clean Leather Car Seats
Follow these steps carefully to achieve clean, well-maintained leather car seats.
Step 1: Prepare the Seats
Start by removing all items from your car seats and floor. Use your vacuum cleaner with a brush attachment to thoroughly vacuum the entire seat surface, including seams and crevices. This removes loose dirt, crumbs, and dust that could scratch the leather during cleaning.
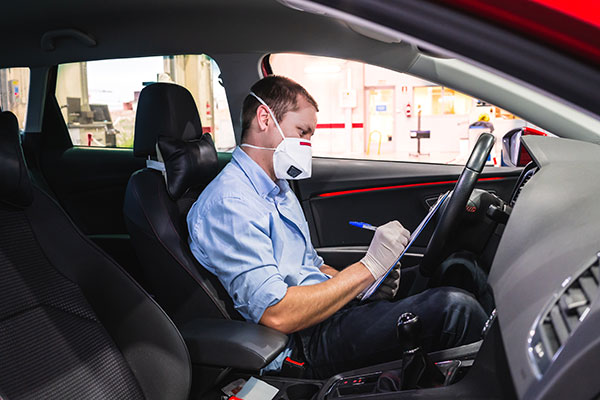
Step 2: Perform a Spot Test
Always test your chosen leather cleaner and conditioner on an inconspicuous area first. A small spot under the seat or on the back of a headrest works well. Apply a tiny amount, wait a few minutes, and check for any discoloration or adverse reactions. If it looks good, proceed.
Step 3: Apply Leather Cleaner
Do not spray cleaner directly onto the leather. Instead, spray a small amount of the pH-neutral leather cleaner onto a clean microfiber cloth. The cloth should be damp, not soaking wet.
Work on one section of the seat at a time, such as a seat back or a seat bottom. This prevents the cleaner from drying before you can wipe it off.
Step 4: Gently Scrub the Leather
Using the damp microfiber cloth, gently wipe the section of the leather in small, overlapping motions. For tougher dirt or textured areas, use a soft-bristle brush to lightly agitate the cleaner. Apply very little pressure to avoid scratching the surface.
You should see dirt transferring from the leather onto your cloth. If the cloth becomes too dirty, switch to a clean side or a fresh cloth.
Step 5: Wipe Away Residue
Immediately after cleaning a section, use a separate, clean, and slightly damp microfiber cloth (dampened with plain water) to wipe away any cleaner residue. This ensures no cleaner is left behind to dry on the leather.
Repeat steps 3-5 for all sections of your leather car seats until they are clean.
Step 6: Allow to Dry
Let the cleaned leather air dry completely before moving on to conditioning. This usually takes a short amount of time, but ensure the surface feels dry to the touch.
Conditioning Your Leather Seats for Protection
Conditioning is just as important as cleaning. It restores moisture, keeps the leather supple, and protects it from future damage.
Why Condition Leather?
Leather is a natural material that can dry out over time, especially with exposure to sun and heat. Conditioning helps to:
- Prevent cracking and fading.
- Maintain the leather’s soft and supple feel.
- Provide a protective barrier against spills and UV rays.
- Enhance the natural look and smell of the leather.
How to Apply Leather Conditioner
Once the seats are completely dry after cleaning, apply a small amount of leather conditioner onto a clean, dry microfiber applicator pad or cloth. Work the conditioner into the leather in small sections, using gentle, circular motions.
Ensure an even, thin coat. Allow the conditioner to penetrate for the time recommended by the product manufacturer, usually 10-15 minutes. Then, buff off any excess with a clean, dry microfiber cloth.
Dealing with Specific Stains on Leather Car Seats
Different types of stains require specific approaches. Always act quickly when a spill occurs.
Ink Stains
For fresh ink, try a specialized leather ink remover or a small amount of rubbing alcohol on a cotton swab. Dab gently, do not rub, to lift the ink. Follow up with a leather cleaner and conditioner.
Grease and Oil Stains
Blot excess grease with a clean cloth. Apply a small amount of cornstarch or talcum powder to absorb the oil. Let it sit for a few hours, then gently brush it off and clean the area with a leather cleaner.
Food and Drink Spills
Wipe up spills immediately with a clean, damp cloth. Then, use your pH-neutral leather cleaner to clean the affected area. Always condition afterward.
Common Mistakes to Avoid When Cleaning Leather
Preventing these common errors will help protect your leather seats and ensure a successful cleaning.
- Using Harsh Chemicals: Ammonia, bleach, or general household cleaners can strip the leather’s protective coating, causing it to dry out, crack, or discolor.
- Over-Wetting the Leather: Too much moisture can seep into the padding beneath the leather, leading to mildew or damage. Always use damp, not soaking wet, cloths.
- Skipping the Conditioning Step: Cleaning removes dirt but also some natural oils. Conditioning is vital to replenish moisture and protect the leather.
- Rubbing Too Hard: Aggressive scrubbing can damage the leather’s surface or finish. Use gentle, circular motions.
- Ignoring Spot Tests: Always test new products on an inconspicuous area first to ensure they don’t cause discoloration or damage.
- Using Abrasive Tools: Stiff brushes or rough cloths can scratch or scuff the leather. Stick to soft microfiber cloths and soft-bristle brushes.
Maintaining Your Leather Car Seats for Long-Lasting Beauty
Beyond deep cleaning, regular maintenance can significantly extend the life and appearance of your leather seats.
Regular Light Cleaning
Once a week or every two weeks, give your leather seats a quick wipe-down with a clean, damp microfiber cloth. This removes surface dust and light grime before it builds up.
Protect from Sun Exposure
UV rays are a major enemy of leather. Park your car in the shade whenever possible. Use a windshield sunshade when parked for extended periods. This helps prevent fading and drying.
Address Spills Immediately
The quicker you clean a spill, the less likely it is to stain. Keep a small pack of leather-safe wipes or a microfiber cloth in your car for immediate clean-ups.
Consider Professional Detailing
Every 1-2 years, consider having your car’s interior professionally detailed. Detailers have specialized tools and products for a deeper clean and protection.
Recommended Cleaning Schedule and Products
Here is a simple guide to help you maintain your leather car seats effectively.
| Frequency | Action | Recommended Products/Tools |
|---|---|---|
| Weekly/Bi-Weekly | Quick wipe-down & vacuum | Microfiber cloth, car vacuum with brush attachment |
| Monthly/Quarterly | Light cleaning & conditioning | pH-neutral leather cleaner, leather conditioner, microfiber cloths |
| Bi-Annually/Annually | Deep clean & thorough conditioning | pH-neutral leather cleaner, soft-bristle brush, premium leather conditioner, multiple microfiber cloths |
| As Needed | Spot treatment for spills/stains | Specialized stain remover (ink, grease), clean cloth, leather cleaner & conditioner |
FAQs
How often should I clean and condition my leather car seats?
For regular maintenance, a light wipe-down and vacuum every 1-2 weeks is good. A full clean and condition is recommended every 1-3 months, depending on usage and exposure to elements.
Can I use household cleaners like dish soap or all-purpose sprays on leather?
No, it is best to avoid household cleaners. Products like dish soap or all-purpose sprays can be too harsh, strip the leather’s natural oils, and damage its protective coating, leading to drying and cracking.
What should I do if my leather seats have a strong odor?
First, thoroughly clean the seats as described above. If the odor persists, you can try using an automotive odor eliminator designed for interiors. For very stubborn smells, professional detailing might be needed.
Is it safe to clean perforated leather seats?
Yes, but be extra careful not to over-wet perforated leather. Apply cleaner and conditioner sparingly to a microfiber cloth, then gently wipe. Avoid spraying liquids directly onto the perforations to prevent moisture from getting trapped underneath.
How can I protect my leather seats from sun damage?
Park in the shade, use a windshield sunshade, and regularly apply a leather conditioner that contains UV protectants. These steps help prevent fading and drying caused by sun exposure.
Conclusion
Keeping your leather car seats clean and well-maintained is simpler than it seems. By following a consistent routine of cleaning with pH-neutral products and conditioning, you can protect your investment and keep your car‘s interior looking luxurious for years.
Remember to always spot test new products and address spills quickly. With a little effort, your leather seats will remain soft, supple, and beautiful. Start your leather care routine today to enjoy a pristine car interior.
Related posts
 Why Use Custom-Fit Floor Mats for Your Car?
Discover why custom-fit floor mats are a worthwhile investment for your vehicle. Learn about superior protection, perfect fit, and enhanced interior value. Choosing custom-fit floor mats…
 How to Remove Mud from Rubber Floor Mats: A Step-by-Step Guide
Learn the easiest way to remove stubborn mud from your rubber floor mats. Follow these simple steps for a clean car interior. Mud on your rubber…
 How to Clean Floor Mats After Off-Roading: A Step-by-Step Guide
Learn how to effectively clean your car's floor mats after off-roading. Get step-by-step instructions for removing mud, dirt, and odors from rubber and carpet mats. After…