
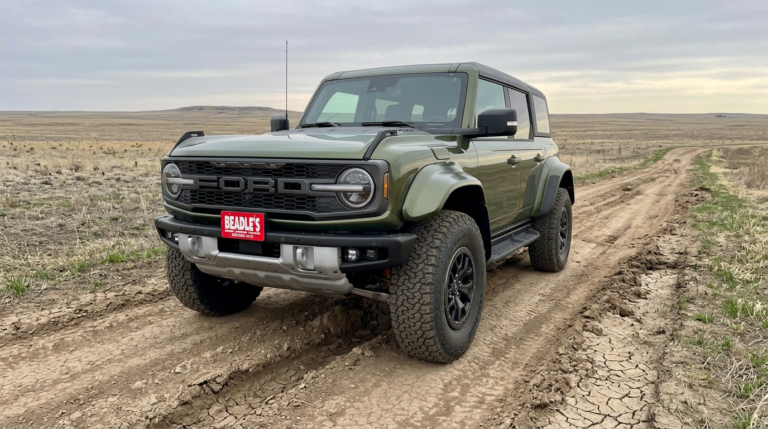
How to Install Side Step Rails Jeep JL
Learn how to install side step rails Jeep JL with this clear, friendly guide. We cover tools, step-by-step instructions, pro tips, and FAQ to make your DIY project a success.
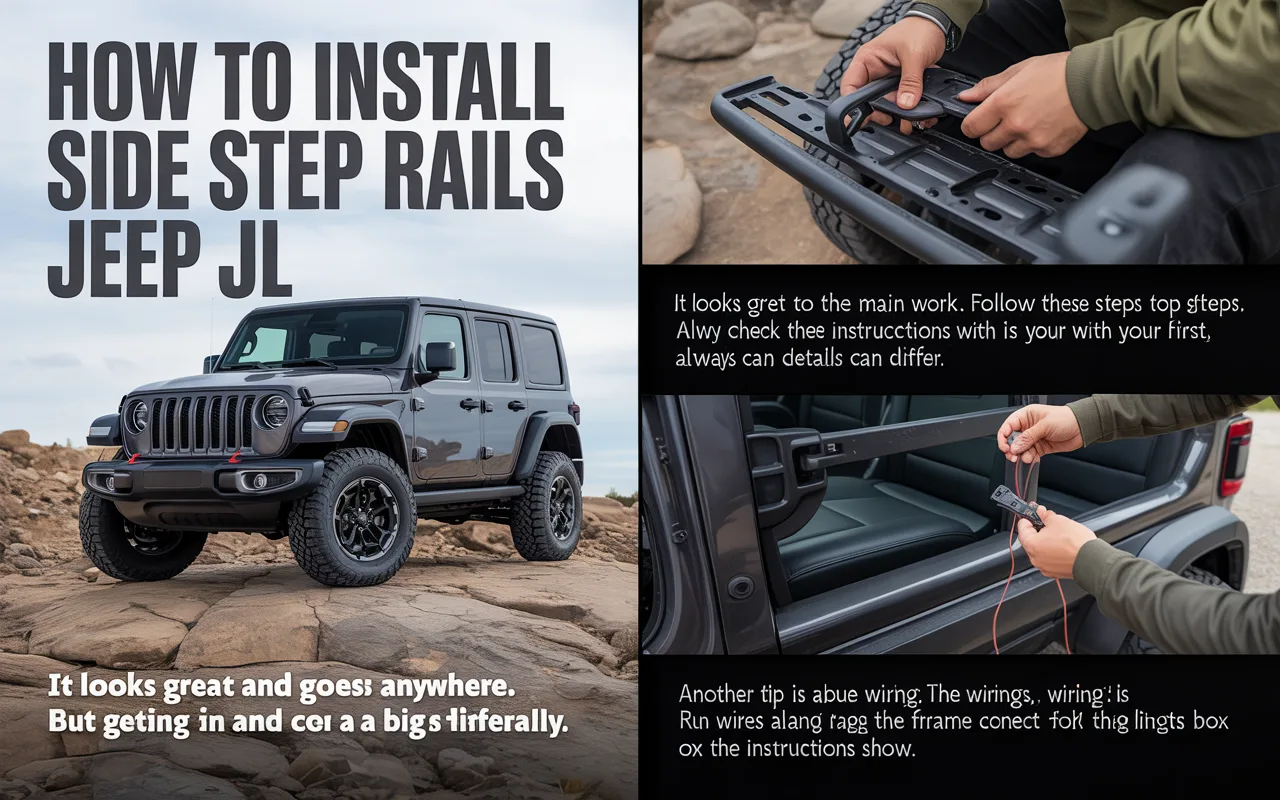
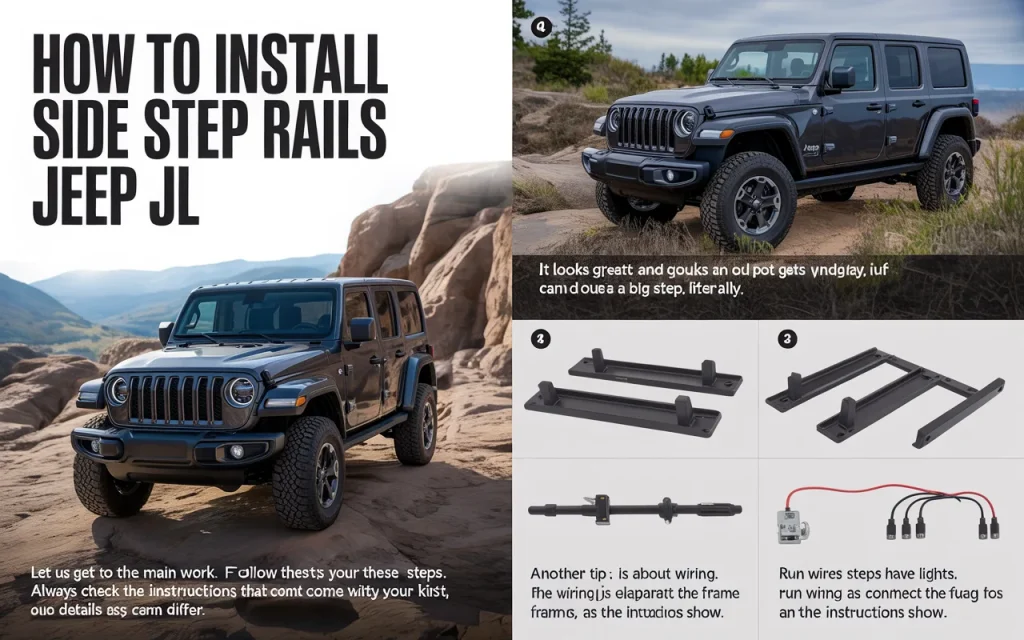
You love your Jeep JL. It looks great and goes anywhere. But getting in and out can be a big step, literally. That is where side step rails come in. They help you, your family, and your friends get in more easily. They also add a tough look and can protect the sides of your Jeep. Learning how to install side step rails on a Jeep JL is a job you can do in your garage. This guide will show you how, with clear steps and helpful tips. It is a fun project that makes your Jeep better for everyday use.
What You Need Before You Start
First, gather your tools and parts. Being ready makes the work go fast and stops frustration. Here is what you will need.
- The Side Step Rails Kit: Buy a kit made for the Jeep JL (2018 and newer). It should have the steps, all brackets, bolts, and instructions. Popular brands include Mopar, ROAM, and N-FAB.
- Basic Tools: A socket set, ratchet, and wrenches. You will need both metric and standard sizes, often 13mm to 18mm.
- Torque Wrench: This is key. It lets you tighten bolts to the exact tightness the instructions say. This keeps everything safe and secure.
- Jack Stands and a Floor Jack: You will need to lift the Jeep safely to make room to work. Never rely on a jack alone.
- Friend for Help: The step rails are long and awkward. A friend makes holding them in place much easier.
Tom, a Jeep builder from Colorado, says: “A good install starts with a clean slate. Give your Jeep’s frame a wipe where the brackets will mount. It makes everything fit better from the start.”
Step-by-Step: How to Install Side Step Rails on a Jeep JL
Let us get to the main work. Follow these steps to put your side steps on. Always check the instructions that come with your kit first, as details can differ.
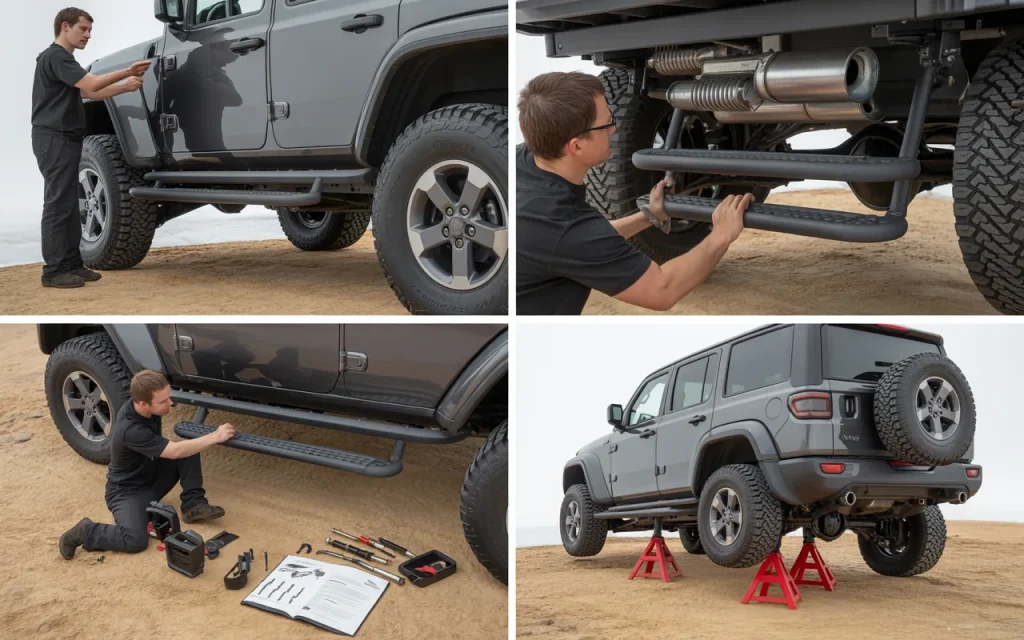
1. Prepare Your Jeep and Parts
Park your Jeep on a flat, hard surface. Put the transmission in Park and set the parking brake. Lay out all the parts from your kit. Check you have every bracket and bolt. It helps to sort the pieces for the driver side and passenger side.
2. Safely Lift the Vehicle
You need space under the rocker panels. Use your floor jack to lift one side of the Jeep at its proper jack point. Place a jack stand under the frame for solid support. Lower the jack so the Jeep rests on the stand. Do the same for the other side. Now you have room to work under both sides.
3. Position the First Side Step
This is where your friend helps. Take the step rail for one side. Carefully lift it and line it up with the holes on the underside of the Jeep’s body. The brackets should align with the threaded holes in the frame. Do not try to put the bolts in yet. Just get it held in the right spot.
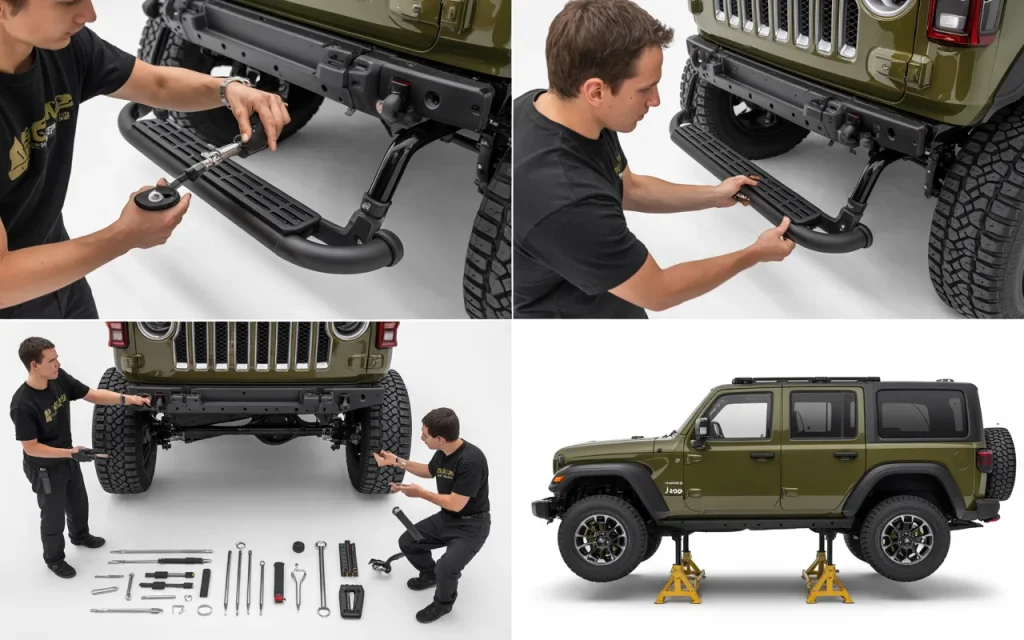
4. Install the Mounting Hardware
Start by putting a few bolts in by hand. This holds the step in position. Usually, you will have bolts that go up into the frame. Follow your kit’s pattern. Once several bolts are finger-tight, you can let go of the step. Put in all the remaining bolts by hand.
5. Tighten All Bolts to Specification
Now, use your socket and ratchet to snug each bolt. Finish with your torque wrench. Tighten each bolt to the foot-pound number stated in your instructions. This is very important. Overtightening can strip threads. Undertightening can make things loose. Go in a crisscross pattern, like tightening a wheel.
6. Repeat on the Opposite Side
Do the exact same steps on the other side of your Jeep. Double check that both steps look even and straight before you fully tighten.
7. Final Check and Clean Up
With both sides tight, give every bolt one more look. Make sure nothing is rubbing on the exhaust or tires. Remove your jack stands and lower the Jeep completely. Throw away any packing material and put your tools away.
Common Questions About Jeep JL Side Steps
| Question | Quick Answer |
|---|---|
| Do I need to drill holes? | Most kits for the JL use existing holes. No drilling is needed. |
| How long does the install take? | With a helper, plan for 1 to 2 hours total. |
| Can I do this alone? | It is possible but much harder. A friend is a big help. |
| Will these work with a lift kit? | Yes, but you may need a different style like a rock slider or drop step. |
Picking the Right Side Step for Your Needs
Not all steps are the same. Think about how you use your Jeep. Here is a simple table to help you choose.
| Style | Best For | Things to Know |
|---|---|---|
| Nerf Style Step | Daily driving, easy entry. | Simple tube step. Keeps sides clean. |
| Rock Slider with Step | Off-road use, protection. | Stronger, can take the weight of the Jeep on rocks. |
| Drop Down Step | Lifted Jeeps, older passengers. | Gives a lower step height. Can reduce ground clearance. |
Troubleshooting and Pro Tips
Sometimes, a bolt might not thread right. If this happens, do not force it. Take the bolt out and look at the threads. Make sure no dirt or paint is in the hole. A thread chaser tool can clean the threads. Always start bolts by hand to avoid cross-threading.
Another tip is about wiring. If your steps have lights, the wiring is a separate job. Run wires along the frame and connect to the fuse box or tail lights as the instructions show. Use wire loom and zip ties to keep it neat and safe.
Lisa, an off-road guide, notes: “The best accessory is one you can put on and forget. Taking your time to install side step rails correctly means they will be solid for every trail and school run.”
Why a Good Install Matters
Doing the job right means your steps are safe. They will not come loose on a bumpy road. A good install also looks professional. The steps will sit straight and flush against the body. It protects your investment and keeps your Jeep looking sharp.
Frequently Asked Questions
Are side steps hard to install on a Jeep JL?
No, they are one of the easier add-ons. If you can use basic tools and follow steps, you can do it. The hardest part is often just holding the heavy step in place, which is why a helper is good.
Do these steps affect ground clearance?
Some styles can. A basic nerf step usually does not change it much. But a large drop step might hang down a bit lower. Think about the trails you drive. If you go off-road often, a rock slider style is a smarter pick.
Can I use the factory Jeep instructions?
If you bought Mopar steps, yes. For other brands, always use the paper that comes in their box. The bolt sizes and torque specs might be different.
What is the torque specification for the bolts?
This changes by brand and kit. Always use the number in your kit’s guide. A common range is between 25 and 45 foot-pounds. When in doubt, a snug tightness with a standard wrench is better than overdoing it.
How do I care for my new side steps?
Just wash them with the rest of your Jeep. For aluminum steps, a light metal polish can keep them shiny. For steel, check for scratches and touch up with paint to stop rust.
Mike, a long-time Jeep owner, adds: “I’ve added steps to my last three Wranglers. Each time, the afternoon I spent installing them paid off for years in convenience for my whole family.”
Conclusion
Putting side steps on your Jeep JL is a rewarding project. You learn more about your vehicle and get a useful upgrade. The process to install side step rails on a Jeep JL is straightforward. Remember to work safely with jack stands, get a friend to help, and use a torque wrench for the bolts. Choose the step style that fits your life, whether it is daily driving or weekend trail riding. Soon, you will be enjoying the easier entry and the new, complete look of your Jeep. Now, grab your tools and get ready to add both function and style to your ride.
Related posts
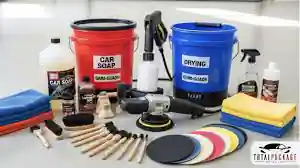 Best Car Cleaning Kits for Professionals: A Detailed Comparison
Find the best car cleaning kit for professionals. Compare top-rated detailing sets with essential tools and chemicals for a spotless finish. For car care professionals, a…
 Best Jeep Wrangler Exterior Trim Covers for Enhanced Style
Compare the best Jeep Wrangler exterior trim covers to upgrade your vehicle's look. Find options for JK, JL, and Gladiator models. Jeep Wranglers are known for…
 Best Windshield Cleaner for Car: Tools and Sprays for Clear Vision
Find the best windshield cleaner for your car. Compare top-rated tools and streak-free sprays to achieve crystal-clear visibility on the road. A clear windshield is essential…