Mounting running boards on your vehicle can make getting in and out much easier, especially for SUVs and trucks. But if you install them incorrectly, you risk damaging your car—or worse, injuring yourself. Many people try to rush through the process or skip steps, only to regret it later.
If you want to mount running boards safely, you need clear steps, the right tools, and a careful approach. Let’s break down exactly how to do this job right, including tips that even experienced DIYers sometimes miss.
What Are Running Boards And Why Do They Matter?
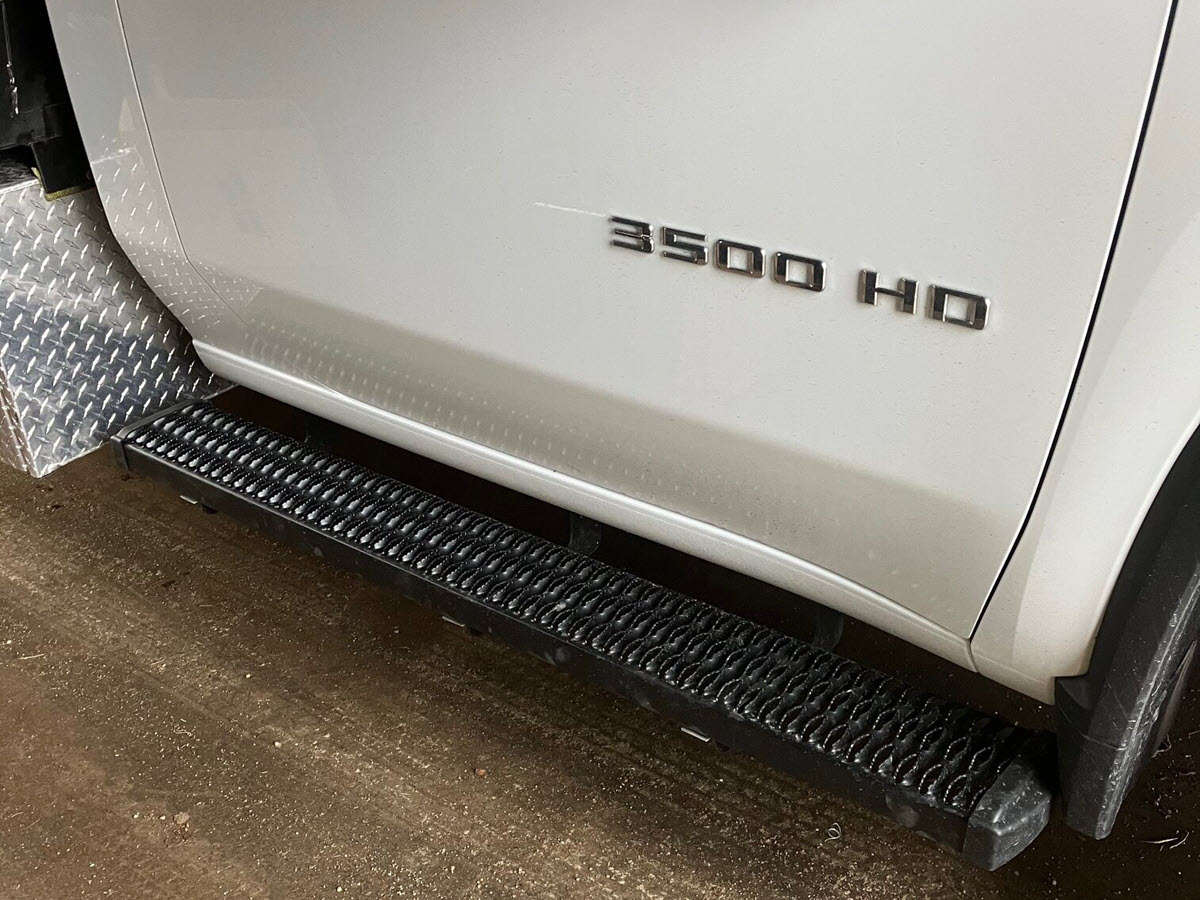
Running boards are narrow steps installed along the side of a vehicle, under the doors. Their main purpose is to help people step up into taller vehicles. They also protect your car’s lower body from road debris and can give your car a stylish look. Installing them safely is about more than just appearance—it’s about functionality and safety for everyone who rides with you.
Some vehicle owners underestimate how much weight running boards must support. A good set can easily hold 250–500 pounds, but only if mounted properly. Skipping safety steps can mean boards bend, break, or detach, risking injury.
Tools And Materials You’ll Need
Before you start, gather all your tools and parts. Missing one tool can slow you down or force you to improvise, which can be dangerous.
Here’s what you’ll need:
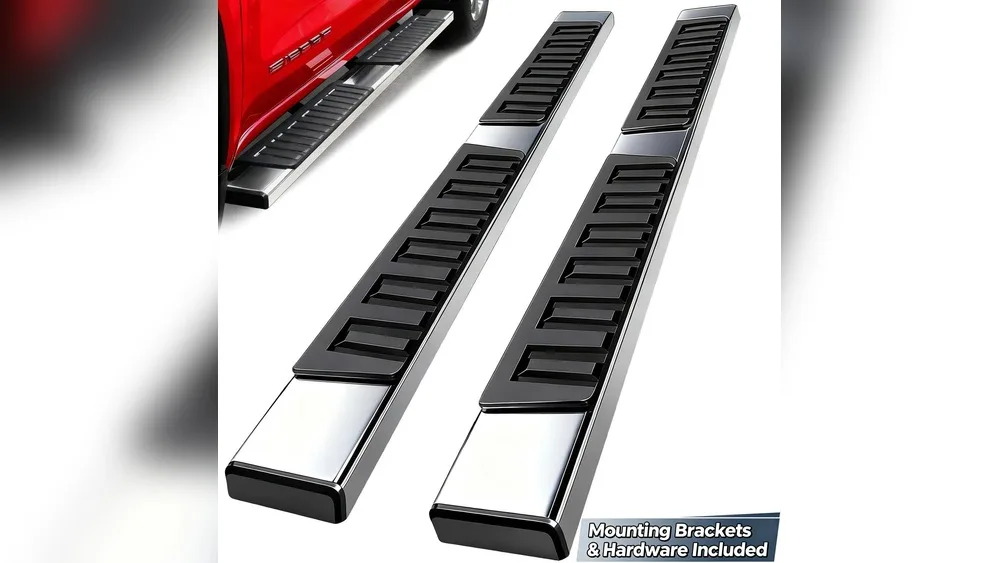
- Running boards (matched to your vehicle’s make and model)
- Mounting brackets (usually included with the boards)
- Socket wrench set (metric and standard sizes)
- Torque wrench (for precise tightening)
- Screwdrivers (flathead and Phillips)
- Drill (with bits, if new holes are needed)
- Measuring tape
- Protective gloves
- Safety glasses
- Jack and jack stands (if you need extra space under the car)
- Anti-seize lubricant (for bolts)
- Rust-proof paint (if drilling new holes)
- Marker or chalk
Don’t skip the torque wrench. Many people use only a regular wrench, but if the bolts aren’t tight enough—or are too tight—the running board can come loose or damage the car’s frame.
Credit: www.sharptruck.com
Choosing The Right Running Boards
Picking the best running boards for your vehicle is not just about looks. The material, length, and mounting style affect both safety and ease of installation.
| Type | Pros | Cons |
|---|---|---|
| Aluminum | Lightweight, rust-resistant | Less strong for heavy use |
| Steel | Very strong, durable | Heavier, can rust |
| Plastic with metal core | Affordable, rust-proof | Less sturdy |
- Fit: Always buy boards designed for your vehicle’s year, make, and model. Universal boards may require drilling, which is riskier.
- Weight rating: Check the maximum weight capacity. For most families, 300–400 pounds is enough.
- Surface: Look for non-slip surfaces. Wet running boards can be dangerous.
- Bracket quality: Strong brackets are as important as the board itself.
Preparing Your Vehicle
A clean, safe workspace is key for a safe installation.
- Park your vehicle on a flat, stable surface. Never work on a hill or uneven ground.
- Turn off the engine, set the parking brake, and block the wheels.
- If you need more space under the car, use a jack and jack stands. Never rely on a hydraulic jack alone.
- Clean the area under your doors with soap and water. Dirt can hide mounting holes or damage the seal.
Before starting, do a test fit with the running boards. Hold them up to the car to check alignment and bracket position. This helps you catch mistakes before drilling or bolting anything.
Step-by-step Guide To Mount Running Boards Safely
1. Read The Instructions Carefully
Every running board kit is different. Read the entire manual before starting. Note any warnings or special steps for your car model. Many people skip this, but it’s where you learn about unique parts or tools you’ll need.
2. Locate Mounting Points
Modern vehicles often have factory-drilled holes for running boards. These are under the rocker panel, behind plastic plugs. Remove these plugs with a screwdriver.
If your car doesn’t have pre-drilled holes, mark the bracket locations using the supplied template or the actual bracket. Take your time—incorrect holes can cause leaks or rust.
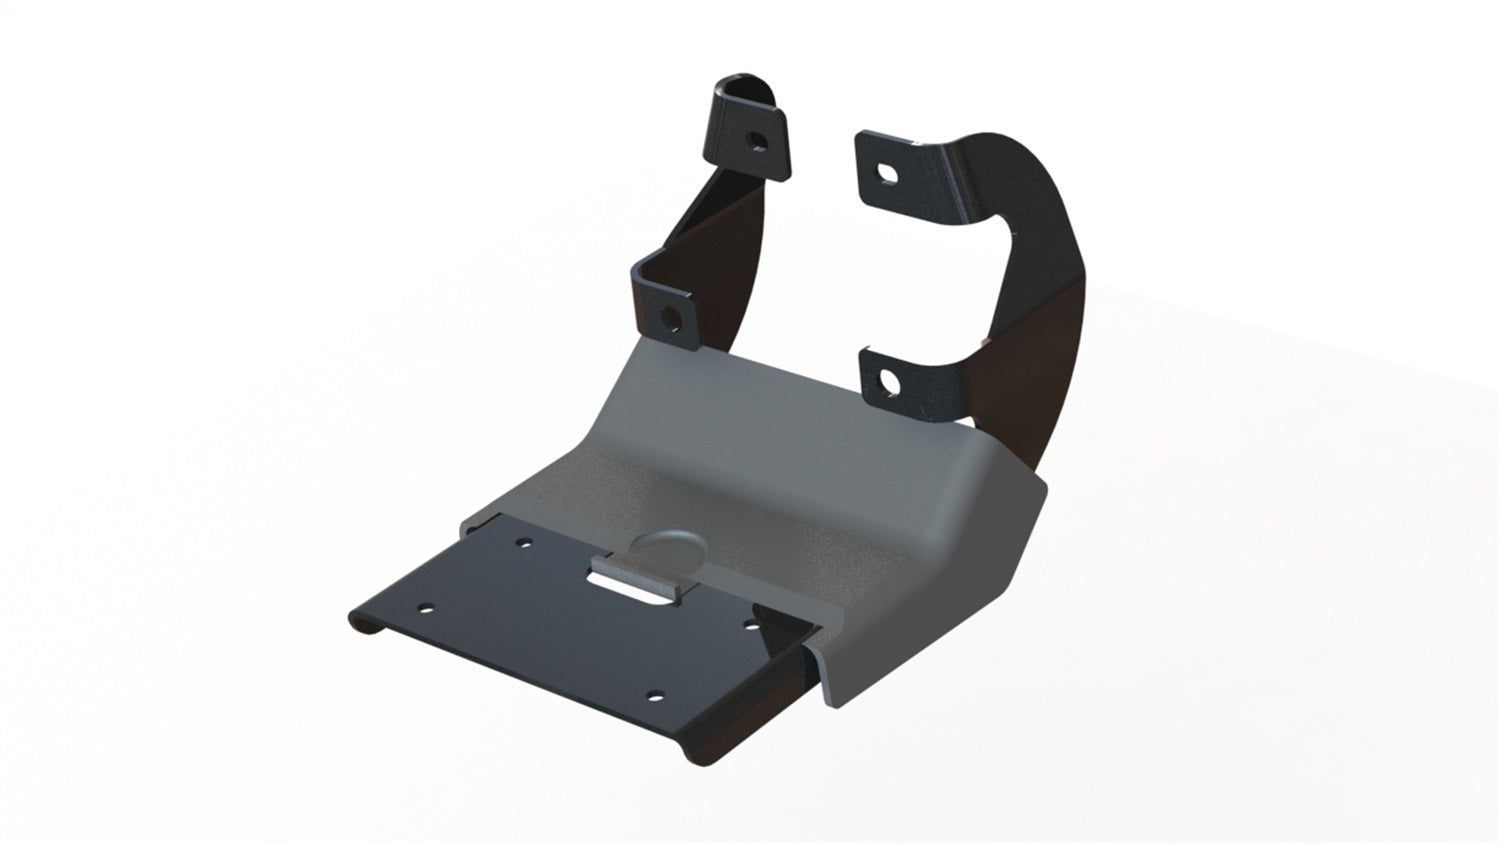
3. Attach The Mounting Brackets
- Hold the bracket to the mounting point.
- Insert the supplied bolts through the holes. Hand-tighten at first; do not fully tighten yet.
- Make sure each bracket lines up straight and matches the instructions.
Many kits include different brackets for the front, middle, and rear. Don’t mix them up—check each one’s label or shape.
4. Secure The Running Board
With all brackets loosely installed:
- Place the running board onto the brackets.
- Adjust the position so it’s centered and level along the car.
- Attach using the provided hardware. Hand-tighten all bolts.
Some running boards slide within the brackets for length adjustment. Make sure both sides match.
5. Tighten All Bolts To Specification
Now, use your torque wrench to tighten each bolt to the specified torque (usually 20–50 ft-lbs). Over-tightening can strip threads; under-tightening can cause the board to come loose.
This is a step even some professionals rush. Torque values are found in your instructions—don’t guess. If you don’t have a torque wrench, borrow one or get it checked at a local garage.
6. Double-check Alignment And Clearance
Once both boards are fully attached:
- Step back and visually check that both sides are even.
- Open and close all doors to ensure they don’t hit the board.
- Check ground clearance, especially if your vehicle is low.
If something looks off, loosen the bolts, adjust, and re-tighten.
7. Test Weight Support
Before letting family or friends use the running boards:
- Carefully step on each board yourself, near each bracket.
- Listen for creaks or movement. Boards should feel solid with no flex.
- If you hear noise or see movement, check for loose bolts or misaligned brackets.
8. Protect Against Rust (if You Drilled)
If you had to drill new holes, apply rust-proof paint to the bare metal before installing bolts. This step is often skipped, but rust can spread quickly and weaken the mount.
Use anti-seize lubricant on bolts if you live in a wet or snowy area. This makes future removal easier.
Common Mistakes To Avoid
Even careful DIYers can make errors that reduce safety. Here’s what to watch out for:
- Ignoring torque specs: Tightening by feel is unreliable.
- Mixing up bracket positions: Each bracket may be slightly different.
- Skipping rust protection: Unpainted holes can rust and weaken your car.
- Mounting too close to the ground: Boards should not scrape over speed bumps.
- Not checking door clearance: Doors that hit the board can damage seals.

Credit: www.ebay.com
Maintenance Tips For Long-lasting Running Boards
Running boards need care to stay safe and attractive.
- Wash regularly: Road salt and mud can corrode metal and make surfaces slippery.
- Inspect bolts every few months: Vibration can loosen hardware over time.
- Check for rust: Especially if you drilled holes during installation.
- Use rubber protectant: If your boards have rubber steps, this keeps them grippy.
If you notice any loose or damaged parts, fix them right away. Don’t wait for a problem to get worse.
Comparing Dealer Vs. Diy Installation
Some people wonder if it’s better to install running boards themselves or let a dealer do it. Here’s a quick comparison:
| Factor | Dealer Install | DIY |
|---|---|---|
| Cost | High ($200–$500) | Low (just parts) |
| Time | 2–3 hours | 3–5 hours |
| Warranty | Often included | Parts only |
| Quality | Professional | Depends on skill |
DIY is cheaper, but you must be careful and patient. If you’re not confident, professional installation can be worth the peace of mind.
Credit: gemtubes.com
Real-world Example: 2022 Toyota Tacoma
Let’s look at a specific case. The 2022 Toyota Tacoma is a popular truck for running board upgrades. It comes with factory mounting points, making installation easier.
Steps:
- Remove the plastic plugs from the rocker panel.
- Attach the brackets to the threaded holes.
- Position the running board, align, and bolt on.
- Tighten all bolts to 30 ft-lbs.
This process takes about 2–3 hours for most DIYers. If you follow all safety tips, the boards will handle normal use without problems.
Safety: The Top Priority
Many accidents happen because of poor installation. Here are two safety insights even experienced installers sometimes miss:
- Brackets can shift over time if not re-checked after the first week. Go back and check torque after a few days of use.
- Weight is not distributed evenly. Children often step near the ends—make sure brackets are close enough to support those spots.
Always keep the instructions for future reference. If you sell the vehicle or change boards, you’ll need them.
For more on vehicle modifications and safety, you can check resources such as the National Highway Traffic Safety Administration.
Frequently Asked Questions
How Long Does It Take To Mount Running Boards?
For most vehicles, installation takes 2–4 hours if you have all the tools ready. If you’re new to DIY car work, allow extra time for careful measuring and checking.
Can I Install Running Boards Without Drilling?
Many modern vehicles have factory mounting points that do not require drilling. Always check your car’s frame before starting. Drilling is usually needed only for older vehicles or universal boards.
How Much Weight Can Running Boards Support?
Most running boards support 250–500 pounds per side. Always check the manufacturer’s rating, as it depends on both the board and the bracket quality.
Is It Safe To Install Running Boards By Myself?
Yes, if you follow all safety steps, use the right tools, and double-check your work. If you are unsure, ask a friend to help or have a professional check your installation.
Do Running Boards Affect Ground Clearance Or Fuel Economy?
Running boards can slightly reduce ground clearance and may have a small impact on fuel economy due to added weight and drag. For most drivers, these changes are minor and worth the extra convenience.
Mounting running boards safely is about careful preparation, precise installation, and ongoing checks. With the right approach, you’ll get years of safe, practical use from your new running boards.