
How to Clean Car Detailing Brush the Right Way
This guide explains how to clean car detailing brush safely and thoroughly so bristles last longer, avoid scratches, and keep every surface free from trapped grit.
Car detailing brushes do a lot of quiet work. They reach into badges, vents, lug nuts, leather seams, and tight trim where towels and mitts cannot reach. Over time, those same brushes collect dirt, brake dust, old cleaner residue, oils, and tiny particles that can damage surfaces if left inside the bristles. Keeping them fresh is part of good detailing habits, whether you care for one daily driver or several vehicles.
Learning how to maintain brushes properly is not about perfection. It is about consistency, common sense, and using simple steps that protect both the brush and the surface you touch. A dirty brush can grind debris into paint or plastic. A clean brush glides smoothly and gives predictable results. This article shares practical methods based on real detailing experience, explains what to avoid, and shows how to store brushes so they stay ready for the next wash.
In the sections ahead, you will see clear steps, simple comparisons, and realistic timelines. Everything here focuses on everyday tools and materials, no specialty gear required. The goal is to help you clean car detailing brush tools properly so they last longer and stay safe on every part of the vehicle.
Why Clean Detailing Brushes Matter More Than You Think
Detailing brushes look harmless, but they can hold more grime than most people expect. Dirt hides deep near the base of the bristles, especially after working on wheels, engine bays, or exterior trim. If that dirt stays there, it transfers back to the next surface you touch.
Paint and gloss trim are especially sensitive. Even soft bristles can scratch if hard particles are trapped inside. Interior materials like leather and piano black plastic can also show marks from dirty brushes. Regular cleaning protects the surface and keeps your results consistent.
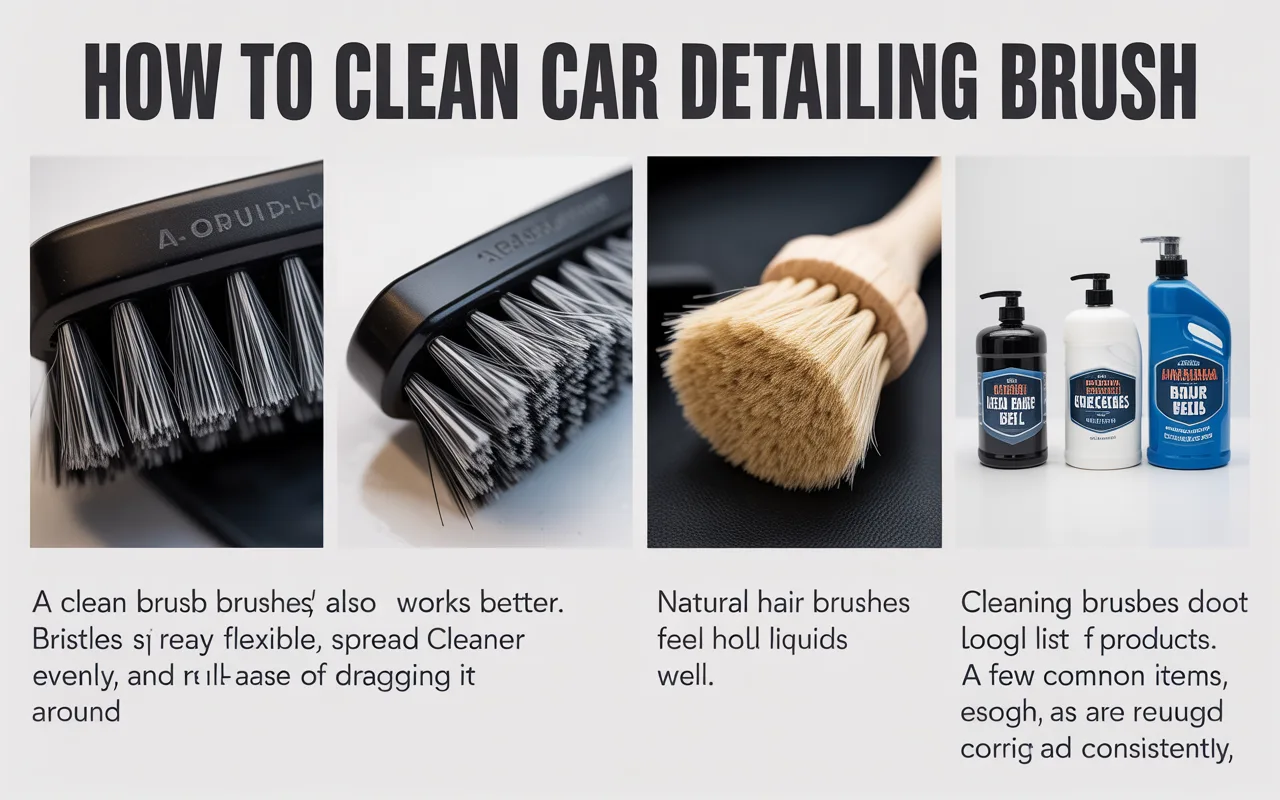
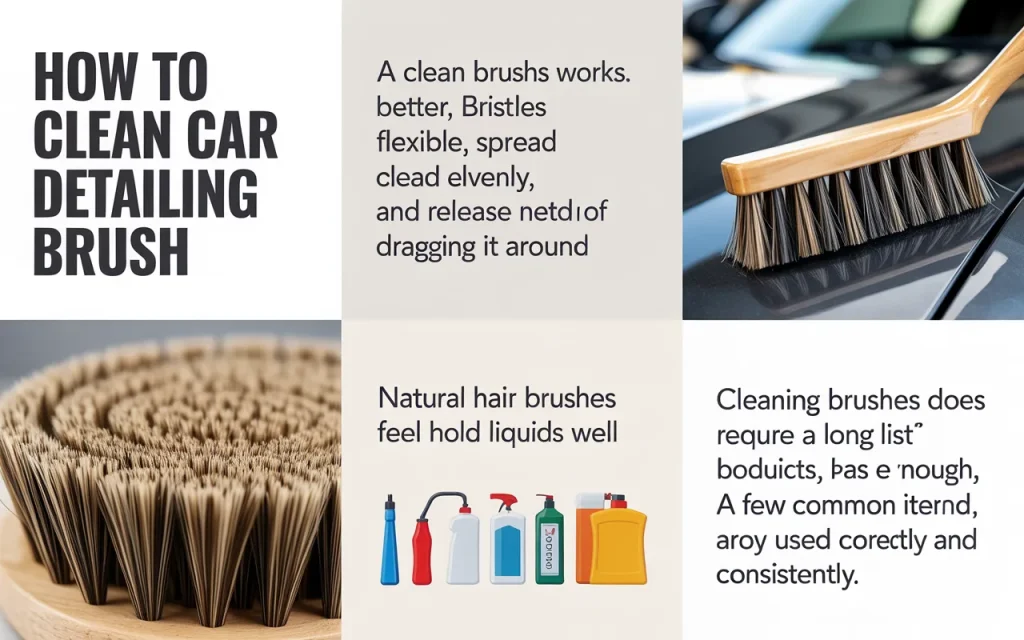
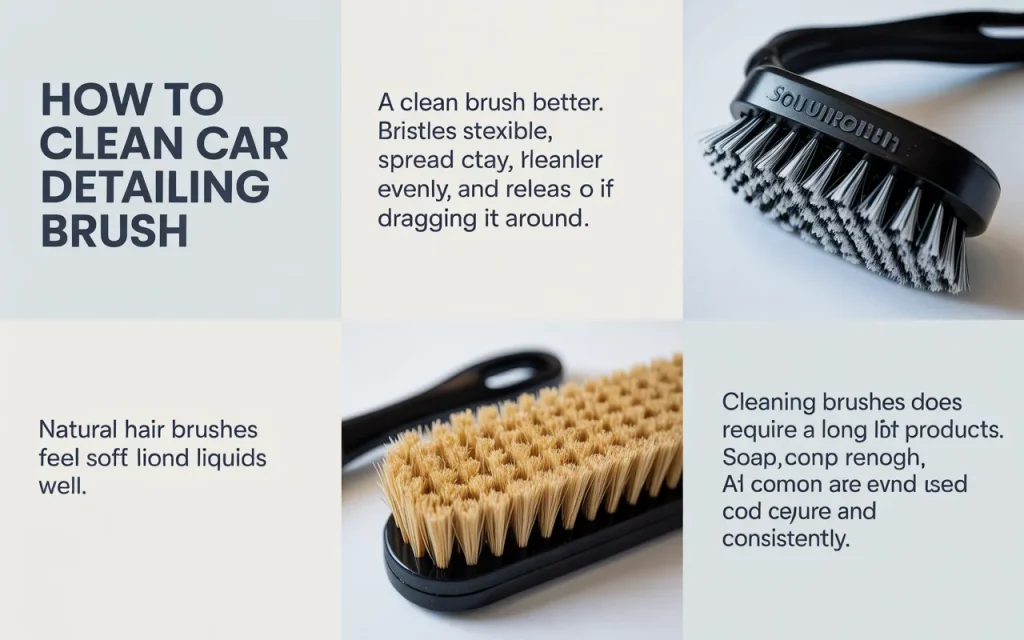
A clean brush also works better. Bristles stay flexible, spread cleaner evenly, and release dirt instead of dragging it around. Over time, this saves effort and reduces the need to scrub.
Early in professional detailing training, this idea is stressed often. As Mike Phillips once said, “Your tools touch the paint before your hands do, so their condition matters every single time.” That simple thought applies to any brush, large or small.
Types of Car Detailing Brushes and How Dirt Builds Up
Not all detailing brushes are the same. Each type attracts dirt differently and needs slightly different care. Knowing what you own helps you choose the right cleaning method and avoid damage.
Common brush materials and uses
| Brush material | Typical use | Dirt buildup pattern |
|---|---|---|
| Natural boar hair | Interior trim, badges | Holds oils and dust near base |
| Synthetic nylon | Wheels, tires, engine | Traps grit and brake dust |
| Soft synthetic | Paint, emblems | Collects fine particles evenly |
Natural hair brushes feel soft and hold liquids well, but they absorb oils from dressings and interior cleaners. Synthetic brushes resist chemicals better, yet they grab and hold abrasive particles more easily.
The area you use the brush on also matters. Wheel brushes collect metal particles. Interior brushes collect skin oils and dust. Mixing uses without cleaning increases the risk of damage.
Basic Supplies You Need Before Cleaning Brushes
Cleaning brushes does not require a long list of products. A few common items are enough, as long as they are used correctly and consistently.
Simple items that work well
| Item | Purpose | Notes |
|---|---|---|
| Mild liquid soap | Breaks down oils | Dish soap works well |
| Warm water | Loosens dirt | Avoid very hot water |
| Small bucket or sink | Soaking and rinsing | Keep separate from wash mitts |
| Soft towel | Drying | Lint free preferred |
Avoid harsh degreasers unless the brush was used on very greasy areas like engines. Strong chemicals can dry out natural bristles or make synthetic fibers brittle over time.
Step by Step Process to Clean Brushes Safely
A clear routine helps you avoid rushed mistakes. The process below works for most brush types and fits easily into a regular wash schedule.
Start by rinsing the brush under running warm water. Point the bristles downward so dirt flows out, not deeper into the base. Gently spread the bristles with your fingers to release trapped debris.
Add a few drops of mild soap to the bristles. Work it in using your fingers or by lightly agitating the brush against your palm. Do not twist or bend the bristles sharply. Let the soap lift oils and dirt rather than forcing them out.
Rinse thoroughly until the water runs clear. Take your time here. Soap left inside the brush attracts dirt later. Gently shake out excess water and blot with a towel.
Set the brush to air dry with the bristles facing down or sideways. Good airflow prevents moisture from settling at the base, which can weaken glue over time. This simple routine is the foundation of how to clean car detailing brush tools without shortening their life.
Cleaning Based on Brush Use and Material
Some brushes need extra attention depending on where they were used. Adjusting the method slightly keeps results safe and predictable.

For interior brushes used on leather and trim, focus on removing oils. A slightly longer soap massage helps. Rinse thoroughly so no residue transfers back to interior surfaces.
For wheel and tire brushes, rinse first to remove loose grit. You can repeat the soap step twice if needed. Never skip a deep rinse here. Leftover brake dust is one of the fastest ways to scratch paint if brushes are reused elsewhere.
Larry Kosilla once noted, “Cross contamination is one of the easiest mistakes to make, and clean tools are the first line of defense.” Keeping brushes clean and dedicated to specific areas supports that idea.
Natural hair brushes benefit from an occasional light conditioner, similar to hair care, to keep bristles soft. Use only a tiny amount and rinse very well. Synthetic brushes do not need this step.
How Often Brushes Should Be Cleaned
Brush cleaning frequency depends on use, not calendar days. A brush used on wheels once should be cleaned immediately after. An interior brush used lightly on vents may last a few sessions before washing.
As a general habit, rinse brushes after every detailing session and do a full soap clean at least every few uses. If you notice stiff bristles, discoloration, or visible dirt, clean the brush before it touches another surface.
Regular care reduces effort later. Dirt that never dries inside the brush is easier to remove than buildup that sits for weeks.
Drying and Storing Brushes the Right Way
Drying is as important as washing. Water trapped at the base of the bristles can loosen the adhesive and shorten brush life.
After blotting with a towel, allow brushes to air dry fully. Avoid closed containers or drawers until no moisture remains. Good airflow is key.
Store brushes with bristles facing up or sideways in a clean container. Keep wheel brushes separate from interior and paint brushes to avoid cross contamination. Labeling containers helps build good habits without extra thought.
Proper storage supports the effort you put into learning how to clean car detailing brush tools correctly and keeps them ready for safe use.
Common Mistakes That Ruin Detailing Brushes
Some habits cause damage even with good intentions. Avoid these to protect your tools.
Using boiling or very hot water can warp synthetic bristles and loosen glue. Stick with warm water only.
Scrubbing brushes against rough surfaces to clean them may seem effective, but it bends and breaks bristles. Gentle agitation works better and lasts longer.
Leaving brushes soaking overnight can weaken the base and cause bristles to shed. Short soaking times are enough for most dirt.
Skipping cleaning because a brush looks clean is risky. Fine grit is often invisible but still harmful.
Frequently Asked Questions (FAQ)
Using one brush for multiple areas
Using the same brush on wheels and paint without cleaning increases the risk. Separate brushes or clean thoroughly between uses.
Cleaning frequency for light interior use
Interior brushes used lightly still collect oils and dust. Rinsing after each session and washing regularly keeps them safe.
Soap choice for natural hair brushes
Mild dish soap works well. Strong cleaners dry out natural bristles and reduce flexibility.
Drying time before storage
Allow brushes to dry fully in open air. Storing damp brushes shortens their lifespan and encourages odor.
Final Thoughts on Brush Care and Long-Term Results
Detailing brushes are small tools with a big impact. Clean brushes protect paint, trim, and interior materials while making your work easier and more consistent. The process does not require special products or complex steps, only steady habits and attention to detail.
By rinsing after use, washing with mild soap, drying correctly, and storing with care, you extend the life of every brush you own. These steps reduce the chance of scratches and help maintain the finish you work hard to achieve.
As Kevin Brown once shared, “Great results come from respect for the process and the tools involved.” Taking time to clean car detailing brush tools properly shows that respect and pays off every time you pick one up.
Related posts
 Best Way to Clean and Maintain Your Car’s Paint Finish Safely
Keeping your car’s paint finish looking fresh is more than just about looks. A well-maintained paint job protects your car from rust, UV damage, and can…
 How to Remove Brake Dust from Car Wheels Quickly and Safely
If you own a car, you know how quickly the wheels can get dirty. One of the most stubborn types of dirt is brake dust. Even…
 How to Remove Bug Splatter from Your Car Paint: Expert Tips
Bug splatter on your car paint is more than just an annoying sight—it can actually harm your vehicle’s surface. Insects hit your car at high speeds,…